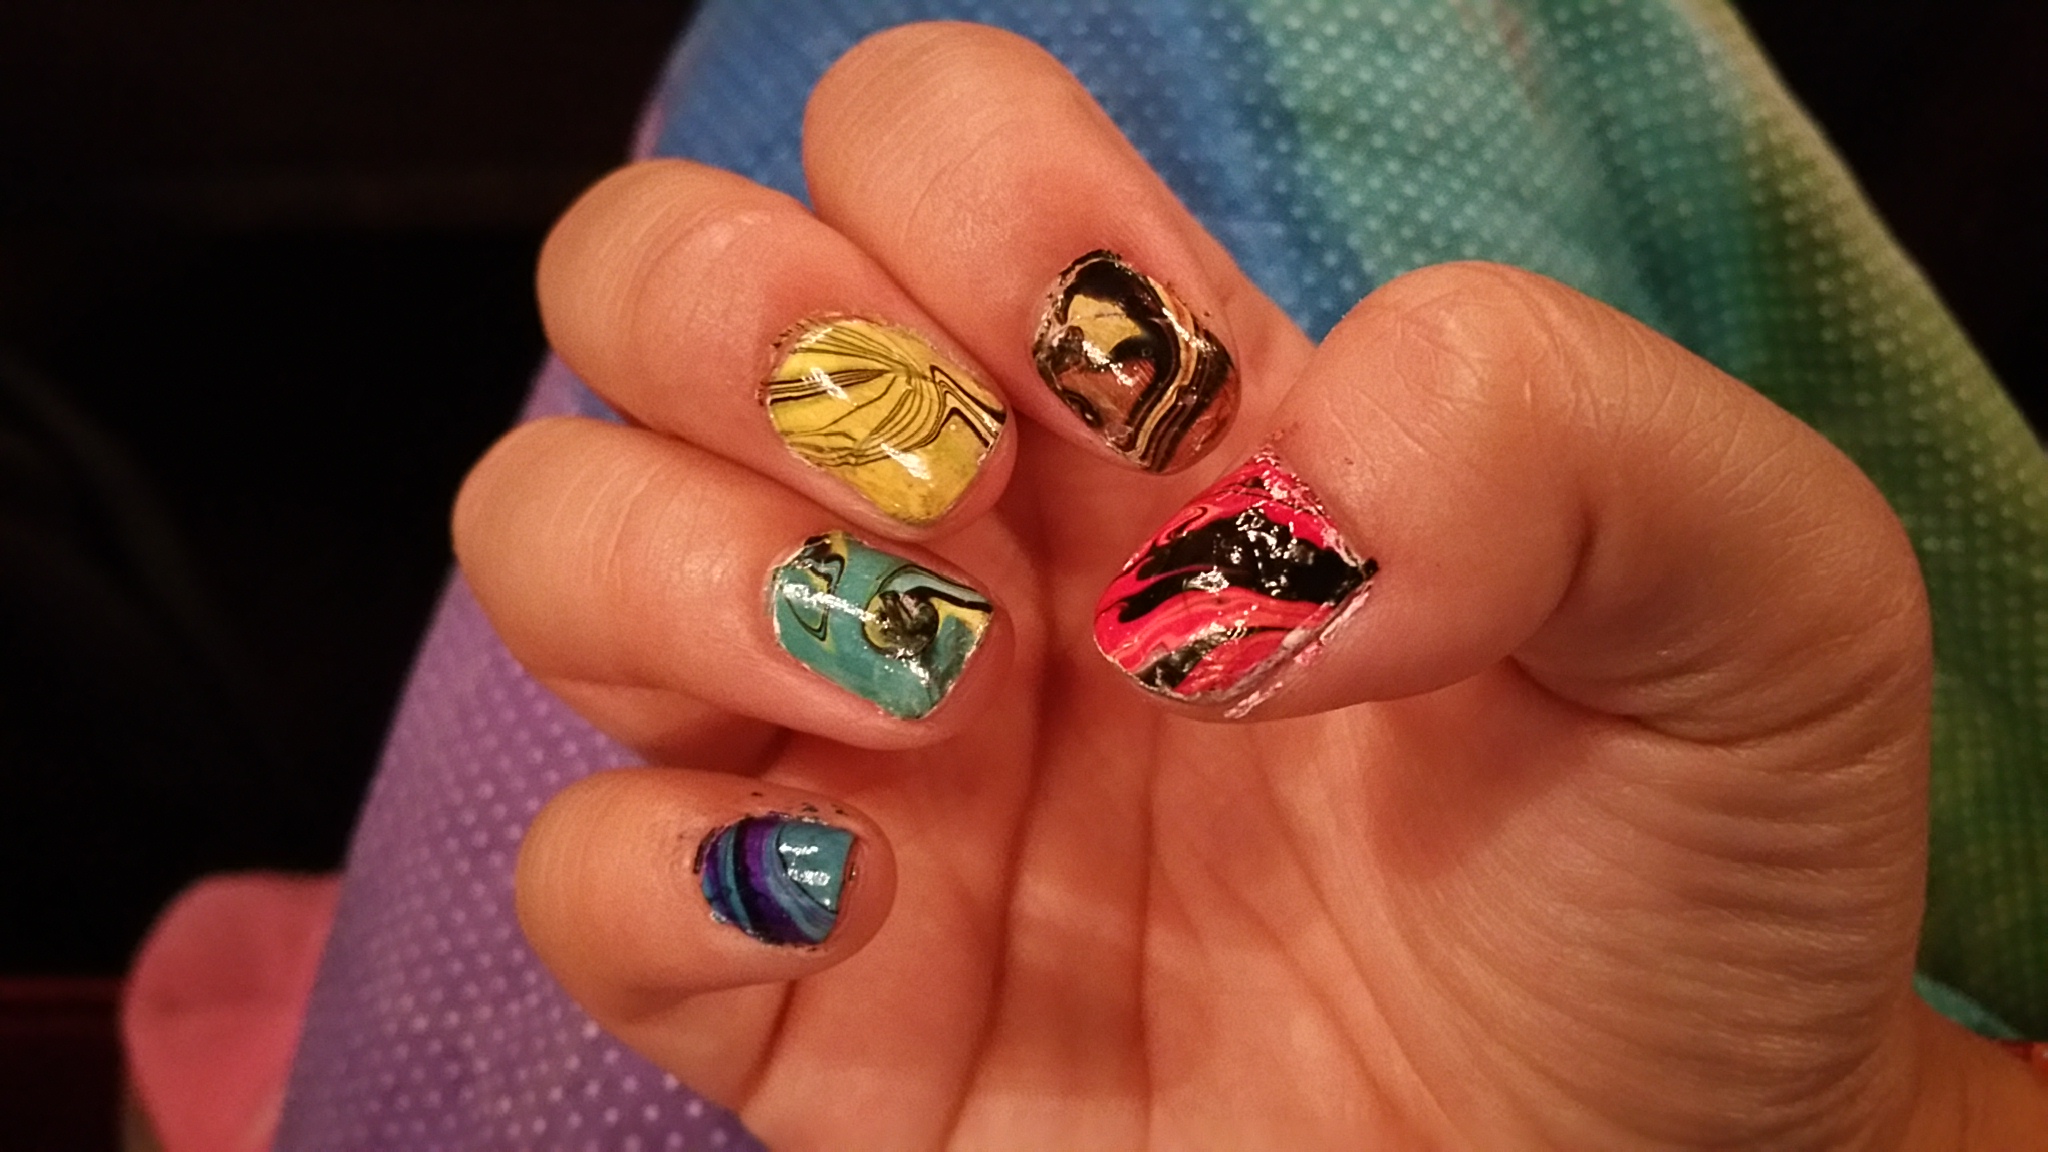
My theme for Open Hardware Summit 2015 was rainbow — hair, nails, and dress.
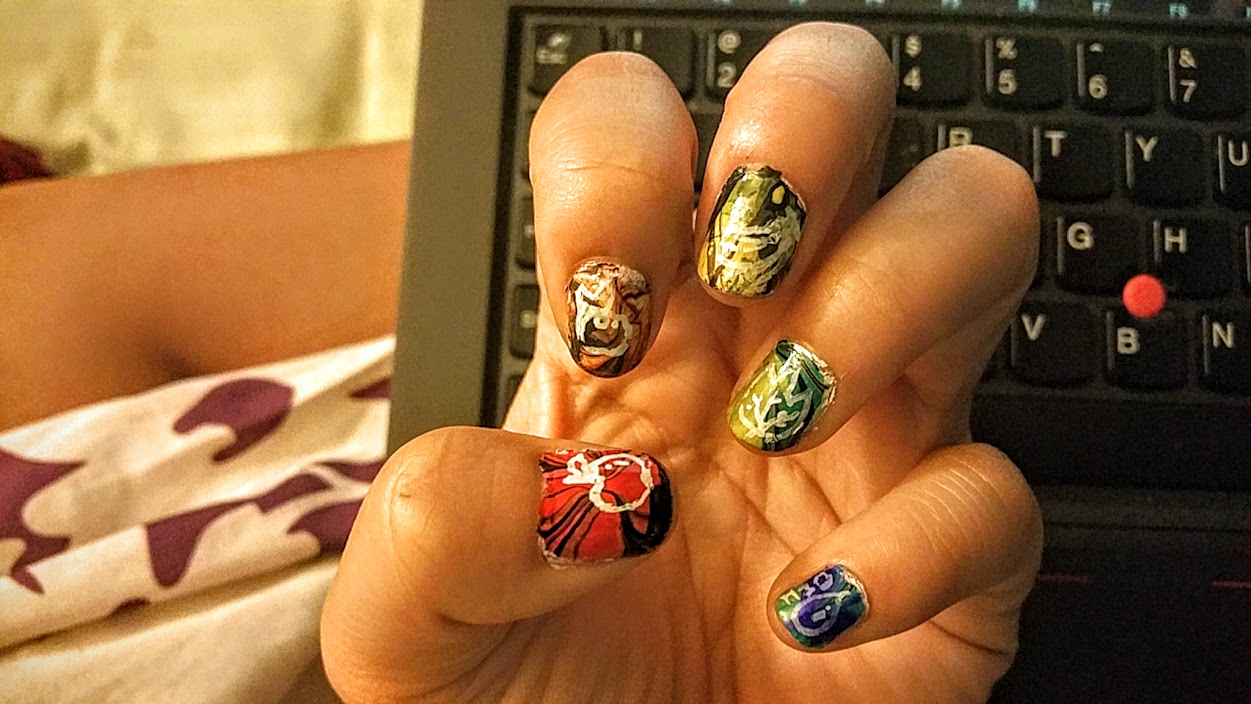
I also tried drawing with the white nail marker (on my right hand, pictured below) — here are some “color associations”, like apple for red. However, I think overall that added too much busyness to the nails, so I didn’t do it on my left hand (above).
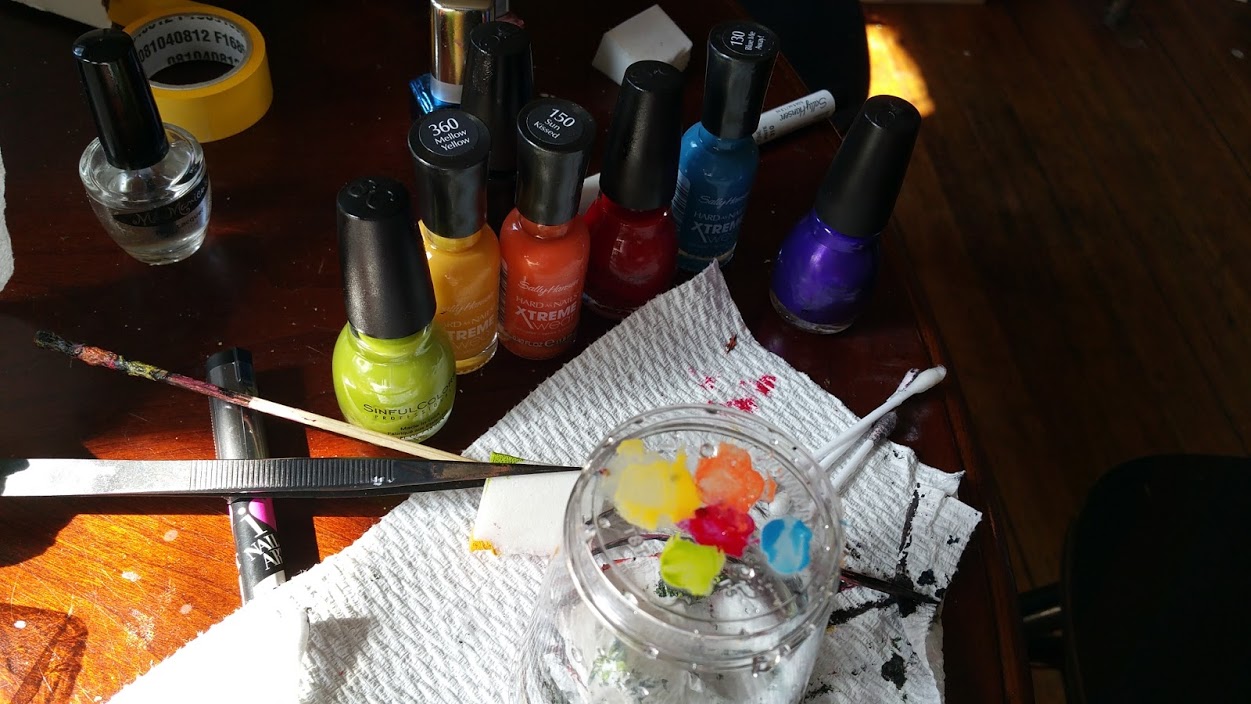
For the process, I used $22 of nail polish from Target. The Sally Hansen “Hard as Nails Xtreme Wear” kind worked well ($2.9), as did Sinful Colors ($2.3 per bottle). I got all the colors of the rainbow plus black.

The procedure involved
- clean off prior nail polish with acetone and cotton swab
- paint nails white
- fill disposable cup with water to a level that I could easily dip even my thumb or pinky nail into
- unscrew all the caps, apply Vaseline around fingers from the tip up to the middle joint
- drop in 7 or 8 drops of nail polish color concentrically (so at the center of the previous drop). After the first few drops, where the color of the nails polish diffuses a lot, the colors will become more solid
- Blow on it to dry the nail polish a little until it’s tacky, then take a skewer or toothpick and streak the design a little
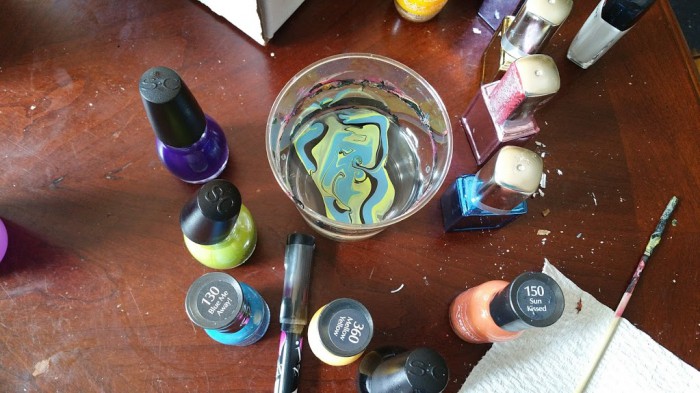
- Pick an area I like and dip my nail into the polish, keep the nail down and swirl around until I get a clear patch big enough to bring my nail out. Avoid the walls of the cup or you’ll get a big white spot!
- Using paper towel and qtip, swap off nail polish on finger. This should come off easily if you applied vaseline. If not, it should wash off after acetone or in a day with normal water if you’re lazy
- Voila! Water marbled nails!

I also dabbed rainbows of colors onto my toenails (painted them white first) using part of a makeup sponge and tweezers.

p.s. If you haven’t seen it yet, this is highly recommended. It’s a similar technique, but in academia it’s now called “hydrographic printing” 🙂