
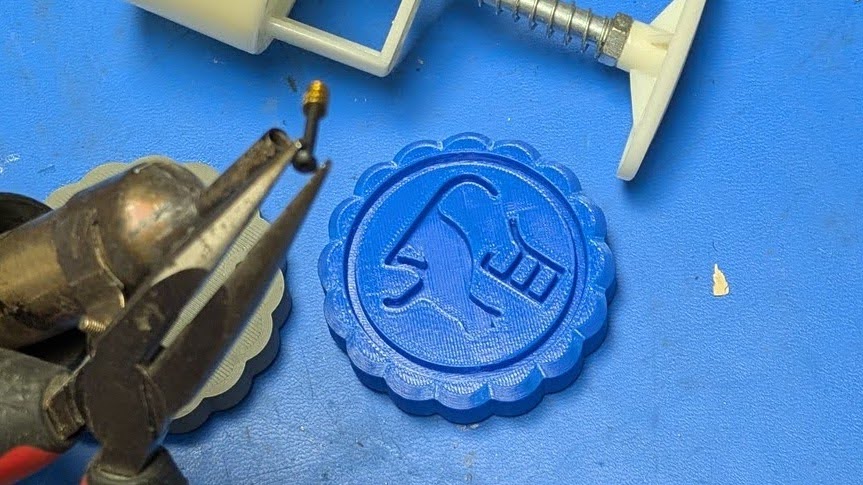
There are these mooncake molds you can get for $10-$15 online. They have swappable design plates. I finally got around to making a custom mooncake mold faceplate. I’m not super happy about the design (it just is a moon cat), but as a proof-of-concept happy I finally finished it.
Have not tested it yet by actually baking mooncake — this is important to make sure that the depth and draft angle are correct such that the design is sharp on the baked good and also releases cleanly.
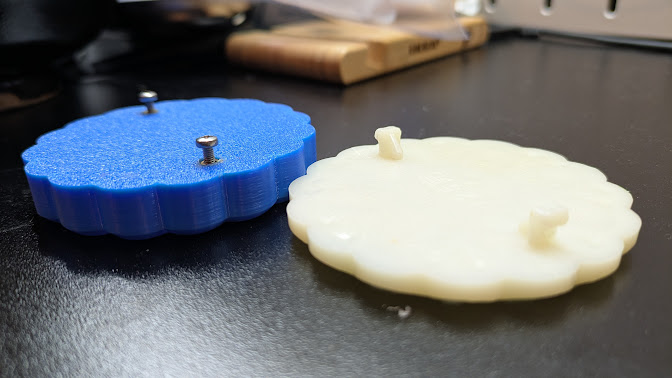
In the meantime, this is what the front and back look like.
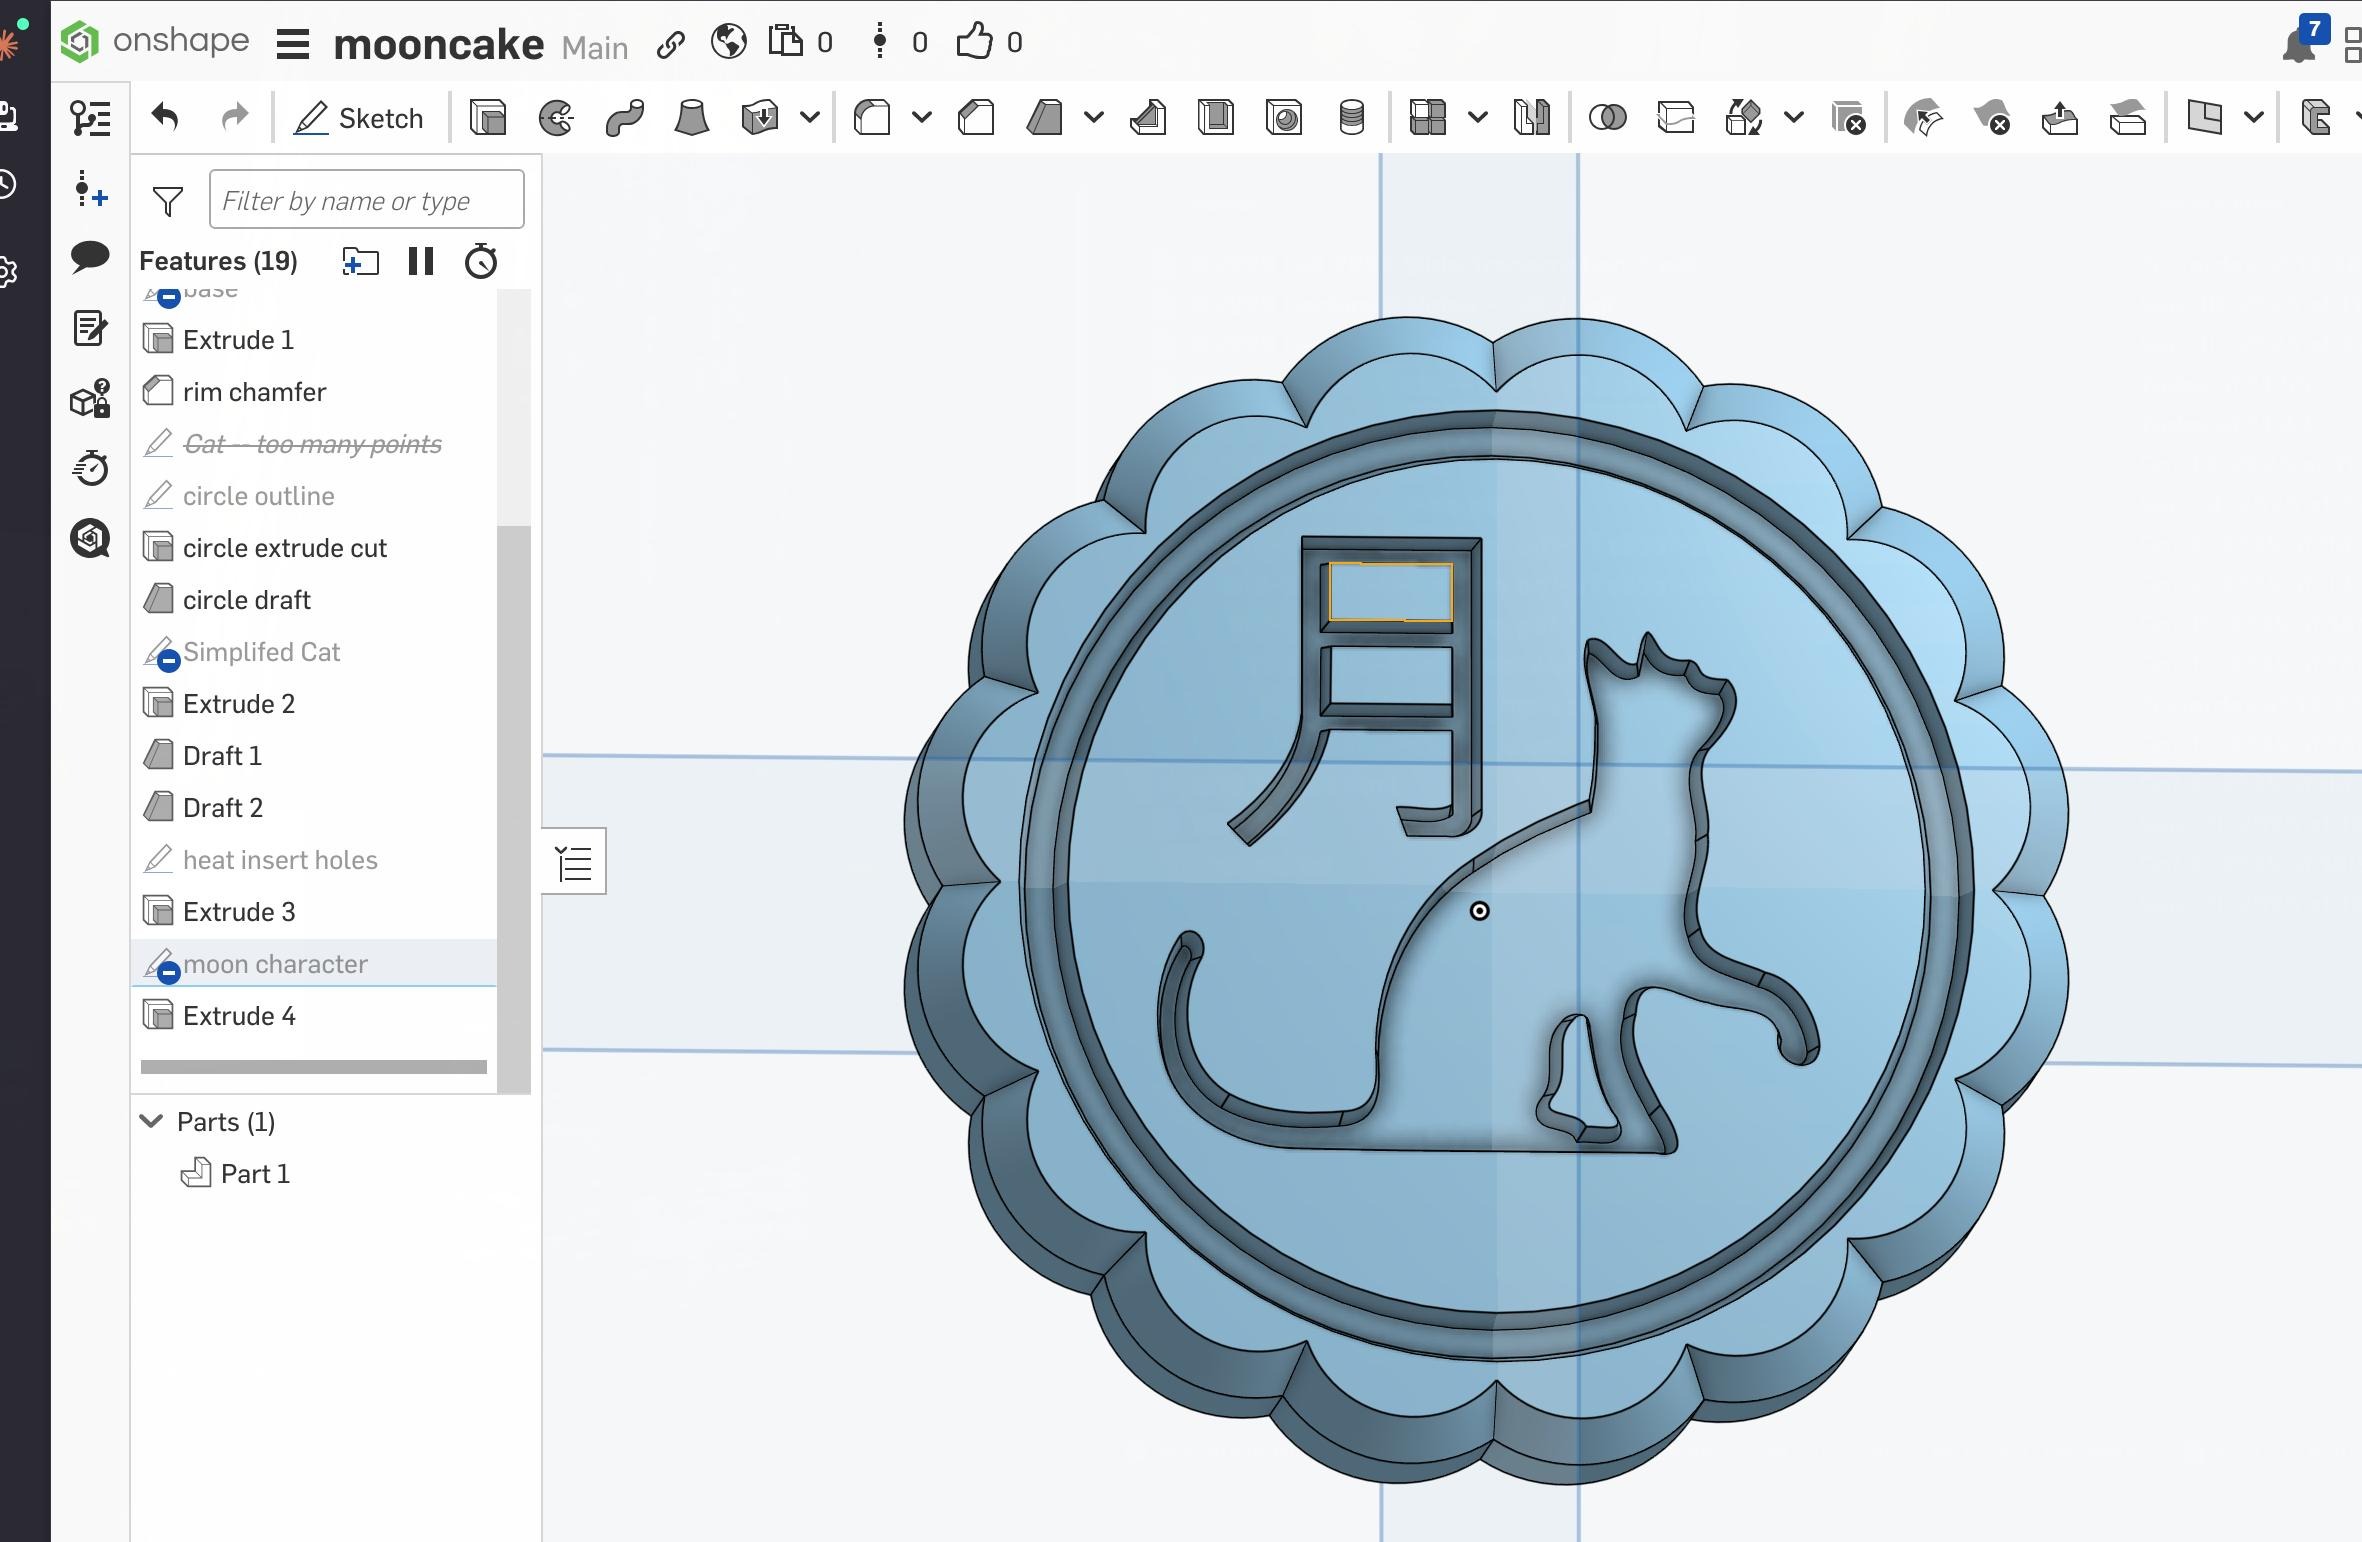
CAD
The workflow is to roughly SVG -> inkscape save as dxf -> import into onshape -> extrude cut.
- Make or get an SVG online (or use PNG and trace bitmap in inkscape)
- Open it up in inkscape, then use Ctrl-L to simplify the path (so that when we include a draft later to make the mold release more cleanly, we have fewer faces to select).
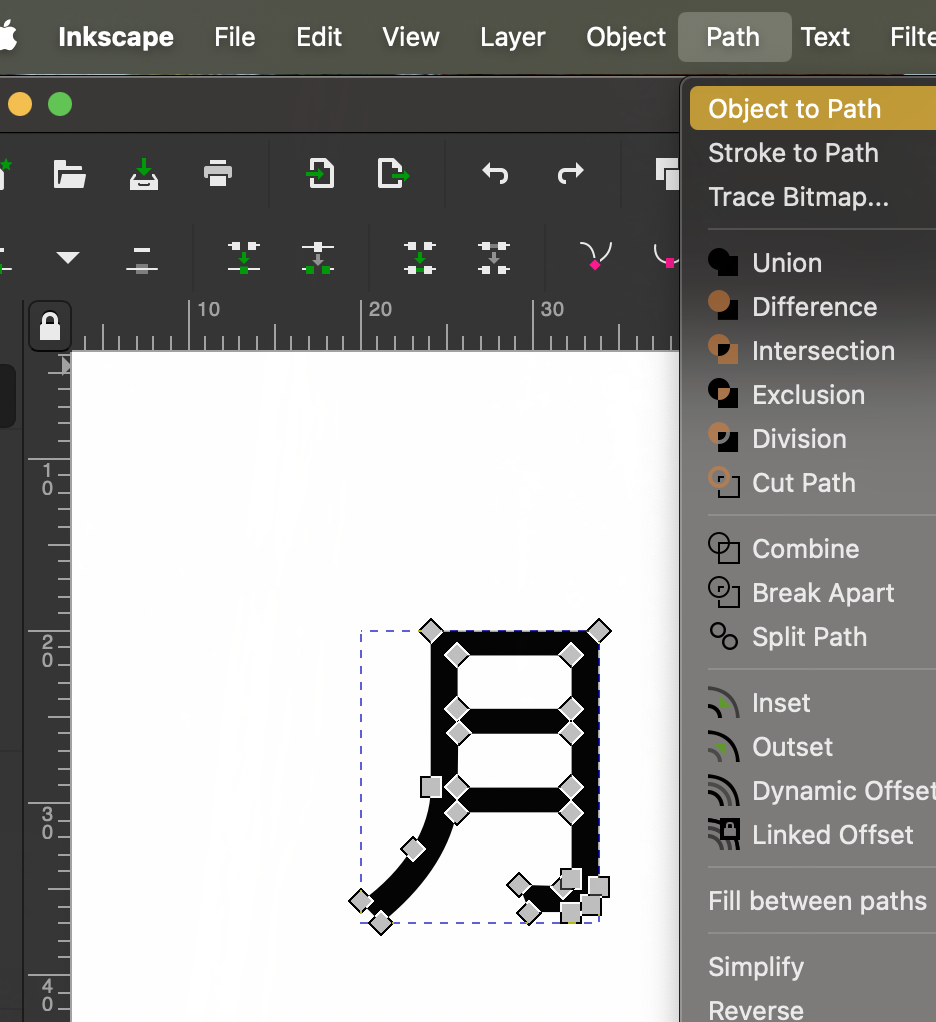
- Alternatively, if you want text to a path, write the text in inkscape, then select “object to path”. Then you can simplify that.
- Save as AutoCAD DXF.
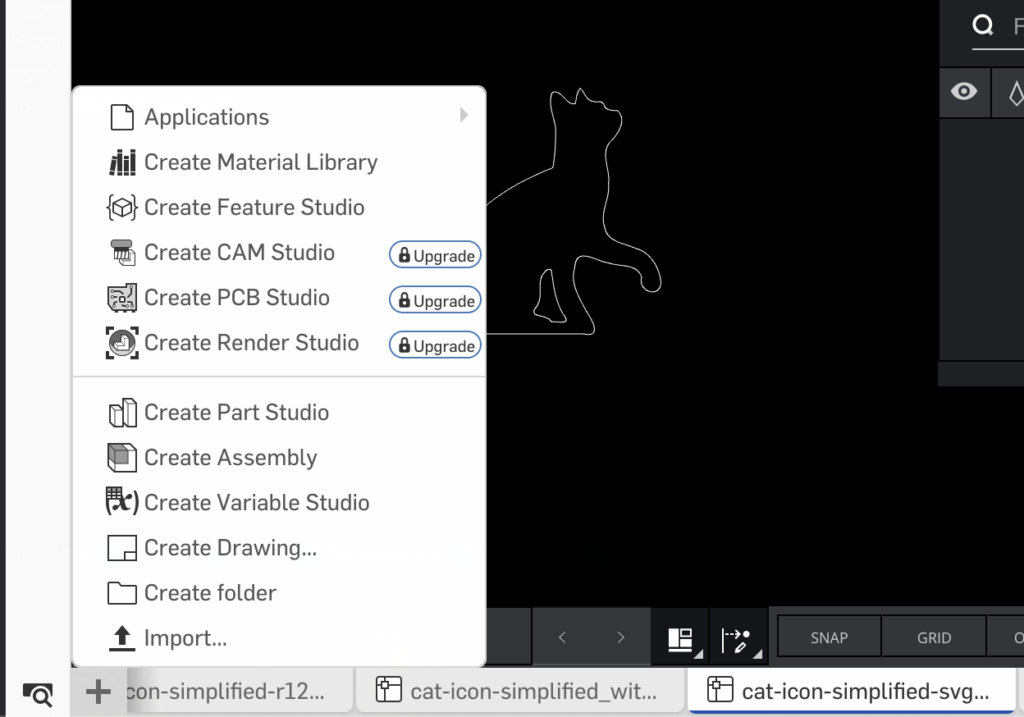
- In Onshape, import the DXF: At the bottom, use the “+” to import an STL. This pops up the file as a 2D-CAD tab inside onshape.
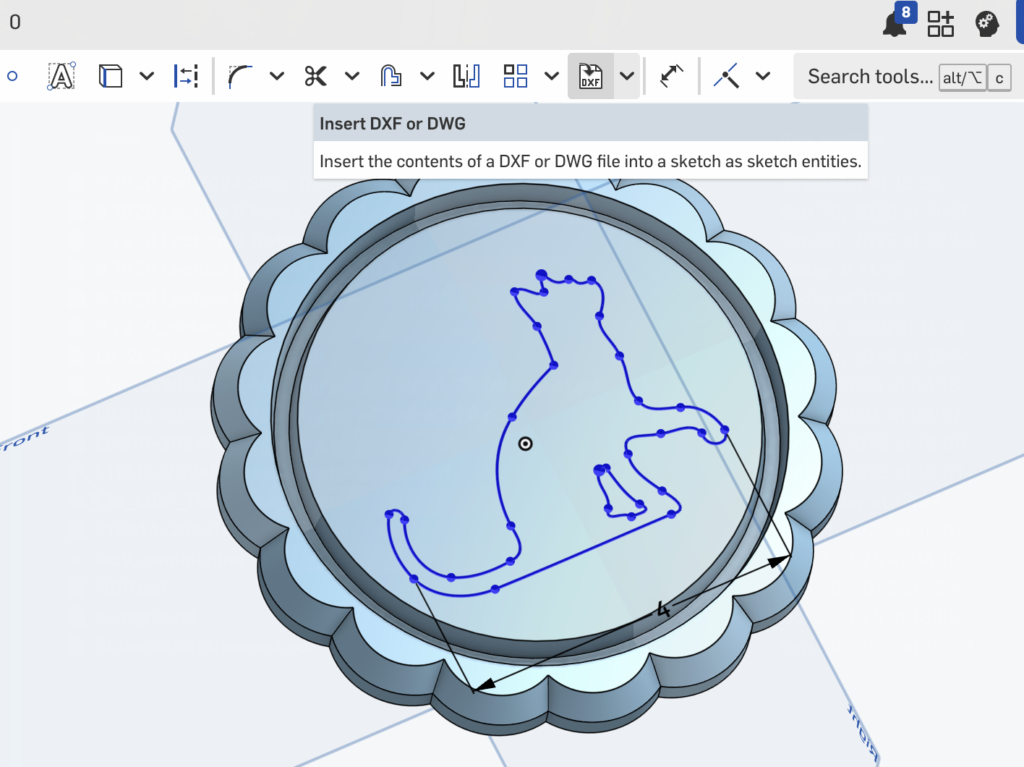
- Go back to the original part. Create a new sketch, then at the top there is a file icon that says “DXF” and select the dxf we just imported from the dropdown.
- Use the transform tool to scale the outline
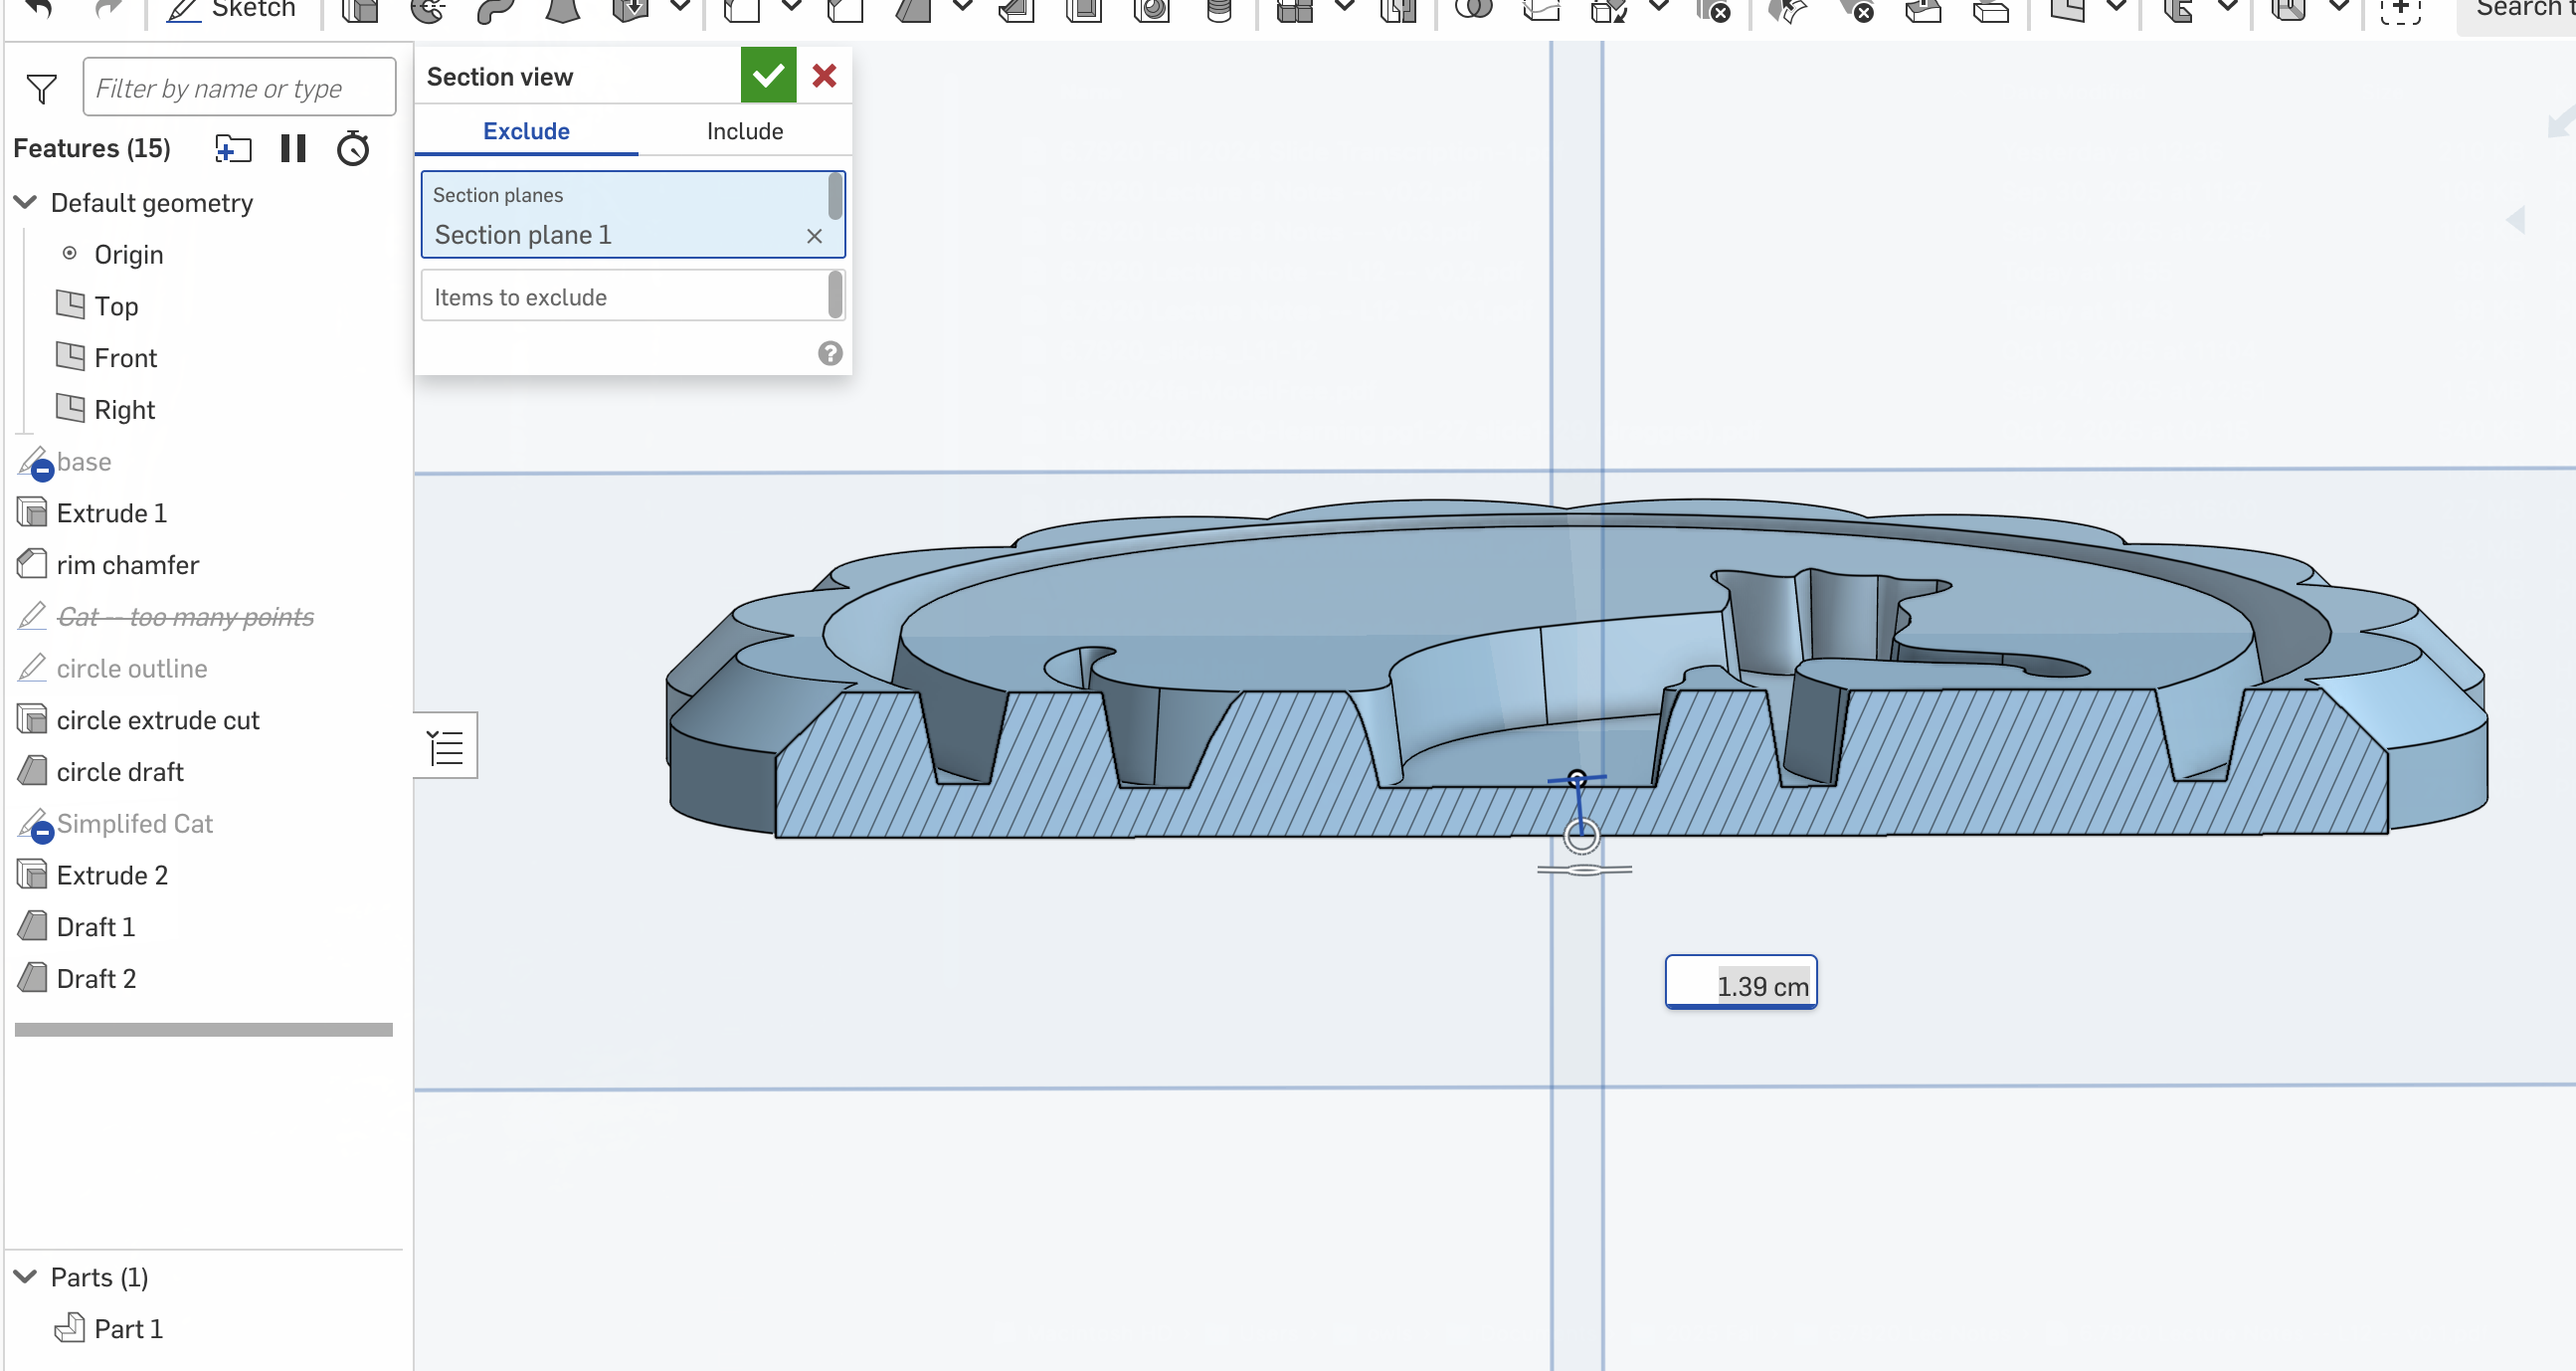
- Extrude-cut
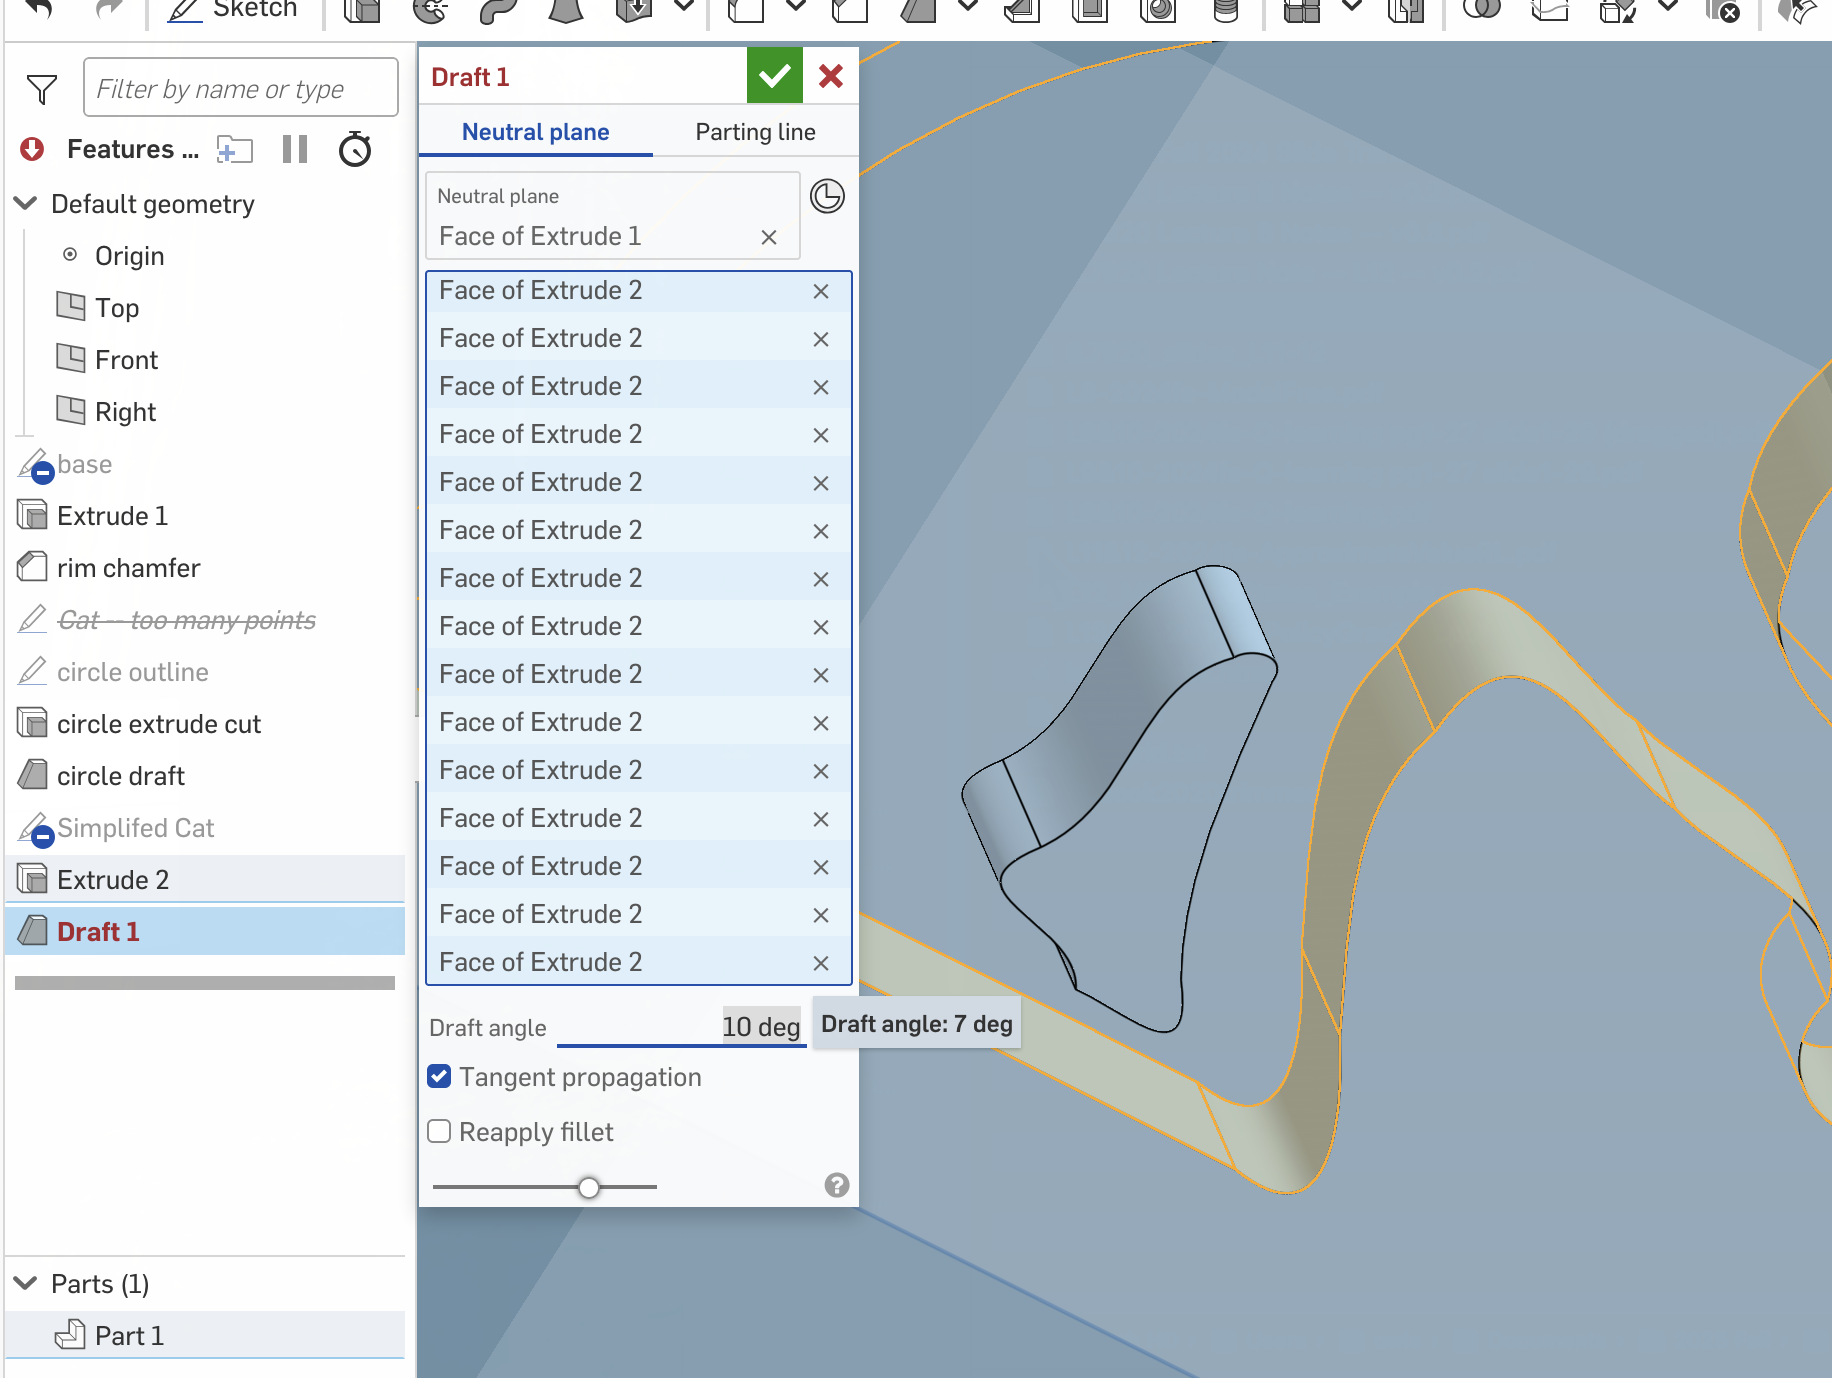
- Add some appropriate looking amount of draft (slope to the sides so the cake comes out more easily). This requires likely selecting all the faces by hand. If there’s errors, try decreasing the draft angle.
- Add holes for heat-set inserts that we use as the connectors to the mold press.
Some pictures of selected steps as follows.
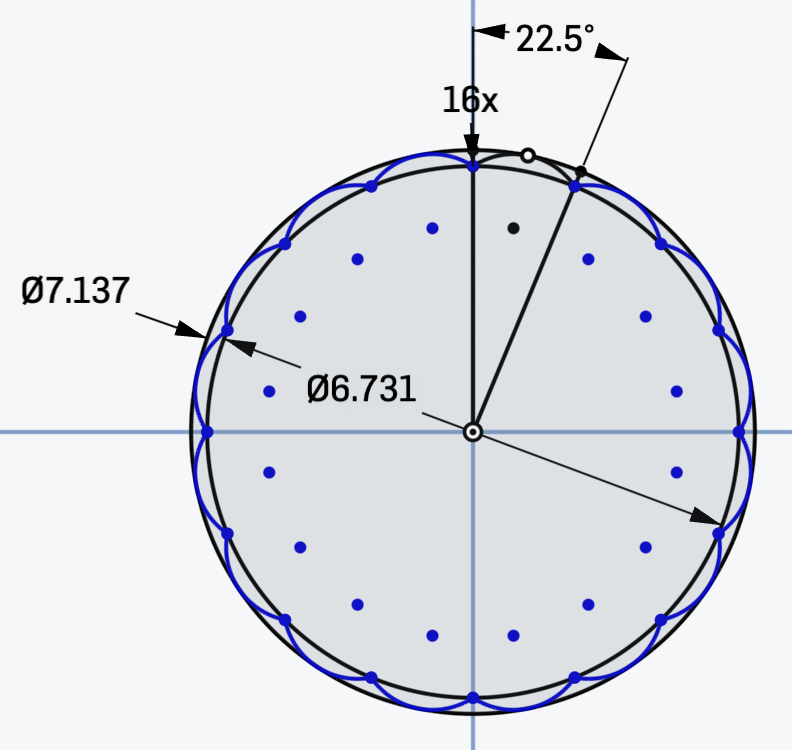
Dimensions
- Heat set inserts: 5.123 cm apart
- Outer diameter: 7.137cm; inner diameter (at bottom of arcs): 6.731cm; Circles: 16x of them, so 22.5deg apart.
- Height of plate: 1.27 cm (much thicker than original plate — this is to accomodate the heat set inserts)
- Depth of cut: 0.377cm down (matching original. Deeper = harder to release)
Dane helped me print this in ~30 mins or so using some nice printer set up (fancy fast flow nozzles etc).
After Printing:
The main other trick is to use heat-set inserts and bolts to take the place of the mold retaining features. Matching the original design would require printing the mold upside down (Design facing down) as otherwise it’d be a big block floating over two small pegs. But this means the cake surface would likely be quite messy since the design is a big overhang at that point. The solution is to use bolts instead.
(Make holes a mm or two less than the diameter of the heat set insert.)
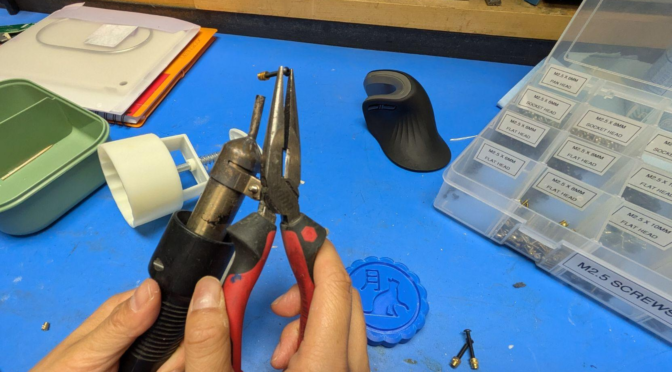
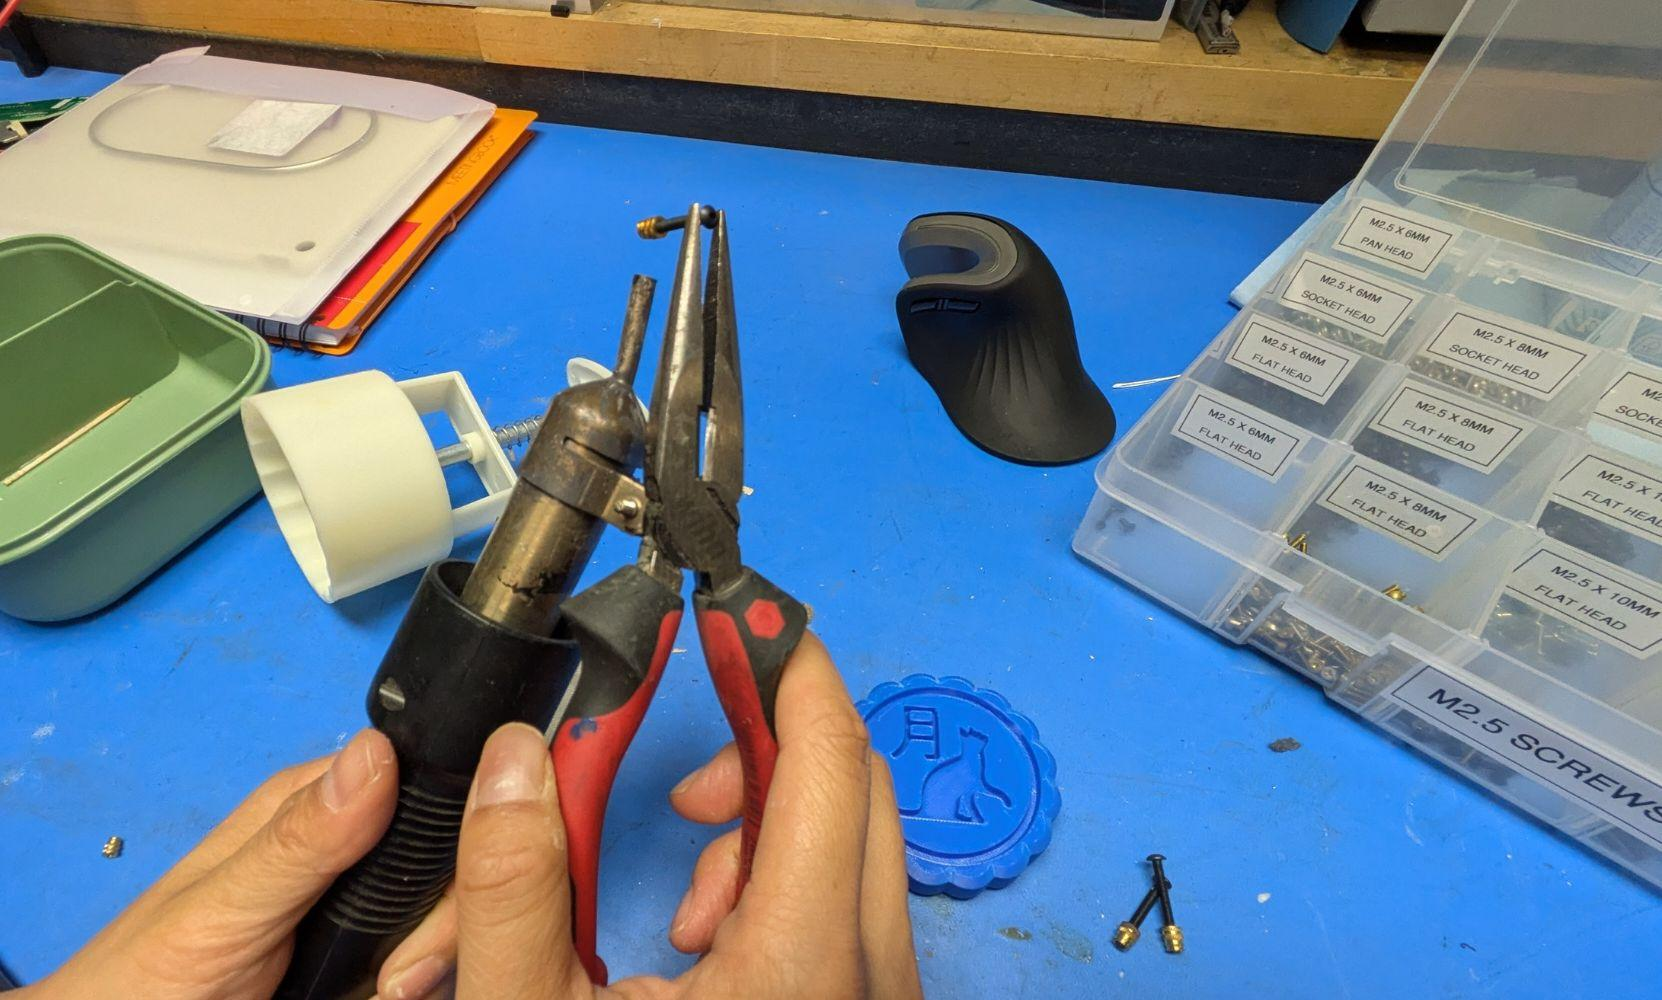
Dane showed me this method of using a heat gun to heat up the whole insert — with a bolt acting as a handle for pliers to hold the insert — and this way when you push it in no plastic ends up inside. Less likely to mess up soldering iron tip with plastic gunk, but also harder to control how straight it goes in because you’re handling the insert from the side instead of pushing down (and takes a bit more patience waiting for the heat to transfer). It looks like this:
The test
After testing that the spacing is correct (it’s not great but I think I may have put the inserts in slightly crooked) I used loctite to keep the bolts in a stable position.
Side Note on the imported DXF (things I tried and do not recommend): All the points will actually not be connected (it’s a bunch of individual lines). You can connect them if desired, by drag-selecting each pair and clicking “coincident” — but doing so didn’t actually let me run a fillet or draft along the entire (cat) outline at once. In the end I gave up and just selected all the faces by hand.