Hi Internet!
I’ve neglected this blog for a while, due to uncertainty in my life that has somewhat resolved itself for now, and just generally feeling withdrawn from life. It’s been a rough and long year… perhaps two years now; but particularly the last year.
I’m hoping to blog much more frequently now, at least once a week, and start chewing through my backlog of blog posts.
===
I’ll start out with a light-hearted and easy blog post today: How to make Earl Grey cheesecake.
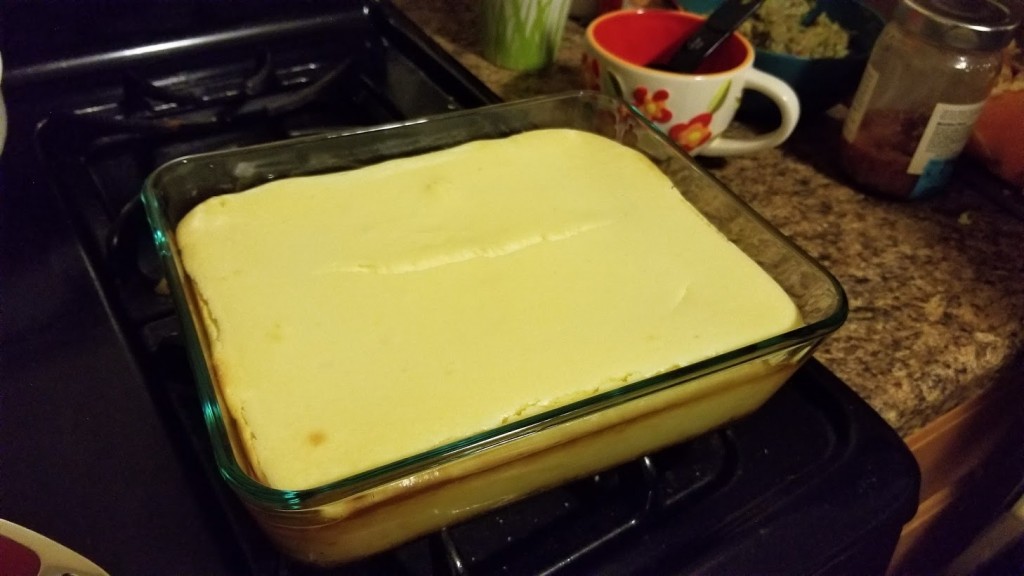
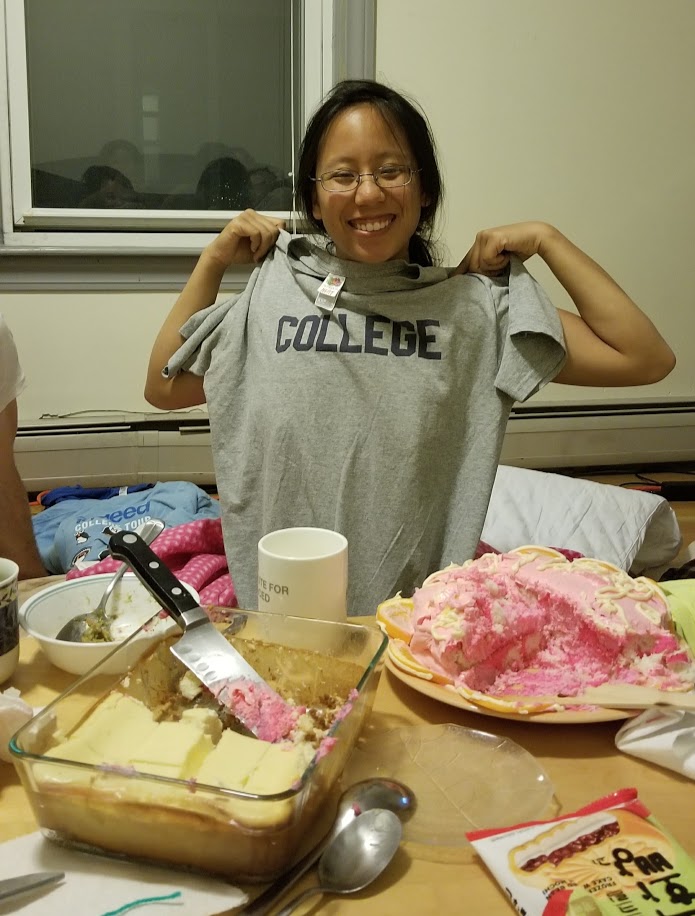
My friends and I made this cheesecake this past Saturday. It turned out very well, and I’ll cover the recipe below. In addition, I’ll go into the mistakes I made on my previous (first) attempt.
1. Take existing baked cheesecake recipe
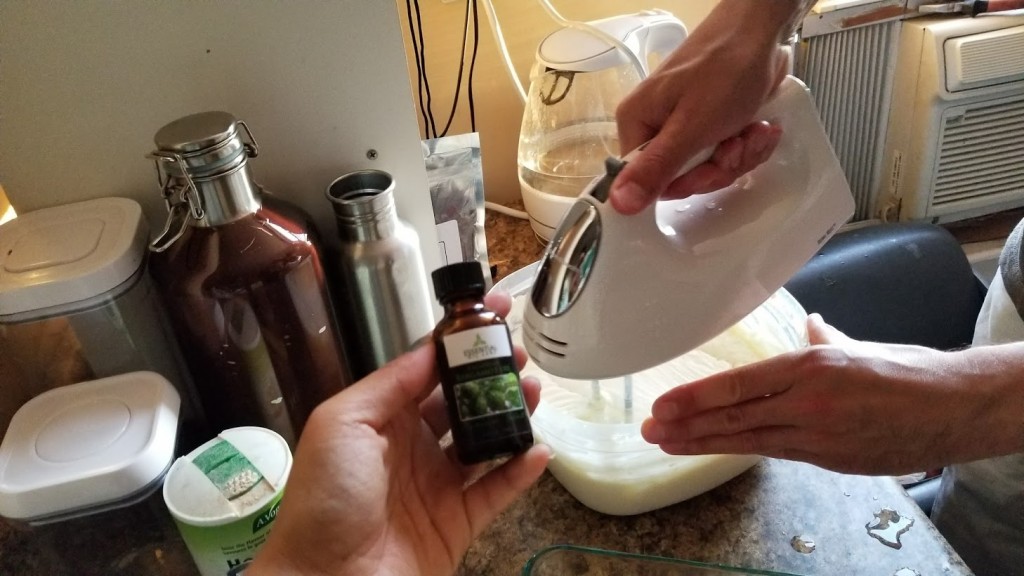
2. Add some bergamot essential oil to the mixture right before pouring into the pan
3. Voila! Earl Grey cheesecake.
Super simple!
Specifically, we took the recipe here:
https://www.yummly.co/recipe/Philadelphia-Classic-Cheesecake-1176281
and added 3/4 of a tablespoon of bergamot essential oil extract. I bought a 1 fl. oz. bottle off of Amazon for $10.
===
The recipe:
- 1 1/2 cups graham cracker crumbs
- 2 tablespoons sugar
- 1/3 cups butter (or margarine, melted)
- 4 packages Philadelphia Cream Cheese (8 oz. each, softened)
- 1 cup sugar
- 1 teaspoon vanilla
- 3/4 teaspoon bergamot essential oil
- 4 eggs
- Heat oven to 325°F.
- Mix graham crumbs, 3 Tbsp. sugar and butter; press onto bottom of 9-inch springform pan.
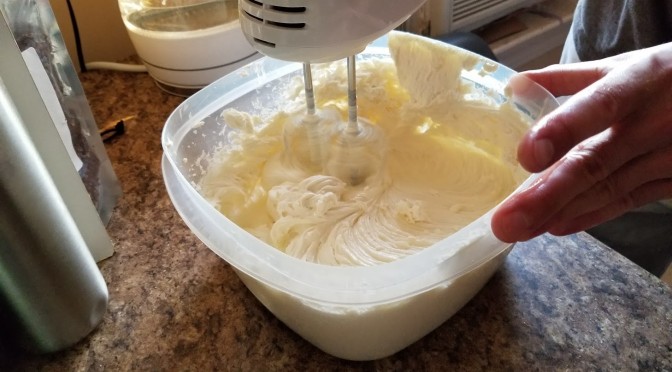
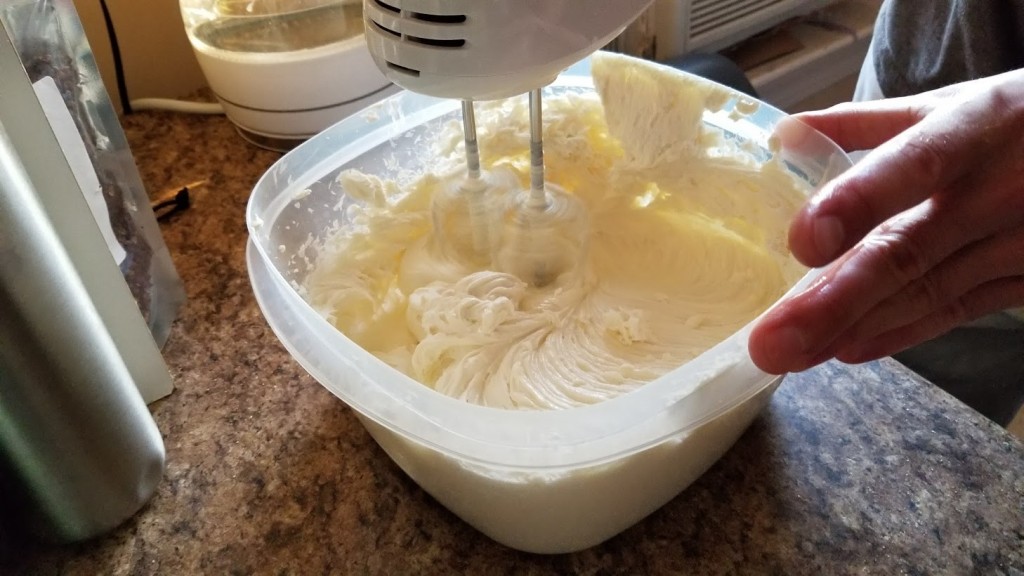
- Beat cream cheese, 1 cup sugar, bergamot essential oil, and vanilla with mixer until blended. Add eggs, 1 at a time, mixing on low speed after each just until blended. Pour over crust.
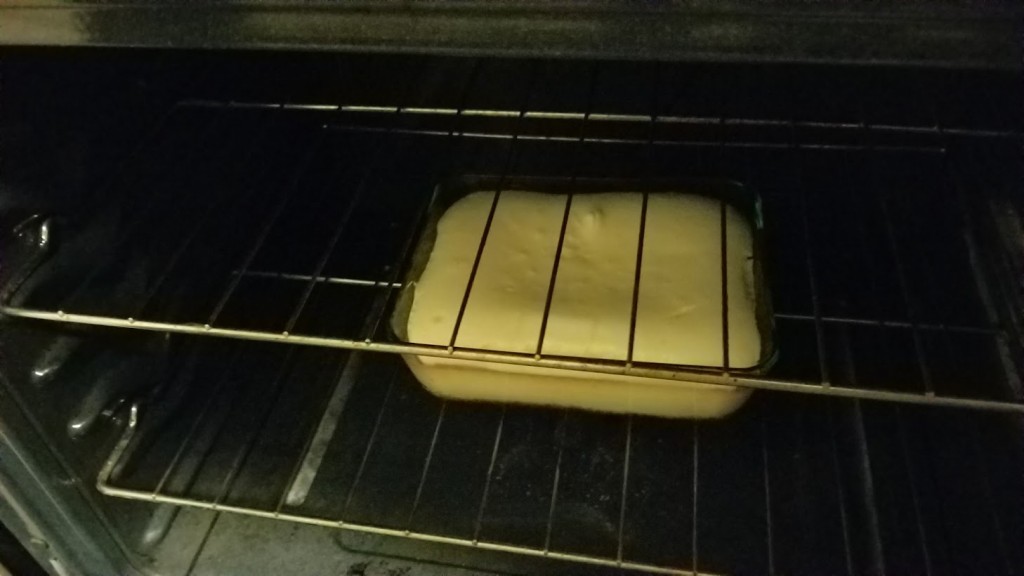
- Bake 55 min. or until center is almost set. Loosen cake from rim of pan; cool before removing rim. Refrigerate 4 hours.
===
A few notes:
We used a pack of graham crackers, which we then crushed into crumbs.
We used 2/3 the recommended amount of sugar in the recipe.
We didn’t use a springform pan. A medium glass pan worked perfectly fine.
I think we definitely baked it for longer than 55 minutes by accident, but the cheesecake turned out fine.
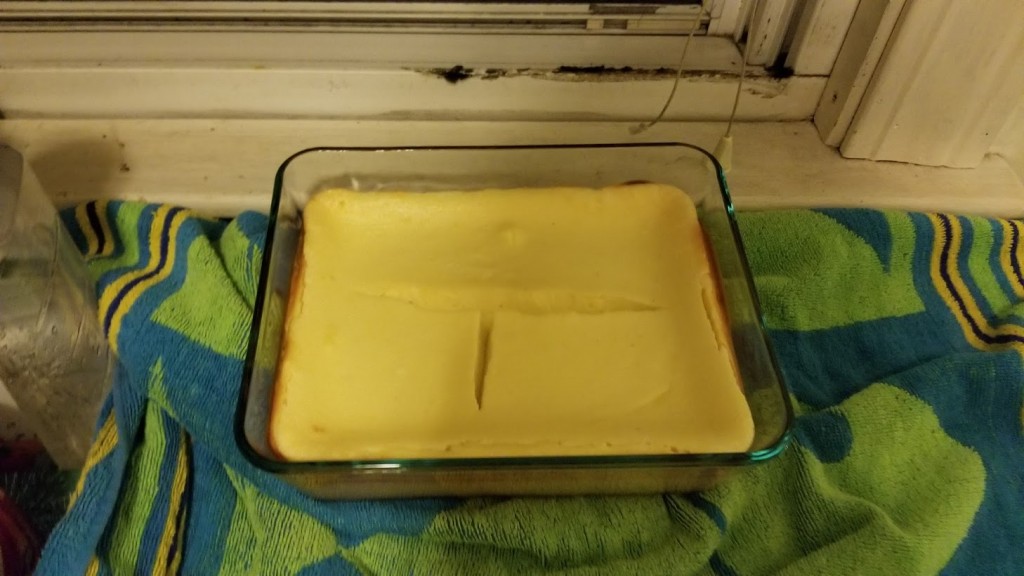
In terms of cooling: I let it cool in the oven for 30 minutes, then sat it next to my window with a fan over it for an hour, and finally set it in the freezer for 30 minutes. The cheesecake had a giant crack or two in it, but no one cared.
I tasted it when it was still warm, while it was sitting next to the window. We were pretty concerned about the texture — it was a little more tofu than creamy. Once we cooled it in the freezer until it was mostly cool to the touch, the texture improved a lot, into perfect cheesecake consistency.
Otherwise, the speedy cooling (faster than the recommended 4 to 6 hrs in the fridge, as recommended in the recipe) did not affect the taste or texture at all.
The recipe was on the lighter side in terms of heaviness or denseness (for instance, an Asian fruit cake is much lighter than a Western cake, both with frosting). Definitely lighter than a New York Cheesecake.
And, having an electric mixer was definitely worth the $22 I paid for it at Target.
===
Changes for next time:
The Earl Grey flavor came out VERY intense. We used “a bit less than the amount of vanilla extract used.” In retrospect, it was vanilla extract while the bergamot was a more concentrated essential oil. Next time, I might use half a teaspoon instead of 3/4 tsp.
I’d also feel comfortable being even more impatient with the cooling.
============
There was some concern about whether using essential oil was appropriate for food. After some duckduckgo’ing, I decided that it would be fine. Specifically, in some cases XYZ extract is simply the XYZ essential oil diluted with alcohol. Additionally, what differentiates Earl Grey tea from normal black tea is that there is bergamot essential oil added to the leaves.
=== Failed first attempt ===
My first attempt was pretty disastrous.
1) I didn’t realize I could just blend in the tea leaves at the end. I steeped tea leaves in near-boiling heavy cream, but only for 10 or 15 minutes.
2) I thought the heavy cream had to be whisked into whipped cream (stiff tips).
3) Turns out you cannot whip cream at all if it is not completely cooled. We tried to whip the heavy cream for 3 hours to little result…
About 1.5 hours in, I watched https://www.youtube.com/watch?v=zglSRFlFH-s where they said that “If you whisk in a circle, it takes 8 minutes, but if you whisk in a straight line, applying sheer force which is what you want for whipped cream, it only takes 4 minutes”.
That was when I gave up and stuck the mixture in the fridge.
After it cooled for a bit, another 45 minutes of whisking got it to actually whip into stiff peaks!
4) But actually all I had needed to do was blend the heavy cream into the rest of the mixture. No whisking at all was required…
5) Additionally, apparently I could have just opened the tea bags and put in the mixture. I haven’t tried this, but I’m not certain this would have given nearly enough of an earl grey flavor to the cheesecake to be noticeable though, and I’m not certain I’m a fan of the speckled cheesecake.
=== Misc. References ===
These other recipes used two different ways of adding the earl grey flavor to the cheesecake.
http://www.southbeachprimal.com/lavender-earl-grey-cheesecake/ (no cheese)
“Add the yogurt and granulated honey. Beat until smooth and the granules are dissolved. Next add the tea, vanilla, and lavender. Beat until completely smooth”
http://www.glutenfreeveganpantry.com/earl-grey-lemon-cheesecake-vegan-gluten-free-raw/ (vegan, so no cheese)
“Add your tea leaves to the remainder of the batter and blend on high for another minute. This will allow the delicious flavour and aroma of the Earl Grey tea to fully penetrate your batter”
http://www.teatimemagazine.com/earl-grey-and-lavender-infused-cheesecakes-recipe/ ” In a small saucepan, bring cream to a boil over medium-high heat. Remove from heat. Add tea leaves and lavender to saucepan. Cover, and steep for 5 minutes. Strain, discarding tea and lavender. Let cream cool for 1 hour.”
=== Other thoughts ===
Man, this wordpress blog is really getting annoying. It doesn’t handle images well, nor code commenting. Sadly I don’t think I’ll be able to invest the time in overhauling the site anytime soon… I’m thinking about moving to Jekyll, which now that I’m more familiar with it, I like a lot. I’m skeptical mostly of not having drag-and-drop image and media support, where I don’t have to worry about the file structure behind the images, nor typing the filename correctly. Hopefully a plugin such as Jekyll Admin would solve these issues.
I still need to find a better way to create a portfolio as well, which would take higher priority, since if I have a good system, I can document projects on the go which is MUCH easier than trying to document after the fact.
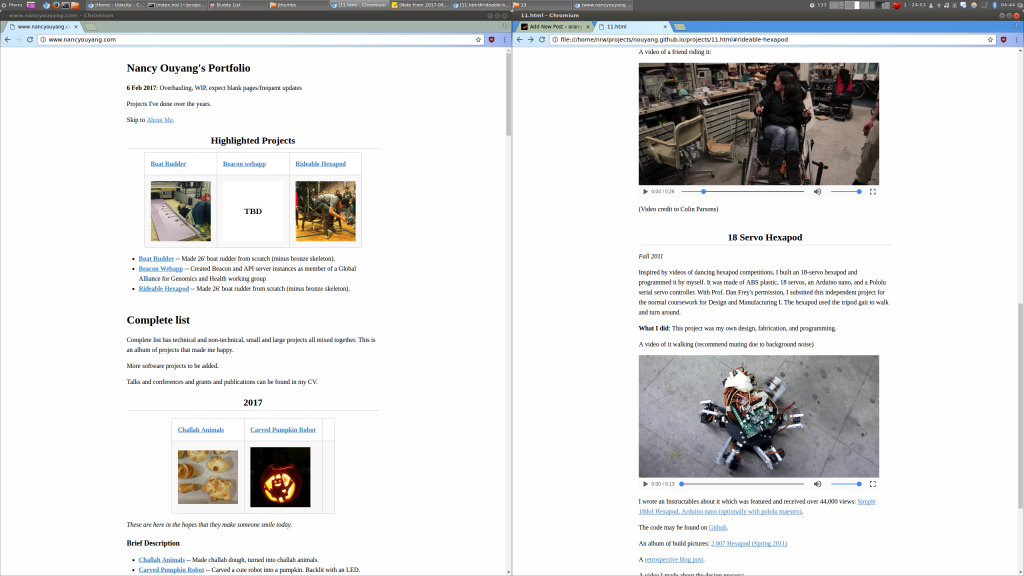
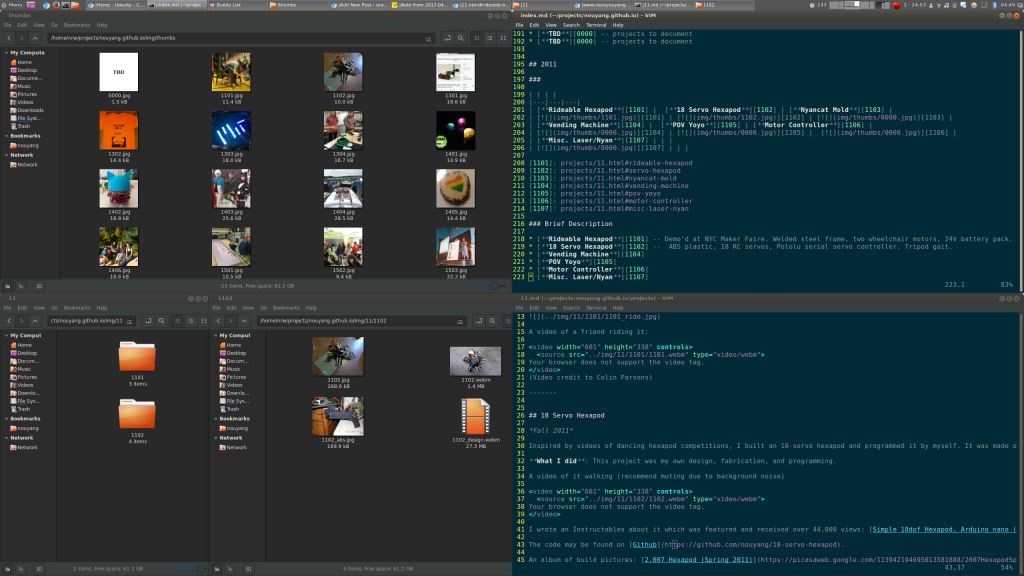
My current process involves using pandoc to convert markdown to HTML, and hosting on github.io (see nancyouyang.com). But it’s been half a year and I’ve still only documented a handful of my projects in the new system, because the image management is SUCH. A. PAIN.
On the other hand, my portfolio site does not show up in the google search results for my name at all! So I should figure out how to fix that, and wordpress probably does a better job at that than Jekyll.
===
I’m also starting to really get annoyed at youtube. It’s clogged with so many ads now. I’m really starting to appreciate Vimeo, which also doesn’t have the potentially embarrassing or at least un-professional “related videos” pop up at the end of a video, embedded or not.
I think I will follow Dane Kouttron (transistor-man)’s example and switch over to Vimeo. It doesn’t have ads nor obnoxious “related videos” (except on the sidebar). The first paid tier is also only $7 a month, which seems quite reasonable.
===
… Although I ran the numbers on my grad school salary. I made some decisions on my housing situation which mean that I can expect to be able to put at most $400 a month into savings.
Per month:
$2.3k stipend after taxes, then subtract $1.3k ($1k for dorm housing, $300 on mandatory dining plan for 5 meals a week). I have about $1k a month leftover.
Based on the last 4 or 5 months, I will spend about $500 a month on groceries and other expenses (eating out a few times, donations to Planned Parenthood and NARAL, robot and sailboat supplies, gym membership, etc.).
Presumably some large one-time expenses will come up, such as plane tickets. So… We’re left with $400 a month in savings. Meep.
My housing choices are really the killer here. My housing used to cost $750 a month in Union Square ($650 + $100 in utilities).
Currently for a small room in the middle of Central Square, costs around $900 ($750 + $150 utilities).
My shiny Harvard housing, which for Reasons I could only get a large room in my preferred dorm ( that’s +$2.5k over the 9 months, or $277/mo extra), will cost me $1.3k a month. That’s a loss of $400 to $550 a month. In other words, my savings would be twice as much if I had chosen to live not in Harvard dorm housing.
Sigh. What the heck is with dining plans costing $15 a meal?! I really don’t understand how such an exorbitant cost is possible, and we aren’t even allowed to take leftovers home. Is it some weird monopoly situation?
===
Other food at my birthday party, as they were implemented:
Guacamole.
Take a few ripe avocados. Add some lemon juice, raw onion, minced garlic, tomatoes, and salt. I skipped the cilantro, since I didn’t want to have a giant bundle of cilantro leftover, as seems to happen with cilantro. My friend made it from memory, but this seems like a reasonable recipe.
Nachos.
Microwave potatoes, and chop them up. Chop up some lettuce too. Drain two cans of beans (black and garbanzo) — optionally, cook a bit on the stove to remove moisture. Take tortilla chips. Toast for ten minutes in the oven. Add a layer of cheese (grated cheddar or parmesan or something). Toast again. Add on a layer of beans, potatos, cheese, and lettuce. Repeat until desired amount of nachos achieved. Bake in oven for a while. Top with some cheese that just arrived via bike from TJ’s, toast again.
Serve with guacamole, sour cream, and mango lime salsa.
==
My three giant blankets and four pillows from reuse served as impromptu seating very well. As the kitchen filled up, it became difficult to work in, but then the nachos came out and we used it to draw everyone to the living room.
Cleaning everywhere and moving things to give as much open space as possible, and then forsaking groceries to make sure I was home in time to let everyone in at 5pm, was a great choice. Instead
We picked out the nachos and cheesecake recipe on the spot. Additionally, setting other people in charge of the nachos and cheesecake was a really good decision, since instead of running around frantically, I could talk to people. After emailing out and having someone bring a head of cabbage and chips, I had enough ingredients for people to get started on nachos. Then I left and spent 30 or 40 minutes biking to Trader Joes and Target for the ingredients for the cheesecake.
===
With thanks to Aleh and Nicole, who actually made the cheesecake; Donna, for making the guac; and Daniel, for making the nachos.

