okayyyy wow i don’t even remember when i last blogged, but some things that happened this semester:
passed my quals ! ! ! !!!!! !! !!!!!!
completed my theory class, wrote an agent-based modelling simulator for banking data
misc. new england travels
misc. roommate activities
a ton of end-of-year travel
misc. travel: cape cod, the new england aquarium
end of year travel: drove from boston down to GA and back (2000+ miles), saw the georgia aquarium (so cool!!!!), wandered around washington dc postal museum, then flew out and did a whole tour across the Yucatan area of Mexico to see Mayan ruins (and flamingos, and the seaside, where I got stung by jellyfish and ripped off a few times, but also lost more money losing things overall…) and visit the costco there (!). and finally spent a day or two with my cat and got the my home lasercutter running
looking forward to: maybe doing a side project? though I did take a solid 10 days off work essentially. and really getting going on my research projects (drop my expectations!), and starting a new chapter of my life post-graduation???
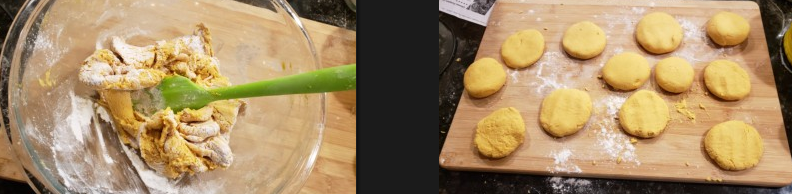
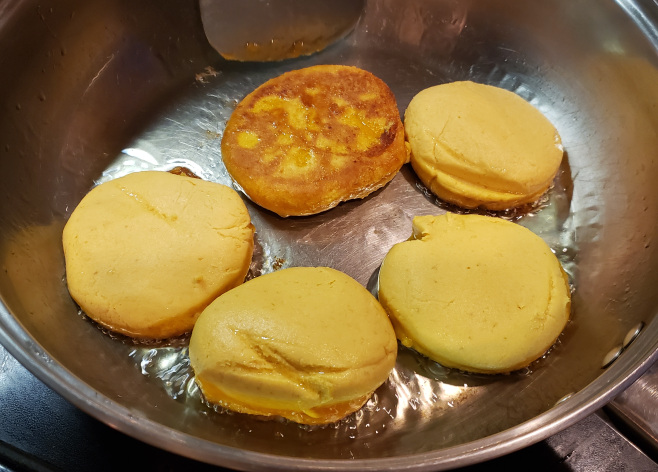
wow life is going to be so relaxing without teaching, classwork, and quals I hope. just internship and research. maybe i’ll have time to learn to cook, and can have my parents over for dinner instead of the other way around.
okay actually i should be trying to write most of a thesis in 62 days but yeaaaaa we’ll see !
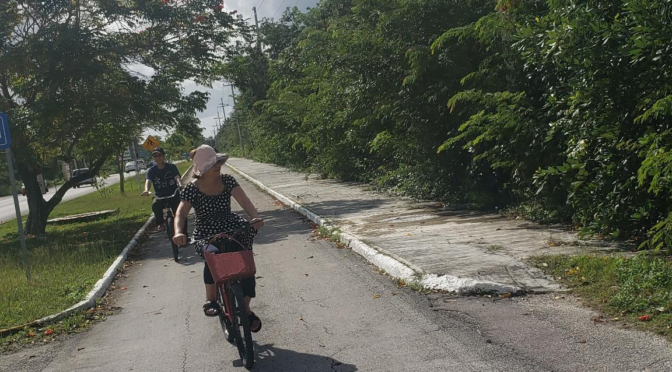
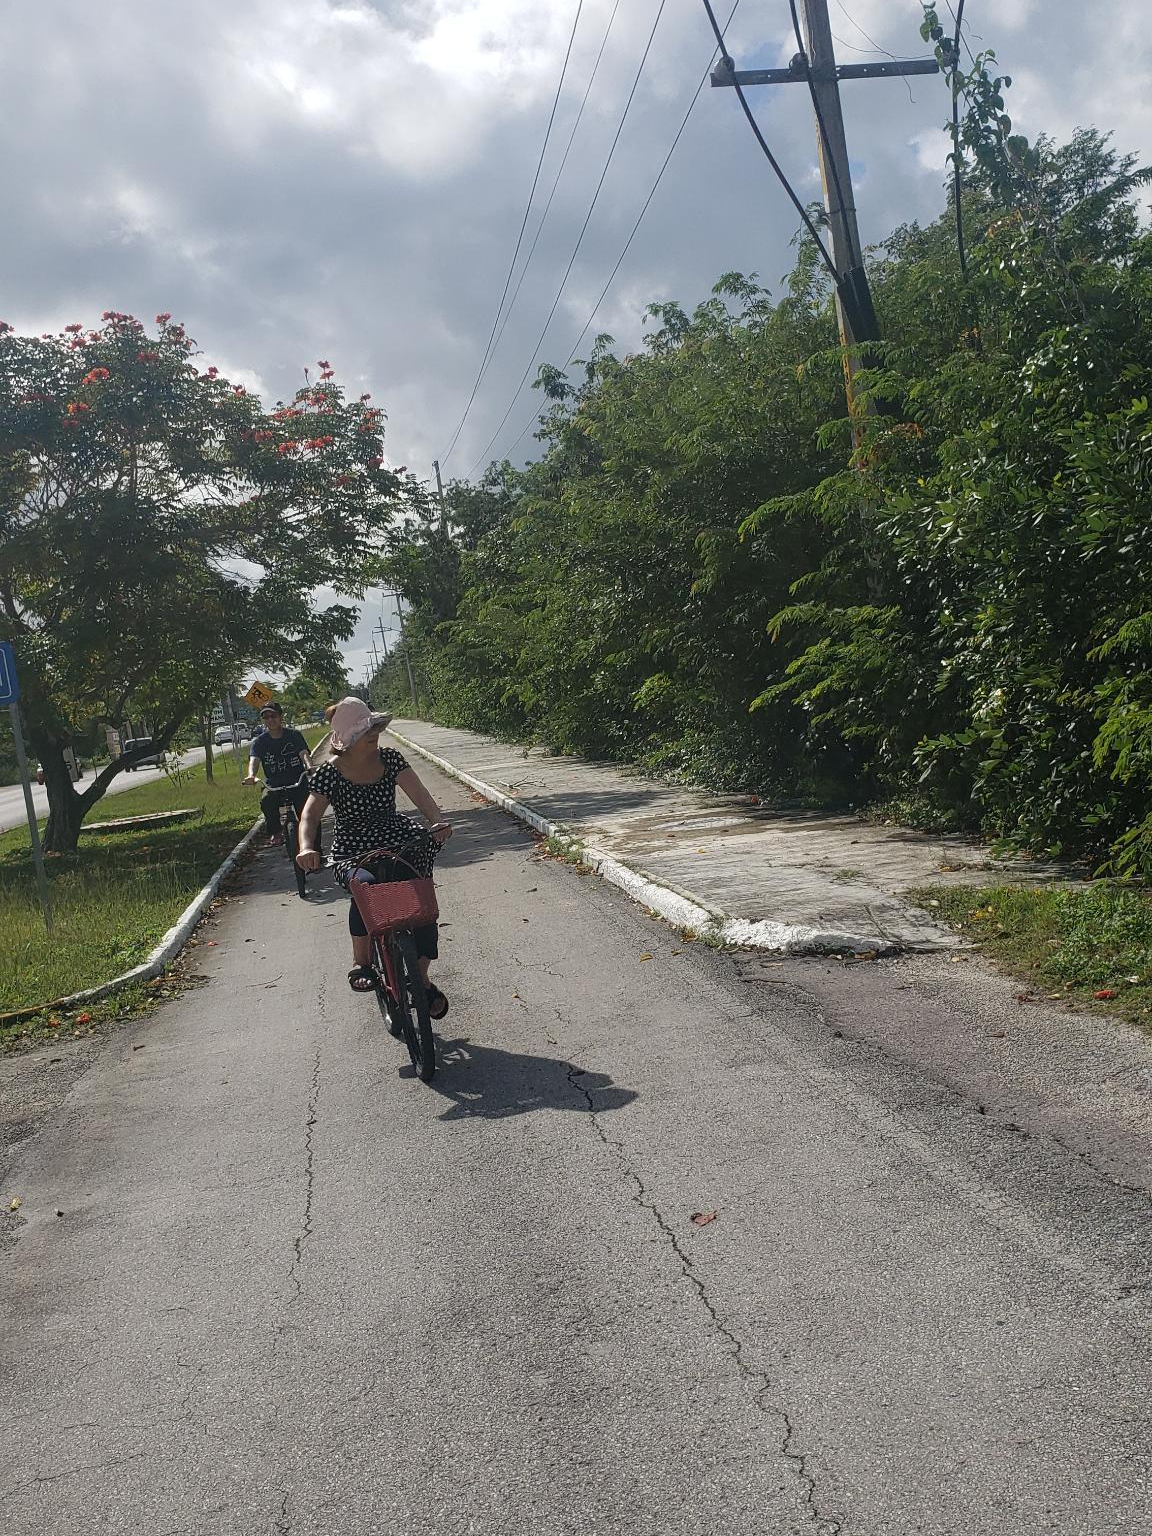
here’s a picture of my parents riding a bike in cozumel which is a cozy island kinda near cancun (the state it’s in is more disorderly in feeling than merida)
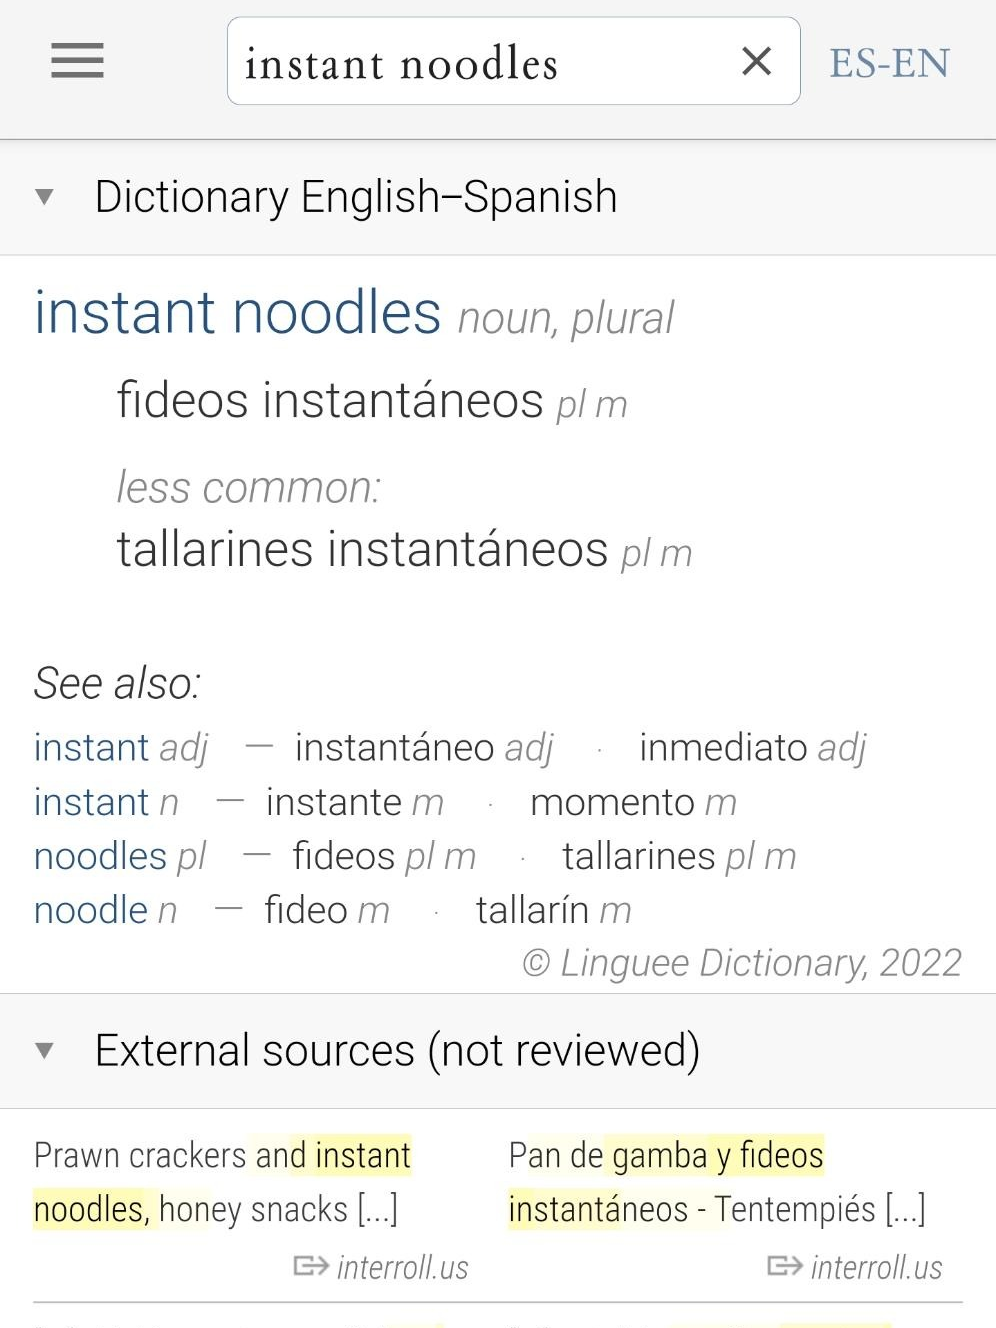
and the traitorous dictionary entree for instant noodles… i think it’s just called sopa in spanish, or in my case i called it “maruchen” lollll