
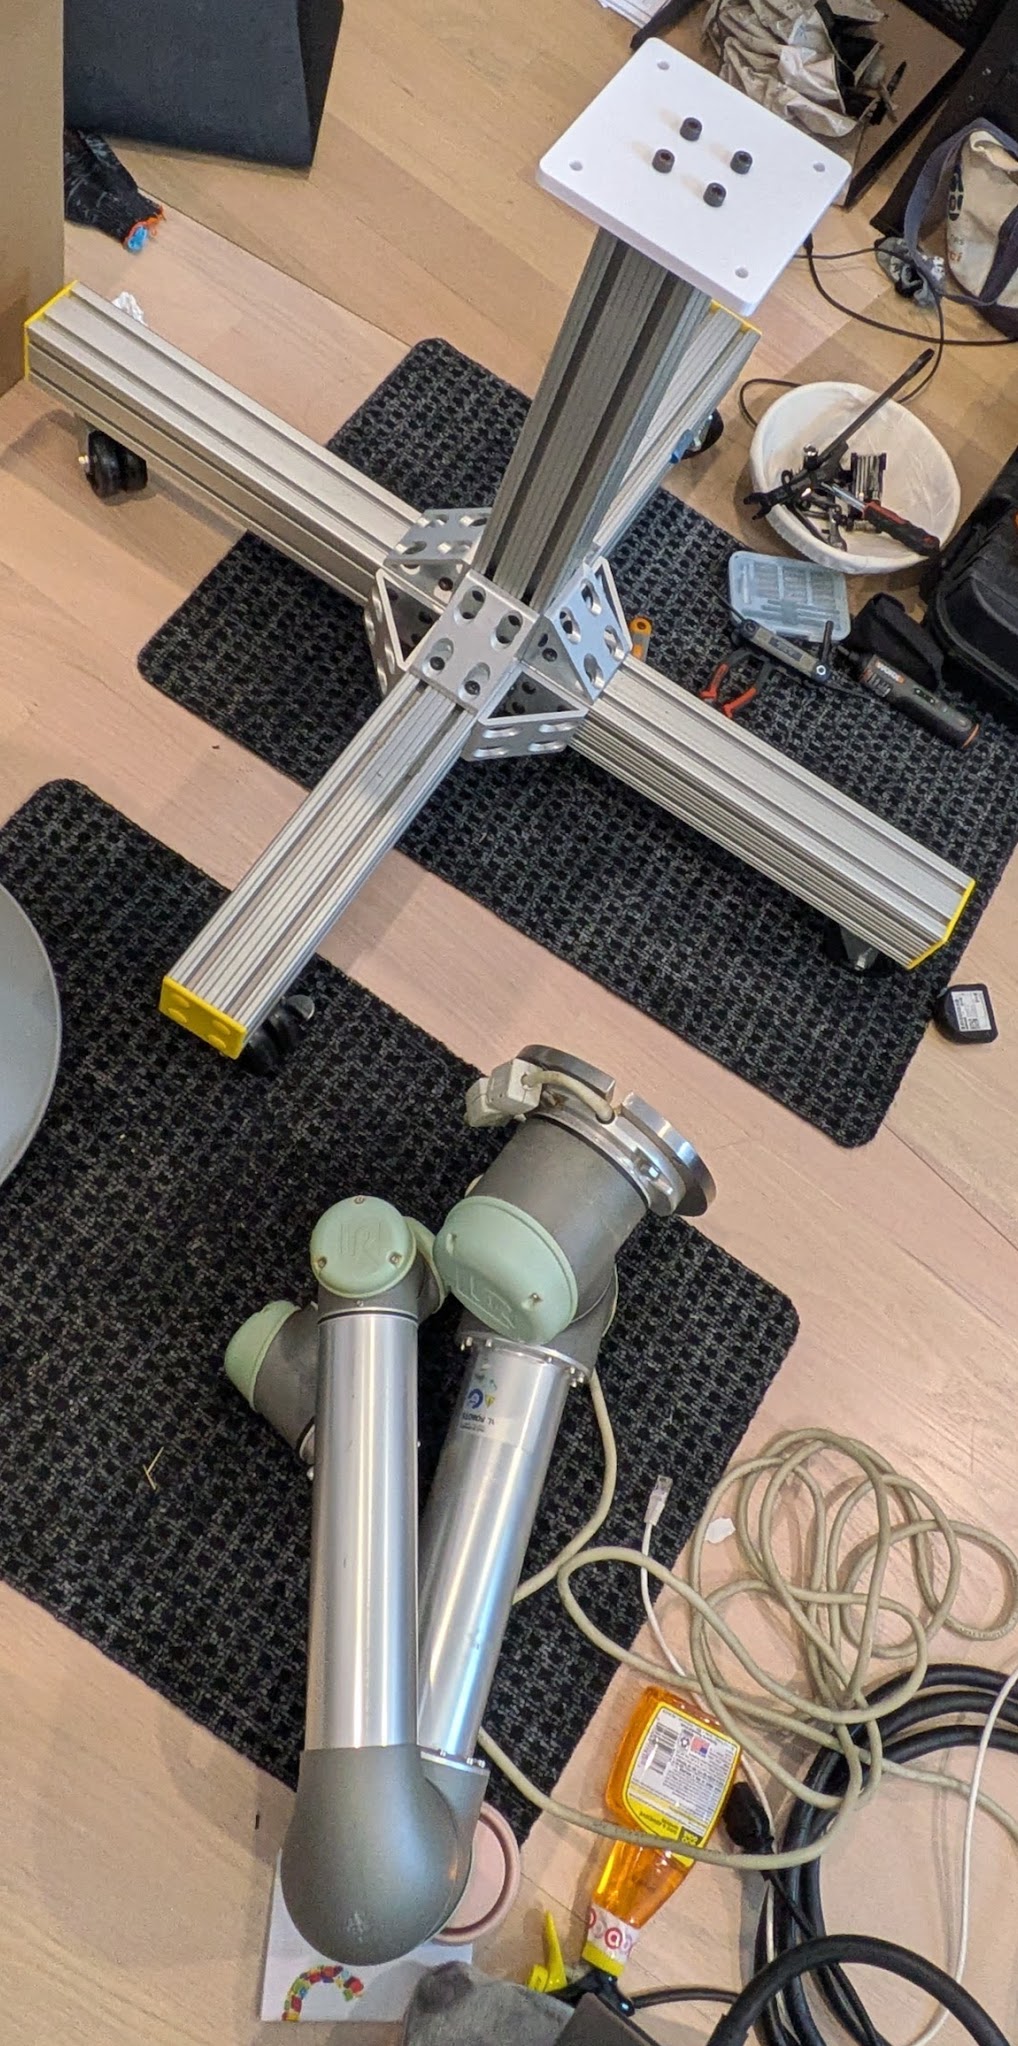
ur5 mount
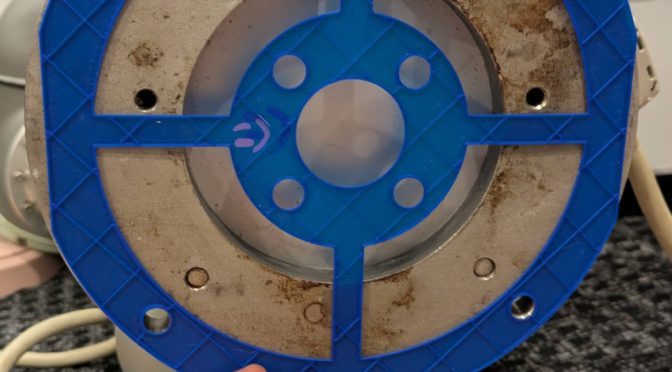
Dane helped source a ton of 80-20 to make a nice wheeled mount for the UR5 (a really nice one tbh) so it doesn’t take over the entire living room all the time. Then we needed to actually attach the arm to the base. I remember around miters we would sometimes hang up mistakes as a funny sort of hall-of-shame. So here’s my pic. 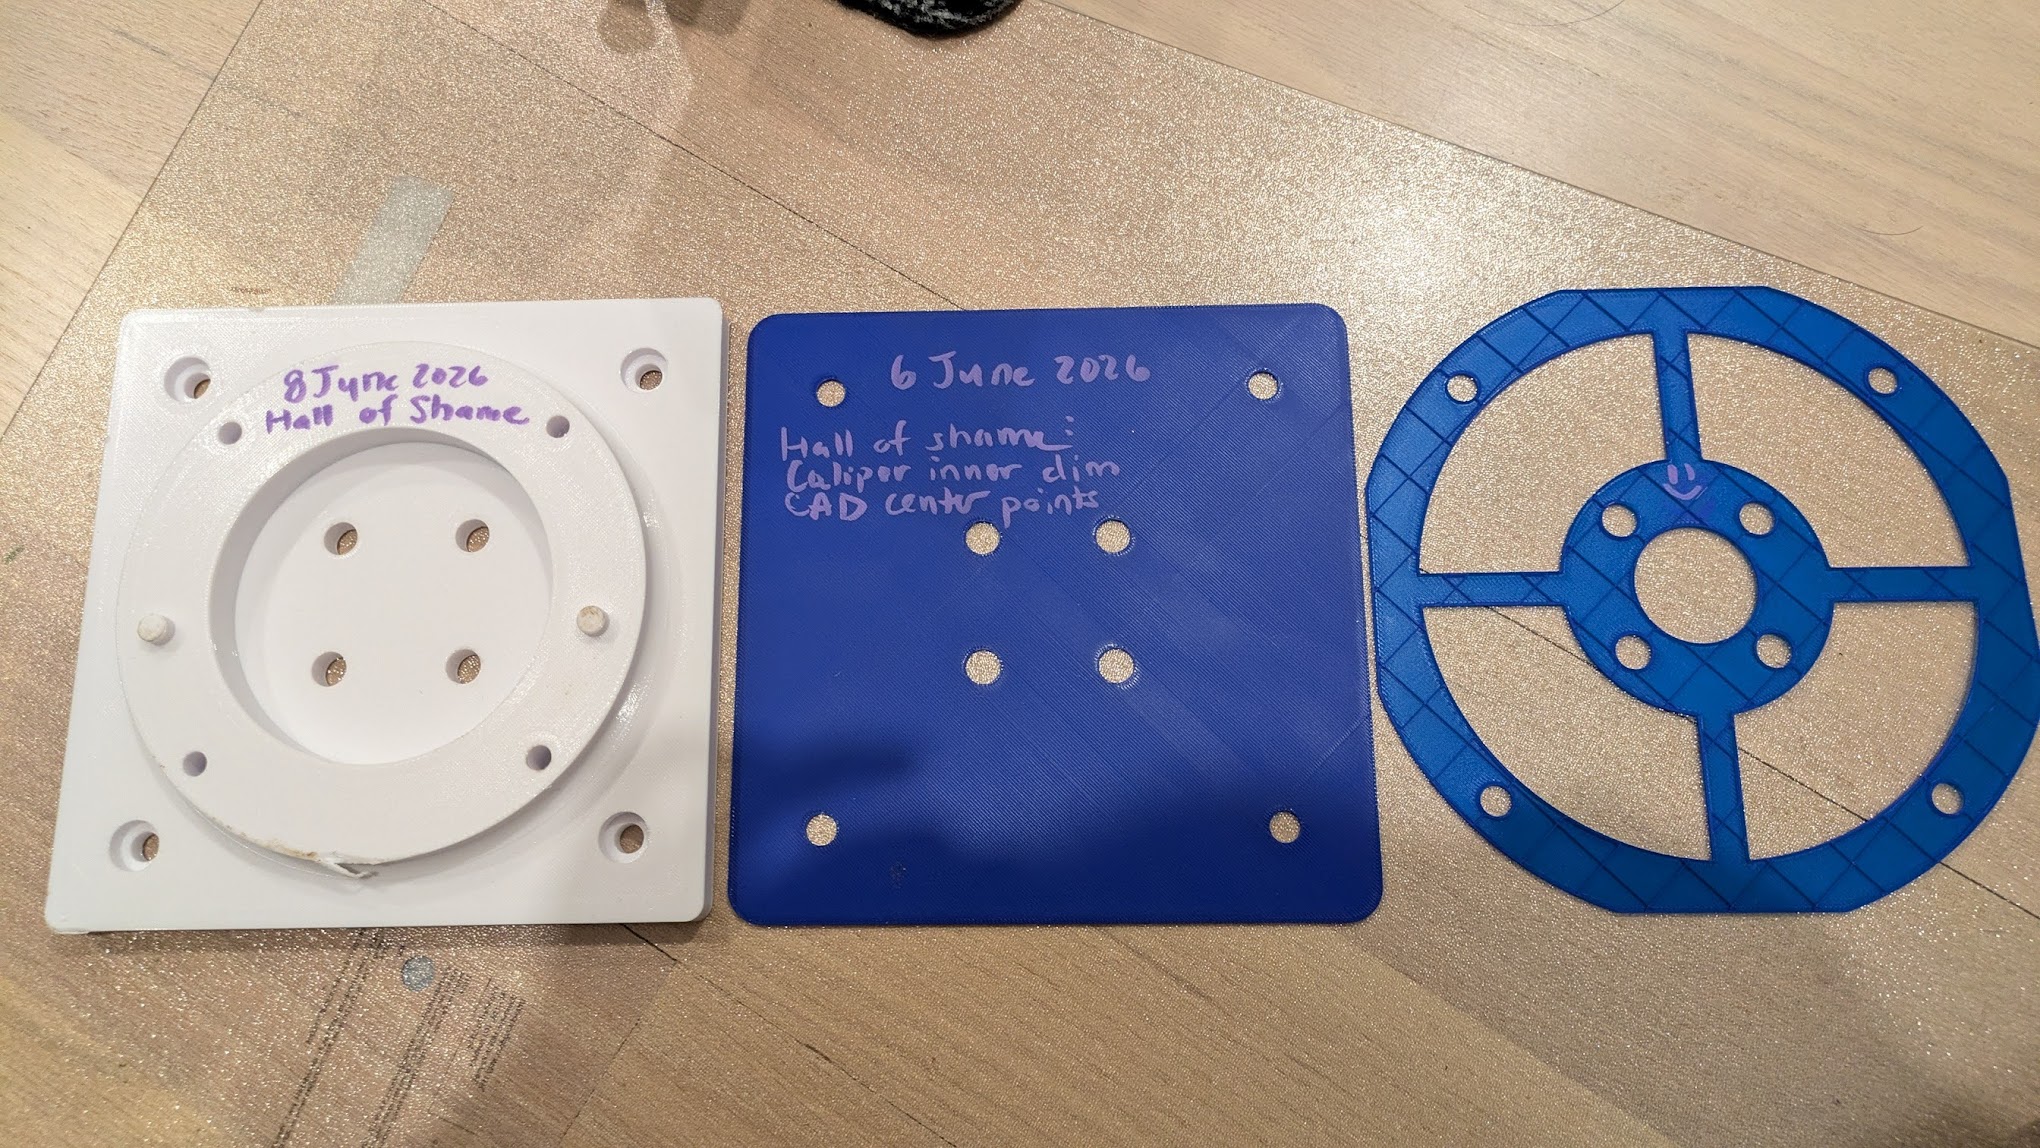 I did a 20 hr print (dat 70% infill 10 wall loops yo) that turned out to have indexing issues. Then I was like “heck it we’ll do the simplest possible mount”, dropped the indexing pins, checked the convenient ur5 base had room for the socket cap heads, and printed a … flat block with 8 holes in it. Hey. I’m far from a shop and far from free aluminum blocks, don’t have a saw, and just needed the robot off the floor for a bit (couchsurfer woo). I spent an hour printing the middle blue one, and then realized I’d measured to the inside with calipers then spec’d to the centers with CAD.The next one I was a bit smarter and printed it with no top wall, extrude cuts, and it printed in ~17 minutes. Hold it up to the robot arm:
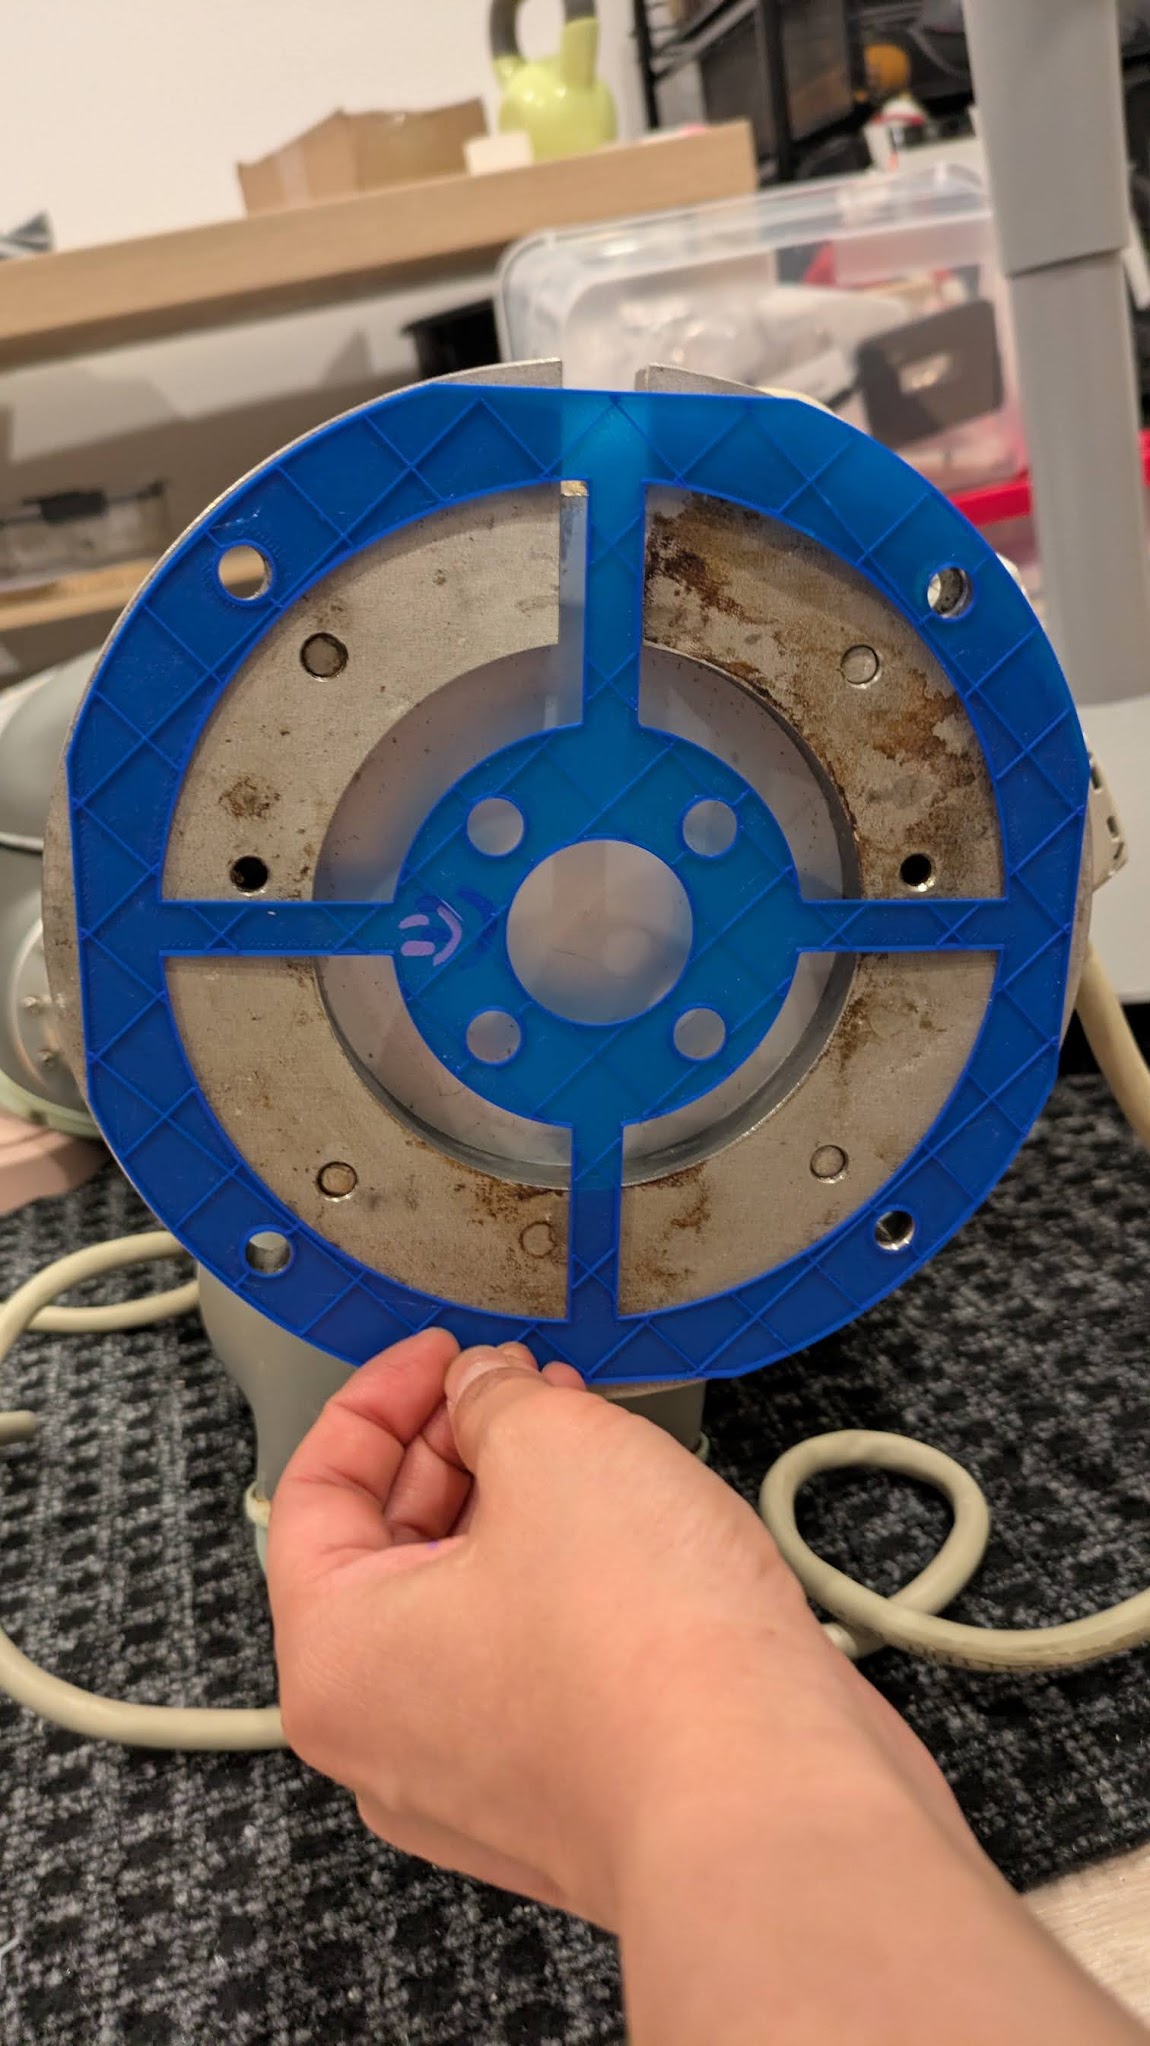
Yay it checks out! Here’s my 3d printed block attached to the 80-20 lol. I think as a fresh grad I would have felt bad about it. Now I’m years out of my PhD (?!), feel less like I need to prove anything to anyone (i can just point to other stuff I’ve done), and don’t care so long as it gets the job done and I can move on to what I want to work on.
And now mounted. 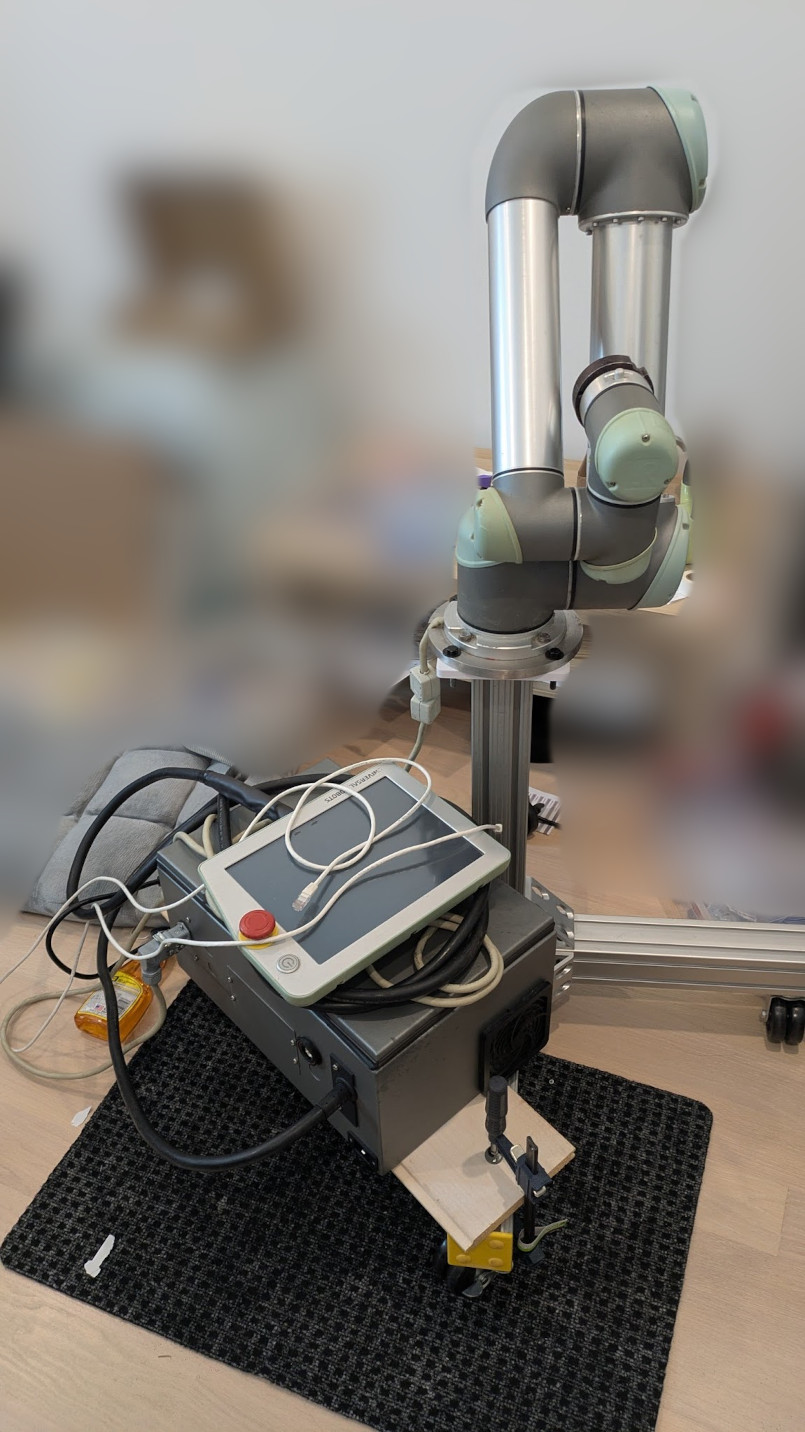 when the robot arm cracks the 3d print, flings itself off of the base, and sends me to the ER, you can tell me “I told you so”