
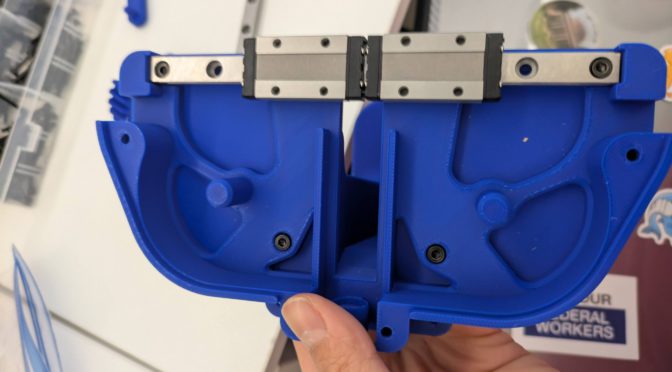
Wow the UMI gripper is much bigger than I expected, really not suited for what I want to do. I had planned to modify it into an actuated gripper to mount onto the UR5, probably using a timing belt ala Actuated-UMI.
But I built it and it’s a beast.
Here’s what the internal mechanism looks like.
Linear Rails
The interesting part is the MGN9C 150mm Linear Rail.
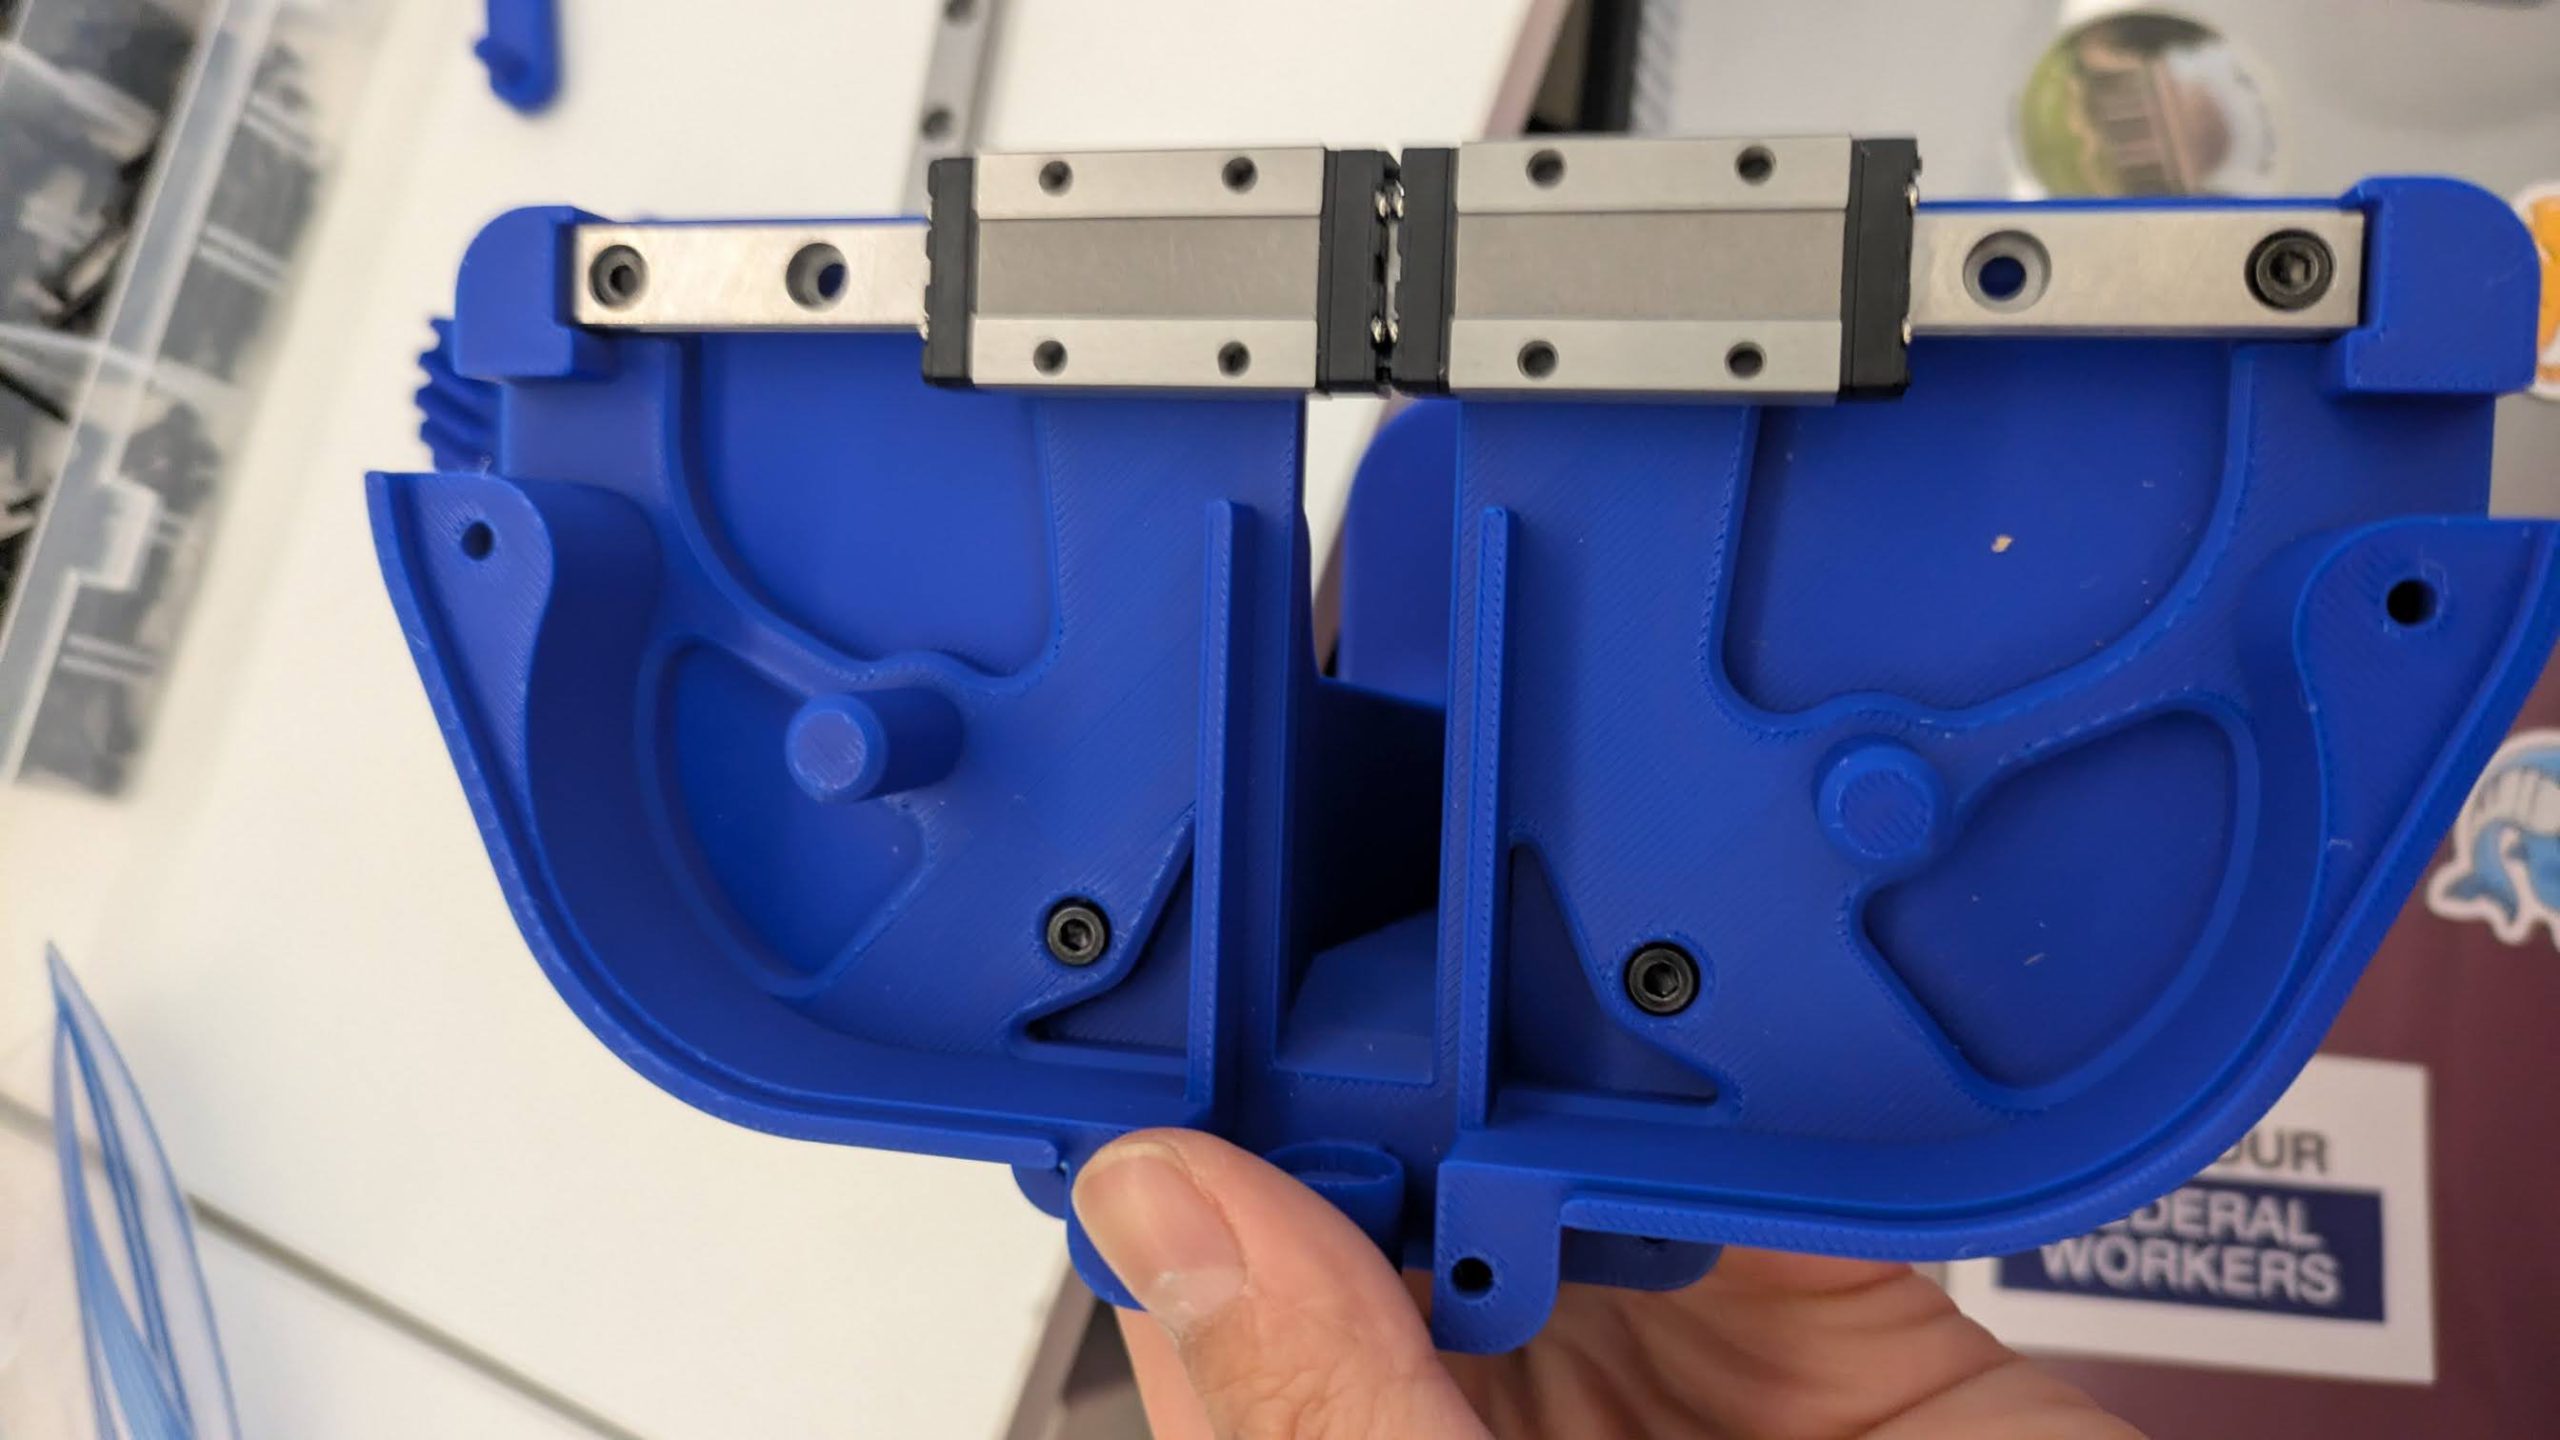
Per: https://www.circuitist.com/hiwin-linear-rails-guide/, MGN is a popular Taiwanese manufacturer of linear rails, and their naming scheme was co-opted by cheaper manufacturers. So only the last two letters matter: 9C then stands for 9mm rail width, and C for standard carriage (vs. H flor long carriage), where carriage is the block that rides on the rails). The 150mm is the length of the rail, and so the effective travel is that minus the carriage width. In the UMI gripper we buy two rails, but only use the carriage from the second rail.
What was bizarre to me is how easily the ball bearings fall out of the raceways if you remove the carriage! It was a real “WTF” moment.
“The balls inside linear rail blocks can very easily fall out of their raceways when removed. If you need to remove a block for maintenance, slide it off slowly over a bowl or tray.” — Circuitist
Video
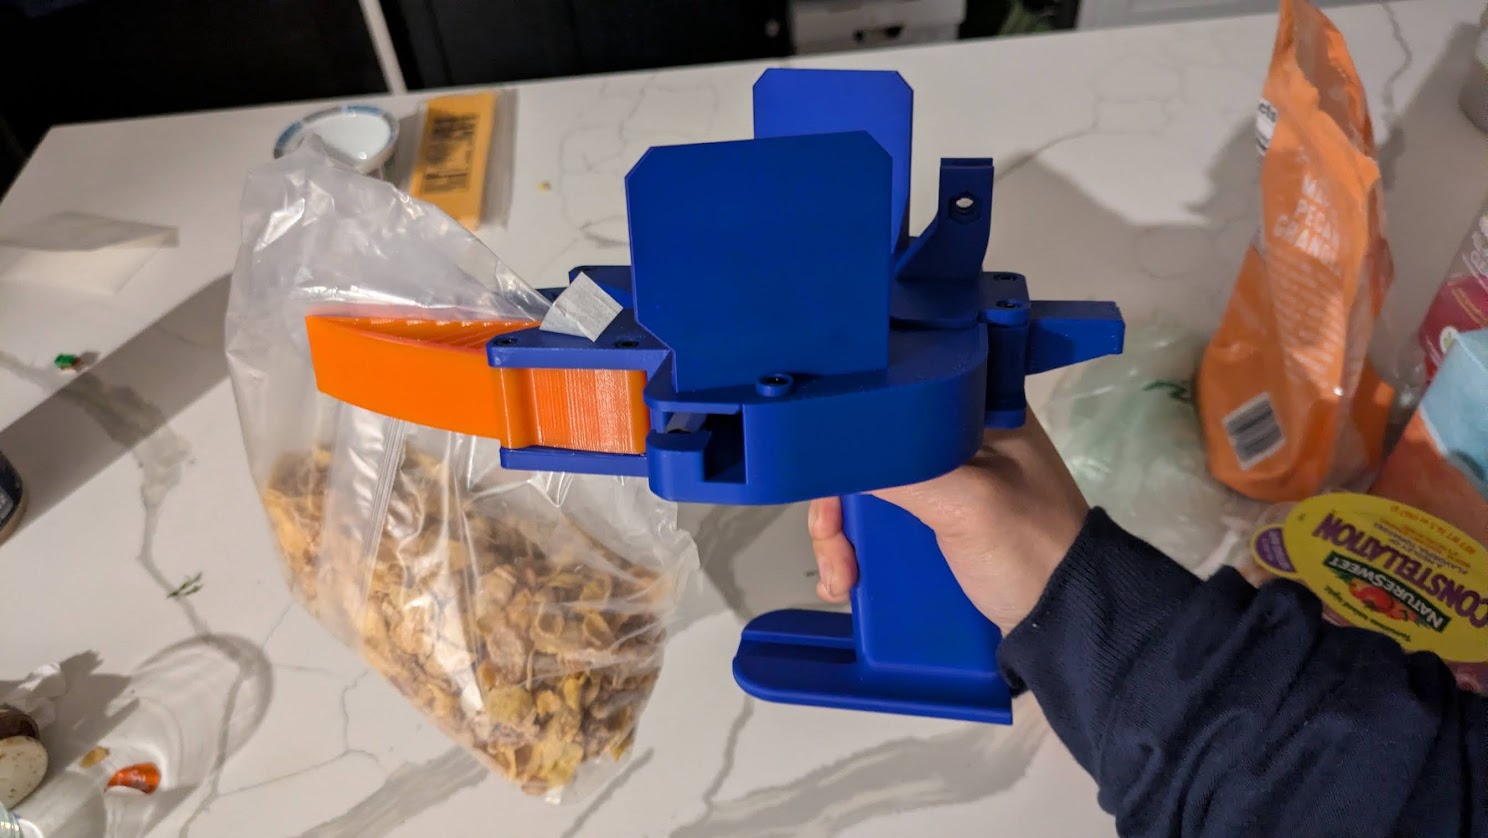
Here’s it assembled.
Well, kudos that they documented everything enough that you can actually build it!
End Post.
Todo: I might write up more notes on how I printed things later (I think mostly 20% infill). I’m not interested in the SLAM / data collection at the moment, so I didn’t need to fidget with the mirrors and QR code and camera and such.