NRF51-DK and Ubuntu 14.04 in five minutes (Getting started with Nordic NRF51822 Bluetooth Low Energy Development Kit)

nrf51-2
Glorious new nails + NRF51-DK, which is Arduino-Due-shield-compatible.

Short Story

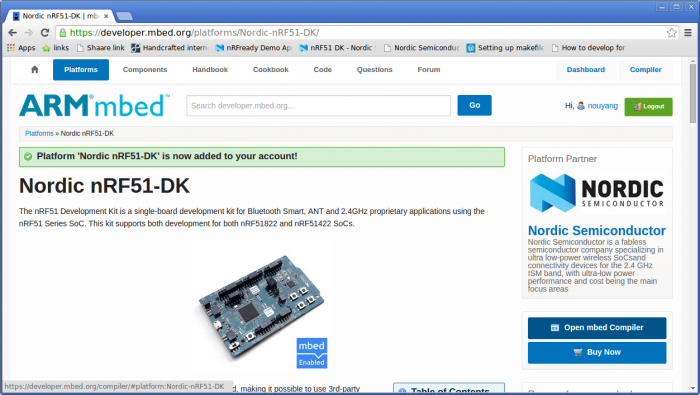
  1. Go to https://developer.mbed.org/platforms/, add the NRF51-DK platform, open the compiler, import the “mbed_blinky” example, hit compile, and download the *.hex file
  2. Plug-in the NRF51-DK with a microUSB cable and turn the switch to “on”.
  3. Copy or drag-and-drop the .hex file to the “JLink” drive, which should auto-mount and appear under “devices” in your file manager
  4. Voila! Light should now be blinking.

Background

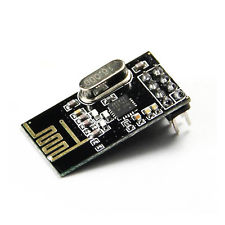
Recently after a bit of head-scratching, I found out that it’s very easy to program ARMs on Ubuntu 14.04, or at least the ARM chip on the system-on-a-chip NRF51822, an integrated circuit made by Nordic Semi that has both a bluetooth low-energy module [1] and a 32-bit ARM® Cortex™ M0 CPU with 256kB flash + 16kB RAM.

I’m exploring this chip because the atmega328p chip by itself is around $2.5 in quantity, and this chip has both an ARM microcontroller (mcu) and ble built-in for $2.5.

[1] (2.4Ghz transceiver, so actually supports NRF24L01+ protocol as well, for which you can find transceiver breakouts on ebay for $2)

nrf24l01+
nrf24l01+ breakout

I bought the NRF51-DK recently on semiconductorstore.com for $70 plus shipping. This is the main page: https://www.nordicsemi.com/eng/Products/nRF51-DK .

Yea, not much of a “get started here” anywhere on the page. The PDF tells you to download NRFgo studio and is obviously on windows.

So here’s my getting started guide. Note: I followed https://evothings.com/getting-started-with-mbed-arms-new-iot-platform-and-the-nordic_semiconductor-nrf51-dk/ for the most part.

Overview

  1. We will use the mbed compiler to turn our code from “DigitalOutput(LED1)”-esque code into .hex files for our chip, the NRF51-DK.
    mbed is a browser-based compiler, so you hit “compile” and get a file to download. I believe it’s developed directly by ARM.
    mbed has a Microsoft XP look, which is quite strange-looking inside the browser, but it works.
  2. We will “program” our chip by copying the .hex file to the “JLink” drive that shows up in our windows manager, similar to how a USB drive or other external drive shows up.

mbed

  1. Create an mbed account
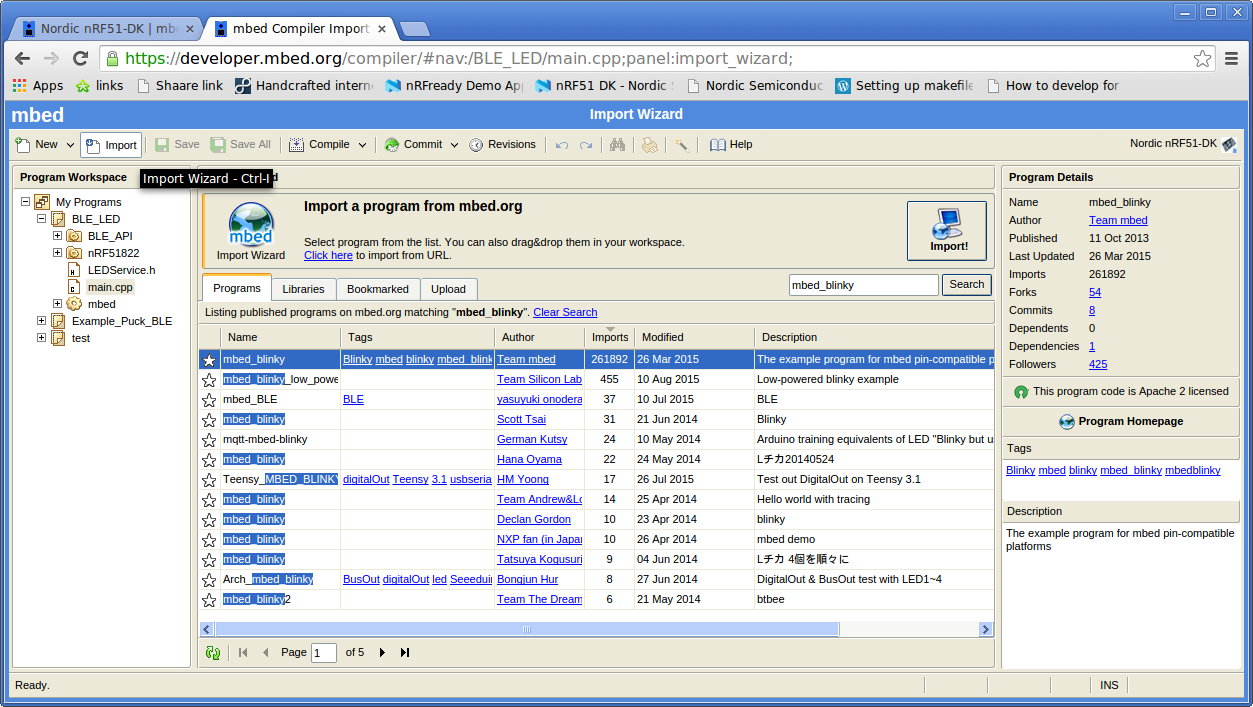
  2. Go to “Platforms” and search for NRF51-DK, then click “Add to my compiler.”
  3. Click on “open mbed compiler”Screenshot from 2015-08-26 13:26:00
  4. The mbed compiler takes a while (minutes) to load. Grab a cup of coffee.
  5. Click “import” then search for “mbed_blinky” by the Author “team mbed”.  Click on it and hit enter, and the program will be imported
    Screenshot from 2015-08-26 13:30:18
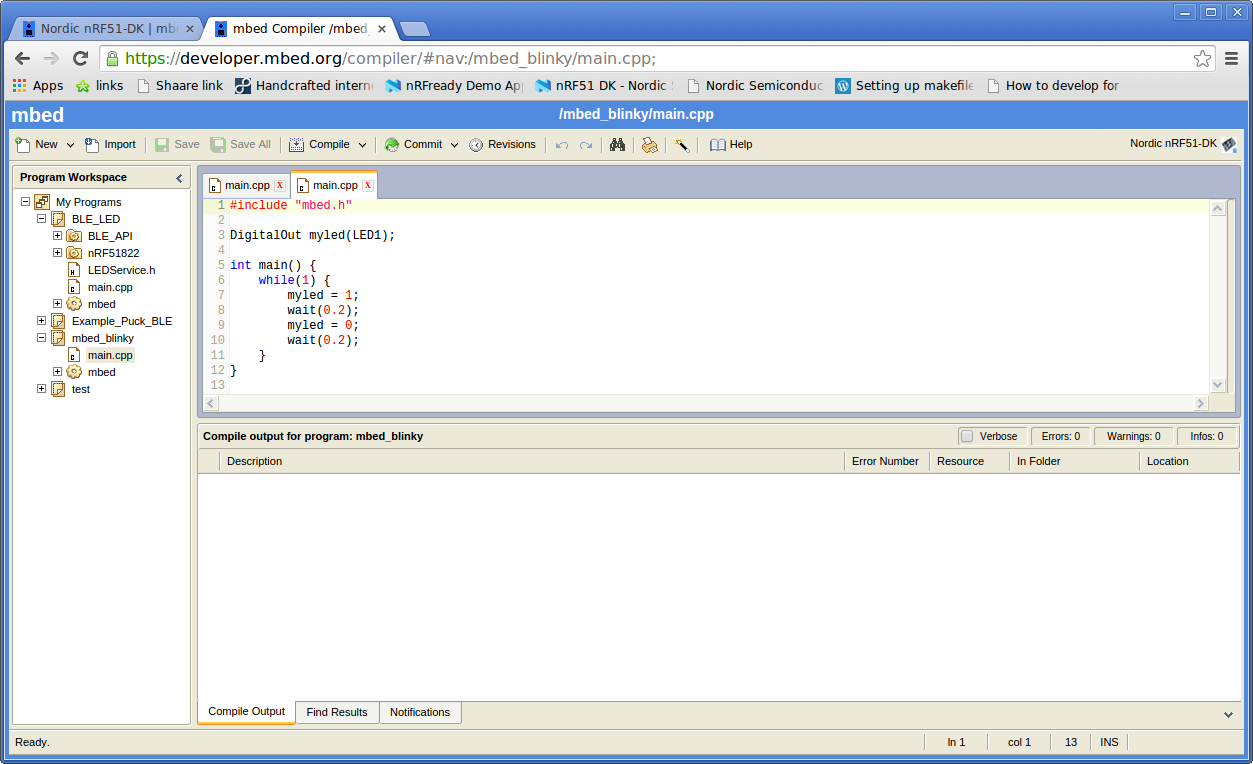
  6. Open the program and click on “main.cpp” in the root folder. No changes are needed. The url should be something like: https://developer.mbed.org/compiler/#nav:/mbed_blinky/main.cpp;
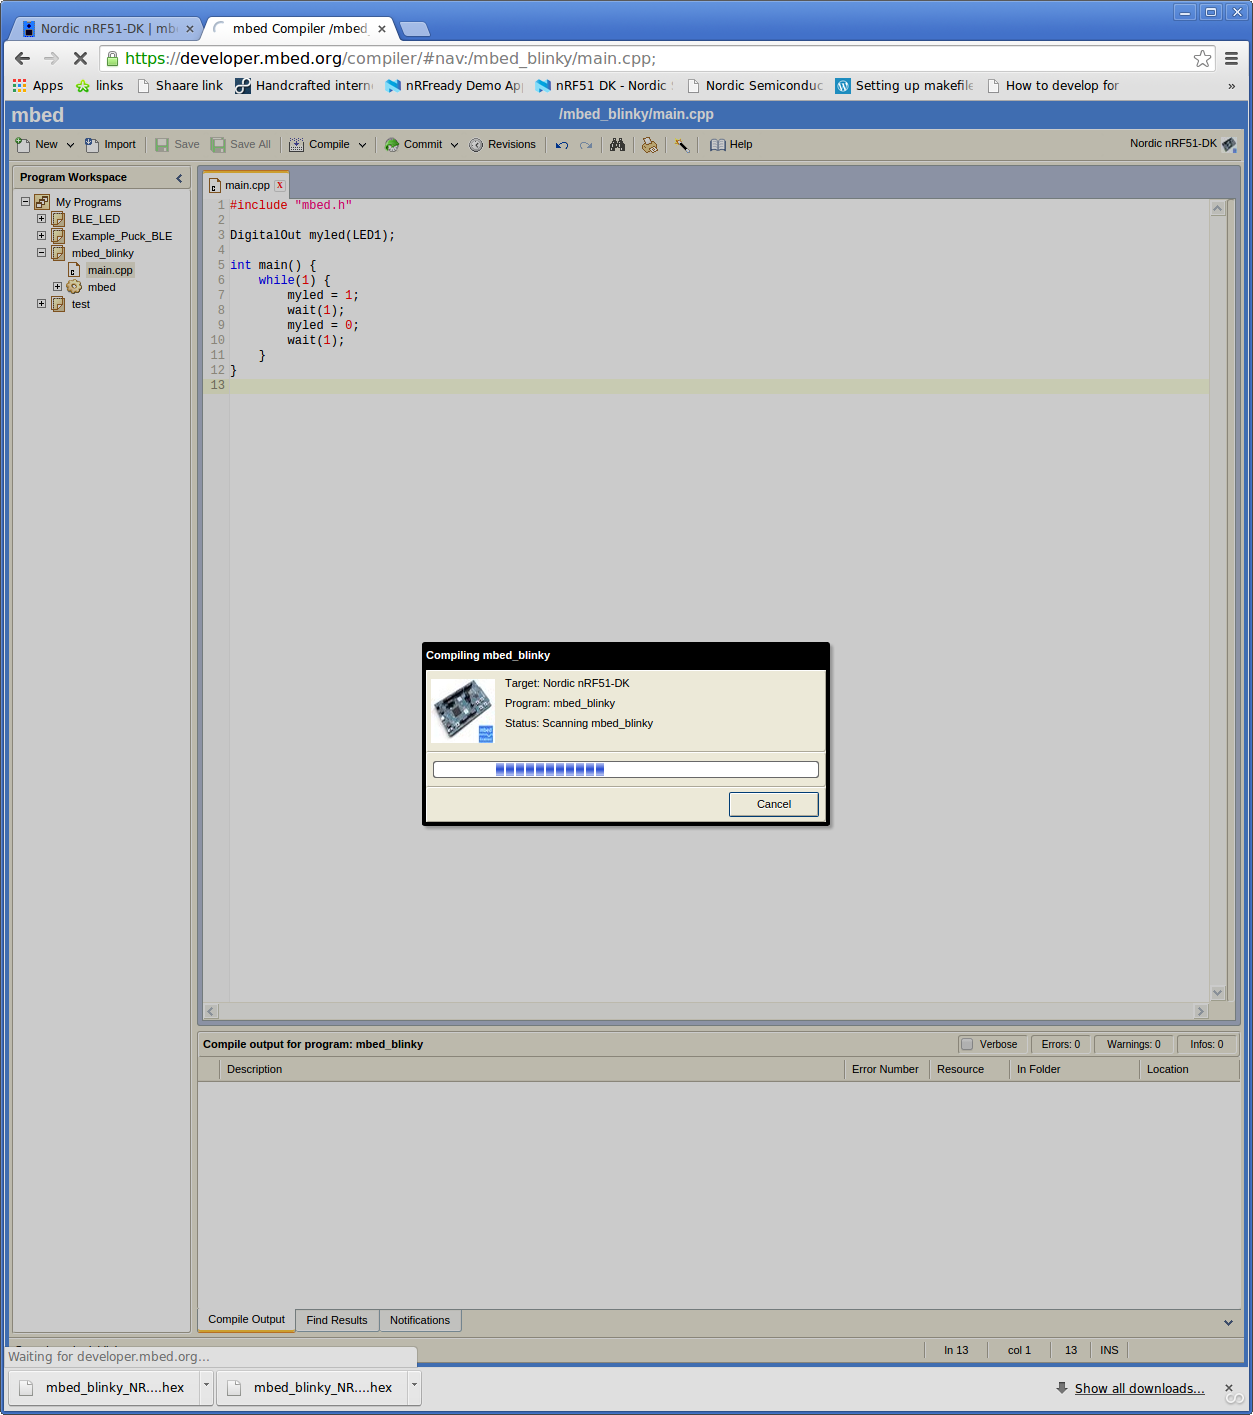
    Screenshot from 2015-08-26 13:30:50
    T
    he code is:

    #include "mbed.h"
    
    DigitalOut myled(LED1);
    
    int main() {
        while(1) {
            myled = 1;
            wait(0.2);
            myled = 0;
            wait(0.2);
        }
    }
    
  7. Hit “compile” and save the file that you are prompted to download.
    Screenshot from 2015-08-26 14:15:43
  8. All done with this step! Optional: Change the wait time to 0.2 seconds and download another .hex file.

J-Link Programming

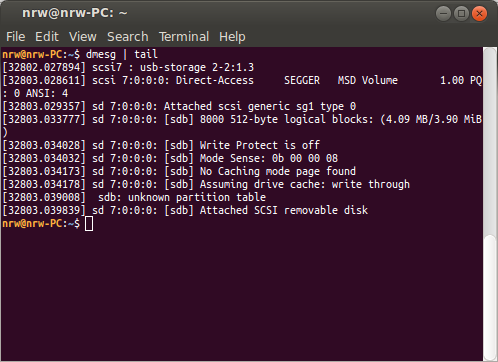
For me, I just plugged in the dev board using a micro-usb cable, turned the switch on the board to “on”,  and it showed up (ubuntu 14.04) and auto-mounted and showed up under “Devices” in nautilus file manager.

I’m not certain if I installed drivers along the way, but if so it must have been something sudo apt-get installable, because I don’t remember it.

Screenshot from 2015-08-26 14:12:15
output of dmesg | tail after plugging in device
  1. Drag and drop the .hex file to the JLink drive (or otherwise copy it over). Warning: drag-and-drop in nautilus pastes the .hex file over, and it’s not preserved after the chip programs itself, so use ctrl-c ctrl-v (or otherwise copy instead of cut) if you want to keep it!
  2. The JLink “drive” will disappear and after a few seconds reappear. This is it programming itself and rebooting itself.
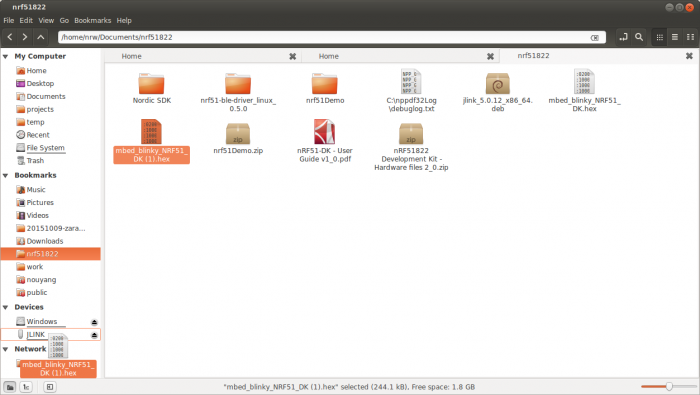
    Screenshot from 2015-08-26 14:11:53
    Drag-and-drop
  3. Your LED1 should now be blinking! Yay!
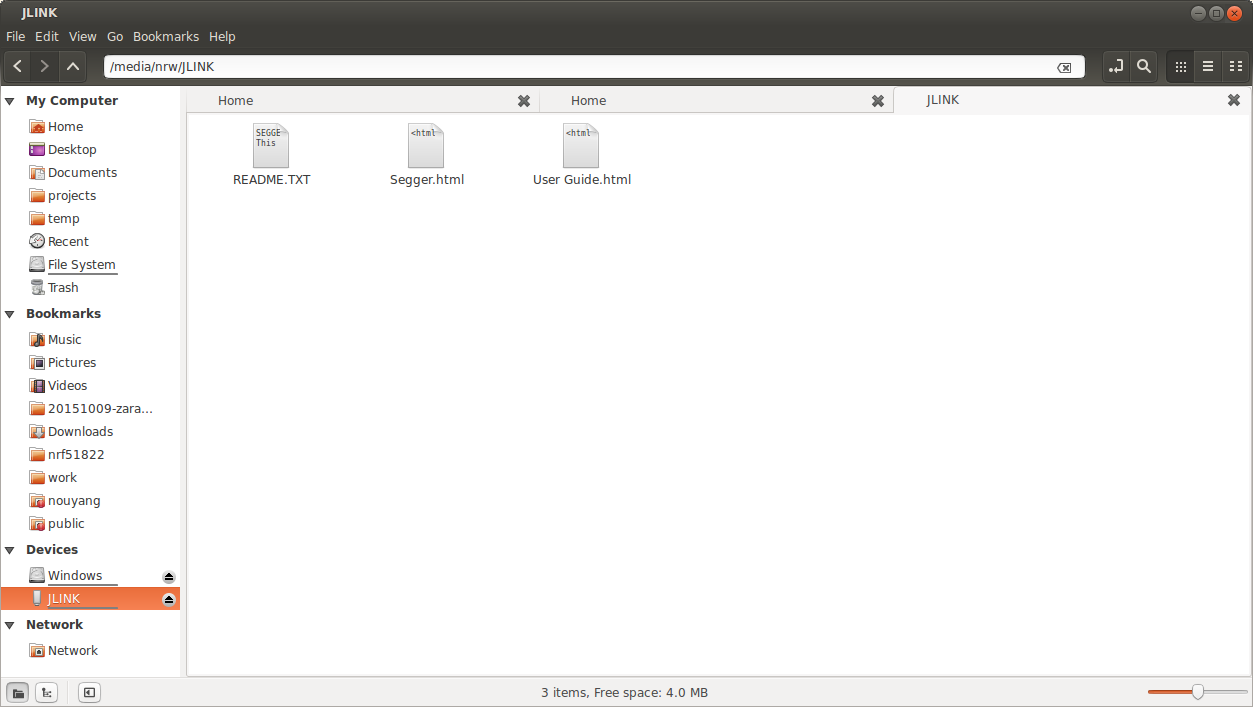
    You can double-check that there’s no “fail.txt” in the JLink drive.

    Screenshot from 2015-08-26 14:13:48
    No “fail.txt”1 Yay

That’s it! Whoo!

Congratulations, you’ve now programmed the NRF51-DK on Ubuntu 14.04 to do the “hello world” blink example!

Exploring the Harvard Personal Genome Project Dataset with Untap

Recently, my co-worker Abram Connelly scraped the phenotypes in the Harvard Personal Genome Project and made it available in a small SQLite database, publicly available for anyone to download. He made a small webapp around the database where people can play around with the data directly in their browser.

Webapp (first page has link to gzip of the database): curoverse.link/22d61dd43786c65cd175b04ad6954af0+3119/html/index.html 

dataset

The dataset consists of people who have completed the enrollment process and were free to upload their own data for public release and also answer the surveys online (but not necessarily people who have donated samples, had the samples sequence, or had the samples released publicly).

To put it concretely, there are around 4000 people enrolled, and around 200 people with whole genome sequences that were  sequenced, interpreted, and returned by Harvard PGP as of August 2015 (though keep your ears open for upcoming news). (Participants may have whole genomes sequenced independently and then elect to upload and donate the data to the Harvard PGP).

webapp

Returning to the webapp, there are a few default tabs, where you can do things like explore what year PGP participants were born, where you can see that our population is mostly young folks…

“Summary” Pre-Packaged View of Allergies of Participants

…or with two clicks see what allergies are most common in PGP participants. Note that this is a quick scrape of the Tapestry database and no clean-up has been done, so you’ll notice allergies being listed twice with different spellings.

SQL Queries for Participants with “Oak” Allergies

On the “queries” tab, you can query the sql database and see the results in neat table form in your browser.

Additionally, there are some pre-packaged but interactive visualizations, where you can edit the text and have the graph update to reflect your changes / newly requested data.

For instance, here’s a display of the participant gender ratio at different ages which I modify to display information about the allergies at different age buckets

before, displaying gender of participants

and after, displaying penicillin and house dust allergies

Obligatory cat statistics

Although one could hope that this graph shows that PGP participants are not more likely to develop allergies to cats as they grow older, we have a lot more younger participants and this is absolute and not percent frequency, so we might have to say the data points to the opposite. Sad!

(Disclaimer: Just for fun, no real thought put into this analysis :] )

Conclusion

Ever wanted a public genotype + phenotype dataset? The Harvard PGP has you covered!

We have phenotype surveys galore (including a recently released one that includes blood type and eye color), with responses available in CSV form. The questions on the survey forms are available on github for now.

I hope you all enjoy! Untap is on github

https://github.com/abeconnelly/untap

and Abram welcomes feature requests / issue reporting. We hope this is beneficial to the GA4GH working groups specifically and other researchers in general.

Enabling Multi-touch Gestures on Lenovo Thinkpad 2nd gen x1 with Ubuntu 14.04

I recently set-up multi-touch on my lenovo x1 2nd gen and got it to work (pinch and zoom, one-finger drag) on Chrome and Chromium, although not the (sadly less-featured right now) Firefox.

My  post on askubuntu.com follows.

Touchegg  (sudo apt-get install touchegg)  works for me — however apparently not on Firefox or Chrome, only on Chromium, do the multi-touch gestures work for me (out-of-the-box).

On Chromium, I can one-finger drag (on-screen touch, not touchpad), two finger scroll (touchpad), pinch and zoom (on-screen touch).

See: Firefox bug, http://askubuntu.com/a/664898/67349

To fix chrome, I had to follow both answers at Chrome + Touchscreen + Unity (14.04)

First,

  • Navigate to chrome://flags/#touch-events and
  • set Enable touch events Mac, Windows, Linux, Chrome OS to enabled.
  • I also set “Enable pinch scale. Windows, Linux, Chrome OS” to enabled (instead of default).

Second, I needed to start google chrome and tell it which device.

$ xinput list
⎡ Virtual core pointer                      id=2    [master pointer  (3)]
⎜   ↳ ELAN Touchscreen                          id=9    [slave  pointer  (2)]
$ google chrome --touch-devices=2

My Setup

  • ubuntu 14.04
  • lenovo 2nd gen x1.
  • Chromium: Version 43.0.2357.130 Ubuntu 14.04 (64-bit)
  • Chrome: Version 43.0.2357.134 (64-bit)
  • Firefox: 40.0

My ~/.config/touchegg/touchegg.conf if it’s useful: http://pastebin.com/qGexA1gB