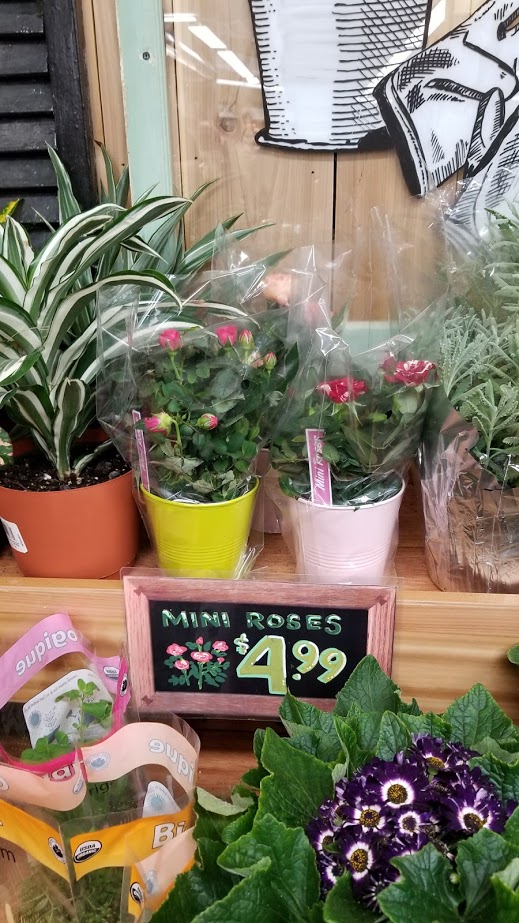
I recently (over the last 2 years? wow time flies) discovered that you can keep the Trader Joe’s $5 mini roses alive for months.
I killed my first (overenthusiastic-buying-spree) batch of 4 potted roses by over-watering and not knowing what spider mites are. By the time I decided to look up whether they were a problem, the plants were pretty much goners — there were spider webs on the plants, which is a sign of major infestation. Despite my best efforts to soap them down, they slowly died.
I learned from that experience. This time, I took them out of the pot they came in right away, and put them in bigger pots so their roots could grow and the water could drain. When I first took them out of the pots, the roots were super bunched up.
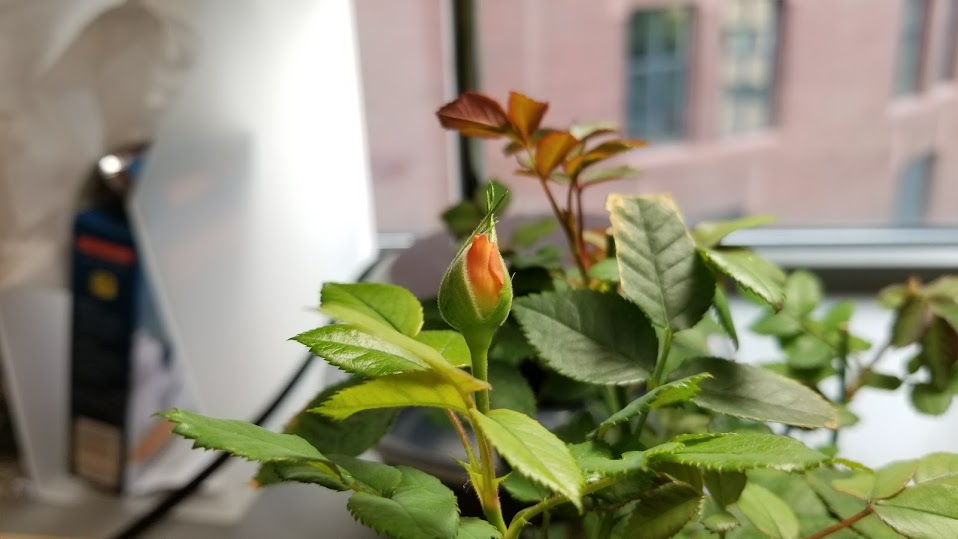
I also freaked out and thought that the normal fuzz on the plants was a mildew infestation, and cut off all the flowers buds! I’d read that it was far better to prune the roses (they can grow back from twigs) and to not treat them too delicately. Fortunately the rose sprouted more flowers in a few weeks.
Pots
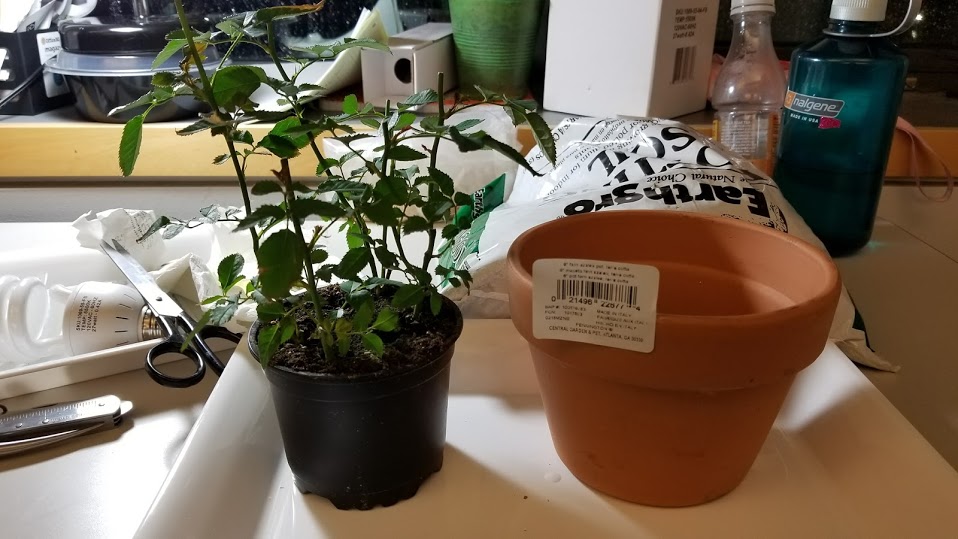
The first thing to do is to re-pot the roses in a bigger pot, and put a tray underneath so that the water can drain out — then, when you water, make sure to empty out the water and not let the roots rot in water.
The re-potting procedure is simple. Fill the new pot about 1/3 full. Tilt the old pot sideways, then shake it gently / tape the bottom until the plant slides out. Then you can kind of muss up the bottom to “de-compact the soil / root ball”. Put the rose in and gently sprinkle in soil to fill the sides, then gently push on the soil with your fingertips. Fill in a bit more soil. Finally, put some more soil until the top of the soil is ~3 cm from the top of the pot — this is so there’s enough space to water the roses. (these are all rules-of-thumb, adjust according to what seems reasonable for the plant).
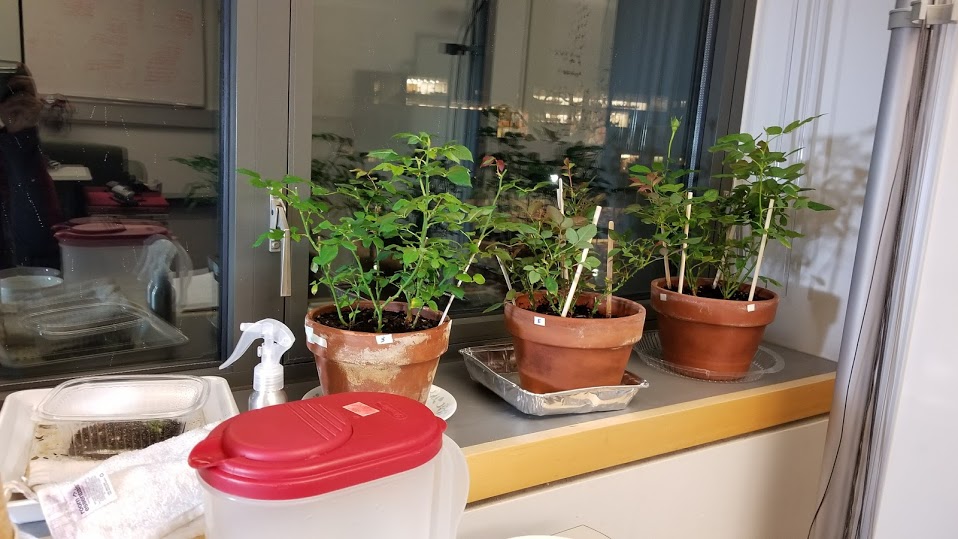
Another important thing was to step up the size of the pots. It got kinda expensive, and I kept running out of soil. Recently though, I left for 2 weeks and put two of my roses in bigger pots and left one in a smaller pot. The two plants are noticeably bigger then the other one, and the small one had a little spider mite infestation (not bad at all).
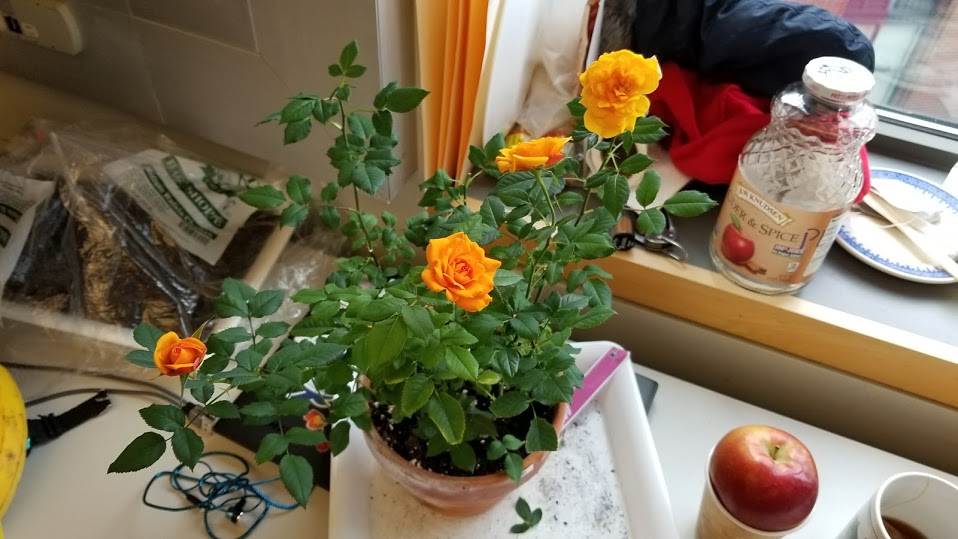
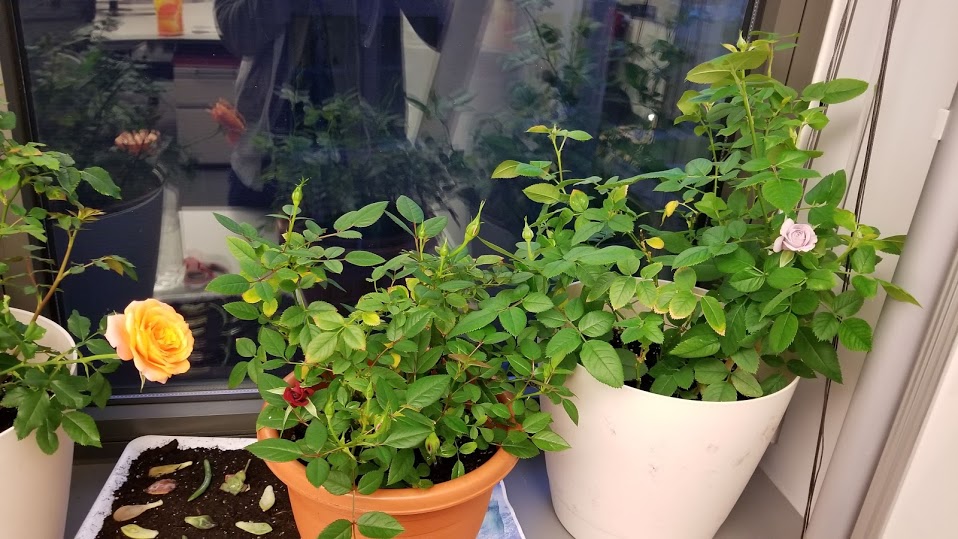
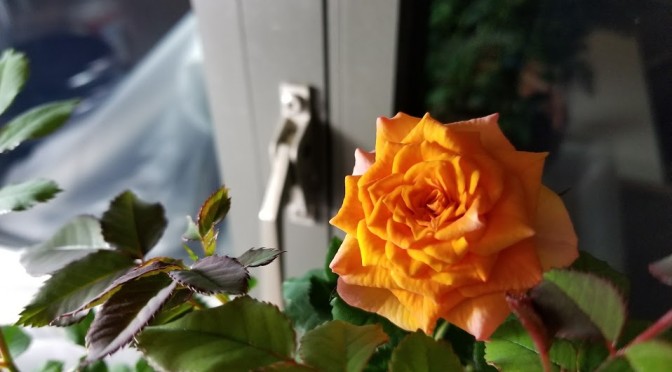
From a few days ago.
(I also started growing some succulents — including some from seed! but that’s for another post)
Pruning and Dead-heading
An important thing to do, in terms of warding off insect infestations and diseases, is to keep the center of the rose fairly airy — no crossing branches, and the branches all facing mostly outward. When I first got the roses, I (somewhat aggressively) pruned them. Keep in mind that roses can sometimes grow from just shoots planted in the ground.
The pruning procedure is simple, cut each shoot right above a 5-leaf stem facing outward (well, about 3 cm above it). A new stem will grow from the “bud eye” above that stem — a little bump in the stem. I just use scissors.
You do the same for flowers that have started to wilt, so that they put their energy into more flowers.
https://www.wikihow.com/Deadhead-Roses
Bulbs
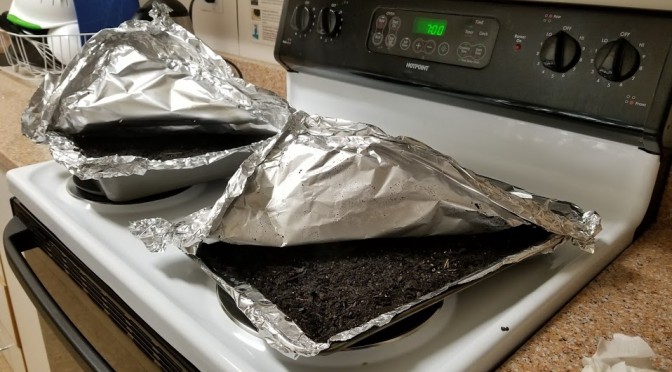
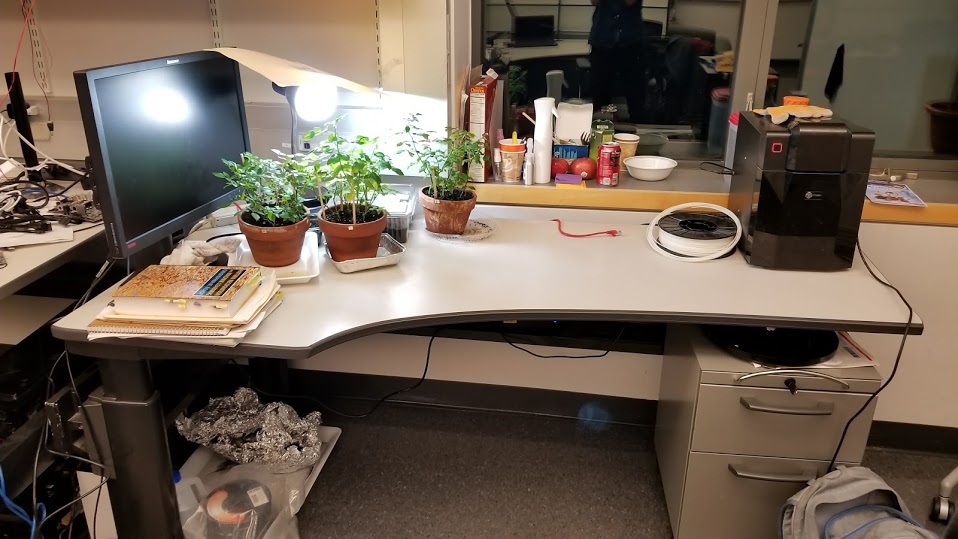
At first, since it was winter, I bought special “full spectrum” lightbulbs to encourage them to keep blooming (Interestingly, all the sources online about which “temperature” of lamp to buy was full of anecdotal recommendations on marijuana growing forums). I definitely think it helped them grow. They were $15 on four “ALZO 45W Full Spectrum CFL Light Bulb 5500K, 2800 Lumens, Daylight White Light” — they plugged into standard sockets but are a lot longer, so they stuck out of the $10 target lamp I bought. I cut up some folders to shade people from the lamps.
Fertilizer
However, eventually they still stopped blooming even though the days were getting longer. Eventually, I decided to get some fertilizer. I spent “Miracle-Gro Rose Plant Food, 1.5-Pounds (Rose Fertilizer)”$7 on ebay, though I’ve since seen them in hardware stores and Target and other places everywhere, probably for cheaper. It wasn’t immediate, but the roses really did get a lot happier and start blooming again in 2 to 4 weeks. I just got a gallon milk jug and mixed it with water — the fertilizer is applied every 2 weeks.
Insecticide
I also bought actual insecticide to spray the roses to kill spider mites, and I’ve just got a bottle always at the ready now. I used to just use dish detergent and water, but after 3 or 4 sprays (over the course of 3 or 4 months), the roses started looking really sad. So I got $10 of “Safer Brand 5118 Insect Killing Soap – 16-Ounce Concentrate”.
I’ve been very bad about it, but you’re supposed to re-spray the insecticide after a week, since that’s when the eggs hatch. But make sure to wash the insecticide off the leaves in-between. I also considered placing towels under the leaves when I spray, to get less of the insecticide in the soil. But I decided it might be better to ensure that all the mites, including some that might be crawling around on the soil, got killed.
Watering
I recommend pouring close to the soil — what happens is that the soil will compact over time.
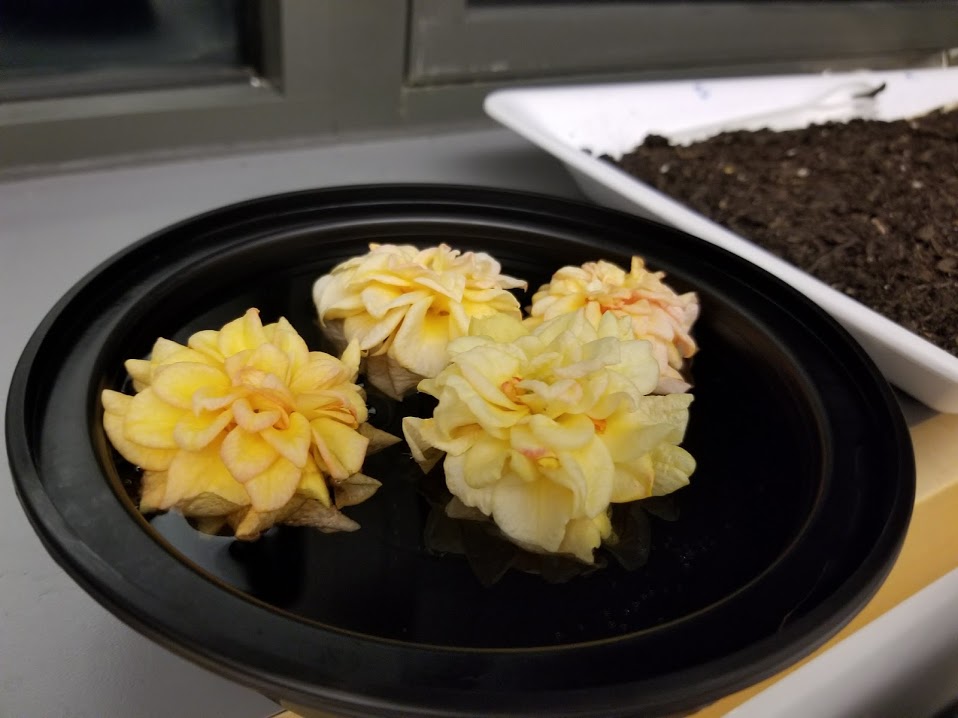
Flowers on water
A neat thing you can do is fill a small container with ~3 cm of water and float the rose flowers you cut off in it. They’ll last a surprisingly long time — days, maybe a week.