
y’know i think i’ve been meaning to blog about halloween makeup for like 5 years now
so perfect is the enemy of good and all that
here are some pics
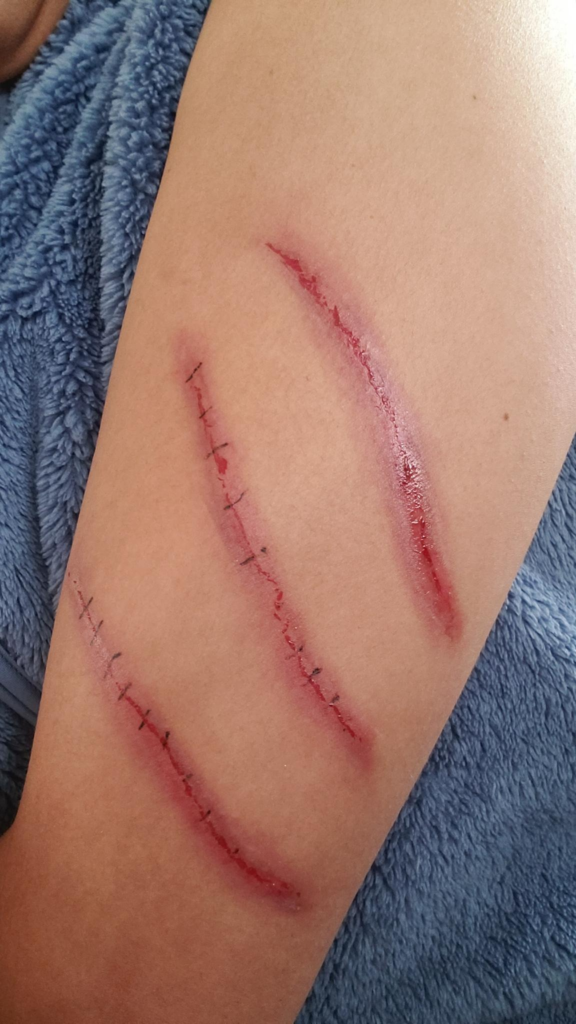
bleeding wounds
youtube recipe
fresh claw/scratch wounds are four-ingredient, 5 minute easy. (liquid) lipstick, lip gloss, and black+red eye shadow (plus two brushes – small ones. Very important!! otherwise it will just look like a kid drew with a fat crayon on you)
- dab brush in red eyshadow, brush a fat ish line (`1.5 cm at thickest). this is the area where the skin is kinda infected / inflamed. Then in center (same size brush) black eyeshadow. Blend the two together.
- liquid lipstick – draw a line down the center (~1 cm max). this is the bleeding / open wound part
- with flat-edged brush and black eyeshadow, add depth to the edges of the aforementioned line. this is some dried blood on the edges
- dab lip gloss in the center of the lipstick line (~0.5cm max). this is the fresh blood. do a dip sideways if you want the fresh blood to be spilling a bit from the wound
or in visual format (which is very important!) see:
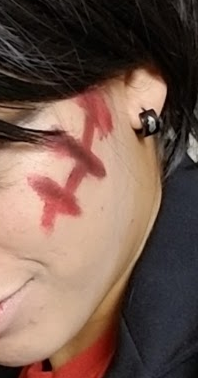
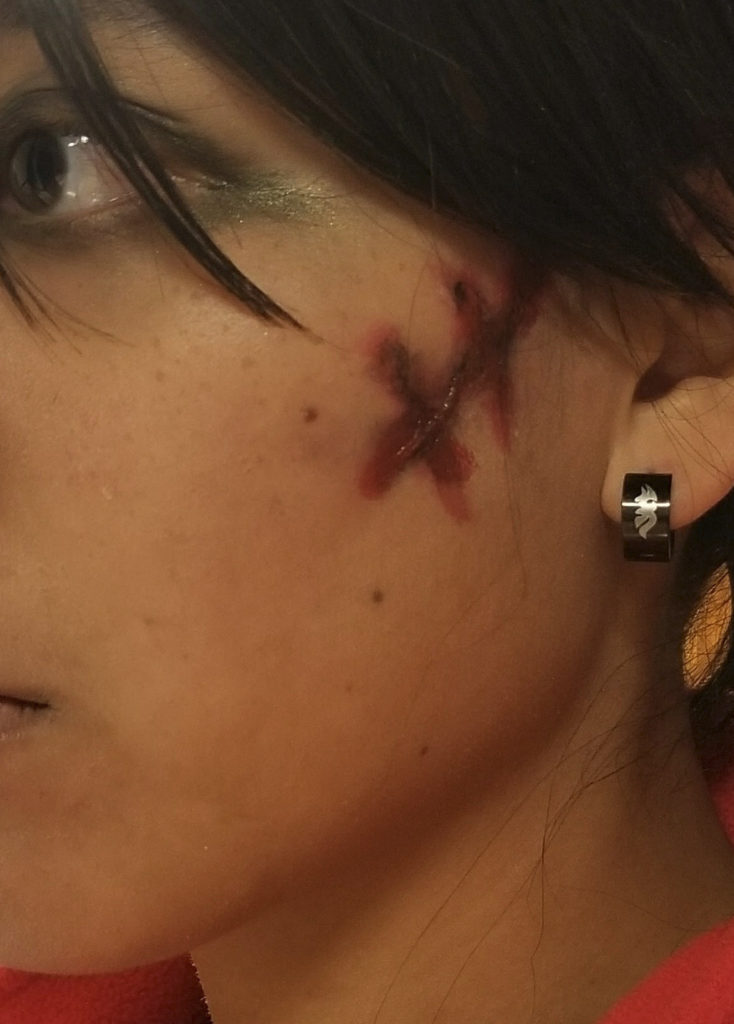
IRL wound makeup
I got two smallish brushes ($2 each). I had lip stick but it was cheap and not dark / vivid enough / not liquid lipstick and didn’t look good when I applied it with the brush. so I used red nail polish. I also added some concealer along the edges to kinda mimic the inflamation. BUT — I have NO idea how these wounds like IRL, and didn’t go looking for source material.
But also… maybe I should have committed to the halloween, extra look – not aim for realism but for exaggeration! drippy blood everywhere, like in youtube thumbnail
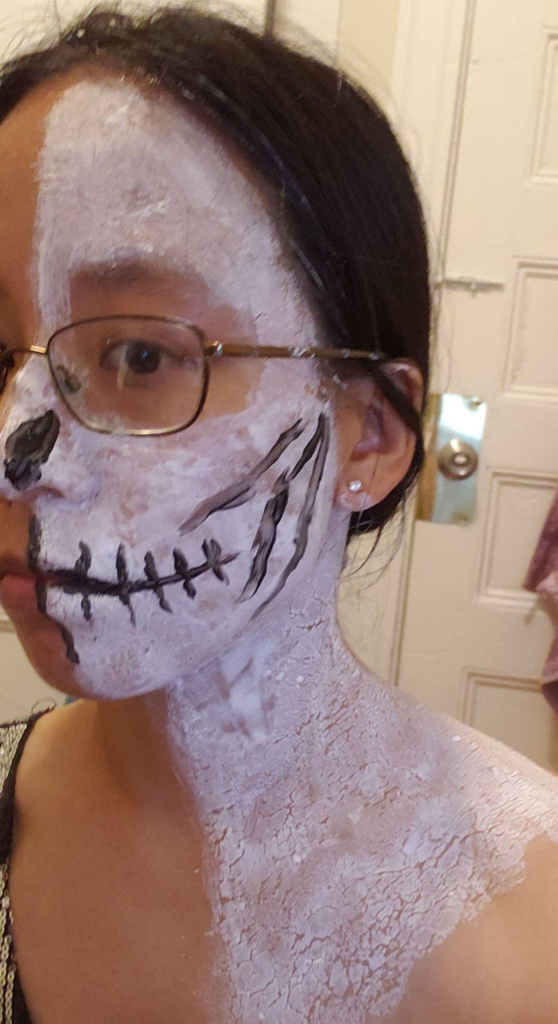
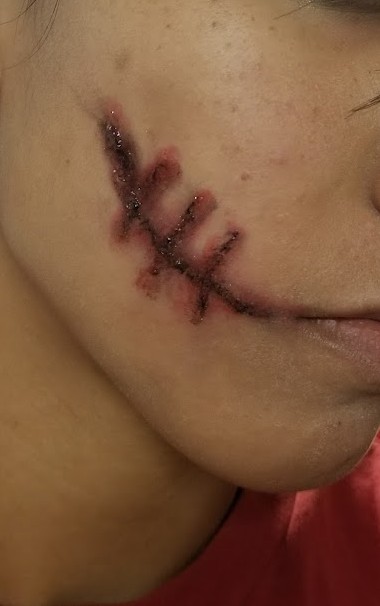
stitches
Stitches: I made these with liquid eyeliner, it was relieving to work with such a fine brush. I didn’t look up a tutorial, just kinda doodled. Note that afterward I looked up stitches for IRL reference material vs just halloween tutorials. So you want to add a dot of black and maybe some red at either end of the thread and maybe a loop in the middle. This is the thread entering the skin, so the skin may be a bit inflamed.
See:
- Healed stitches at: https://skincaregeeks.com/wp-content/uploads/2019/09/how-long-should-stitches-stay-in-face.jpg
- Types of sutures at: https://i.pinimg.com/originals/6d/0b/3c/6d0b3c21027692d4ced8409b6cc37767.jpg
- Realistic stitch sfx at: https://makezine.com/2010/03/02/diy-movie-effects-roundup/
But again… maybe better to aim for exaggeration for halloween? there is something kinda fun about realism though
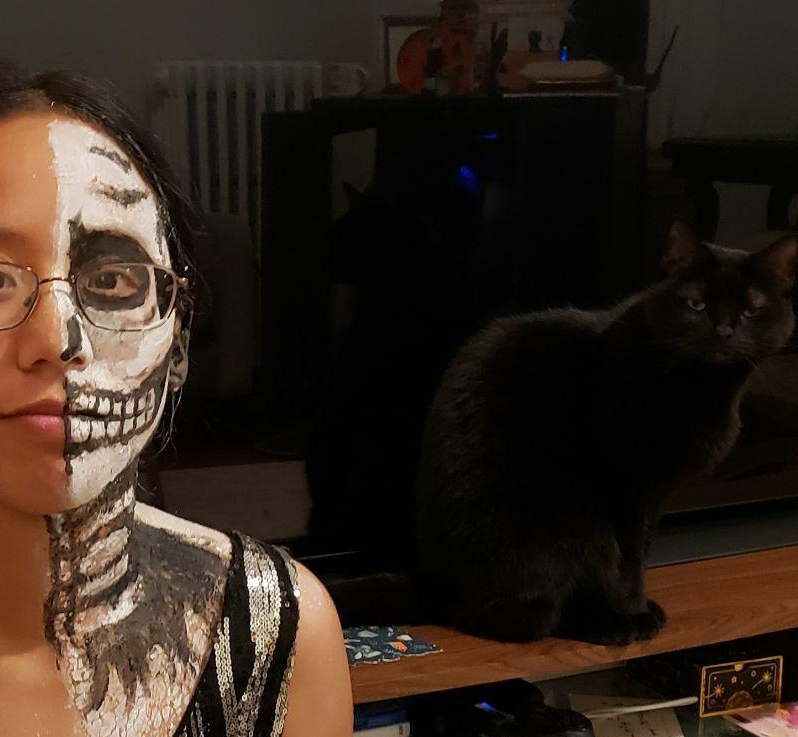
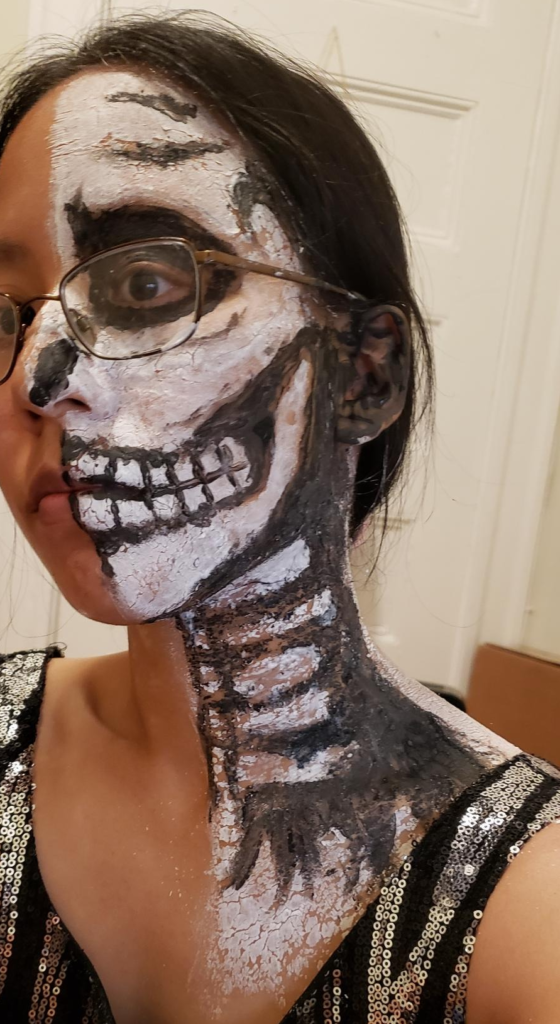
skeleton
i did nothing for halloween last year, and this year i wasn’t going to any parties, but i did at least feel like doing something. of course i decided halloween morning so the stores were out of face paint which was followed by like 5 hours of disastrously trying to make face paint, but the actual make up itself was really straightforward to draw.
despite the mishaps at least now i have no fear of committing to full face makeup. was fun to just draw on face !
followed tutorial at: https://www.youtube.com/watch?app=desktop&v=uL6VtPsAVmI “Last Minute Halloween Makeup Tutorial for Men”
later i found out he was just using normal acrylic paint, not face paint T^T though i am super curious how it worked out after it was dry in an hour or so.
but also, would highly recommend just like… having the foresight to buy black and white face paint for like $20 instead of spending 2 hrs shopping, 4 hours mixing, and 2 hrs cleanup trying to make face paint.
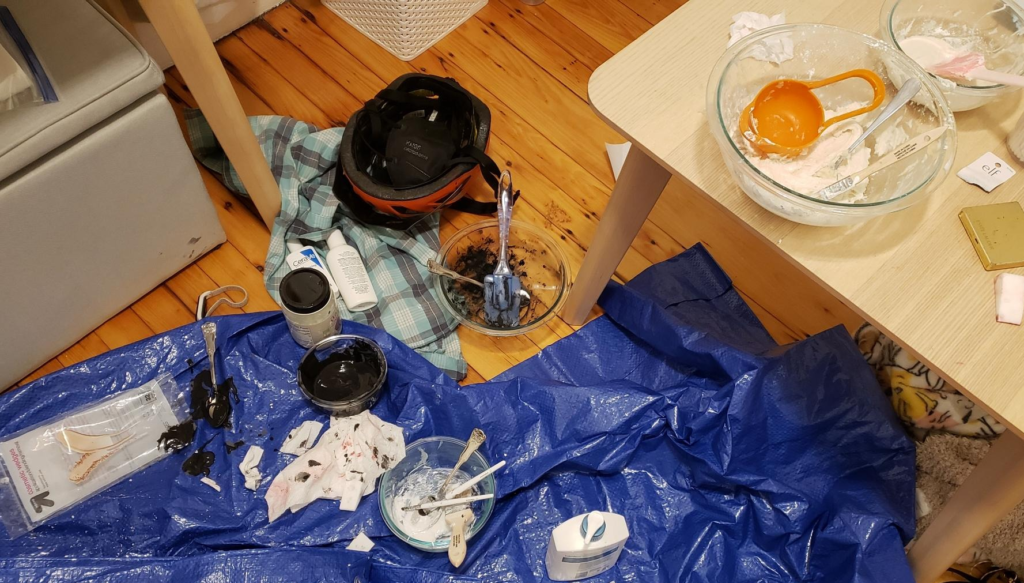
IRL DIY facepaint failures
not recommended but idk this is a diary entry anyway, not nicely edited
ok so i could not find white facepaint, what do? clearly i should make my own (wtf was i thinking)
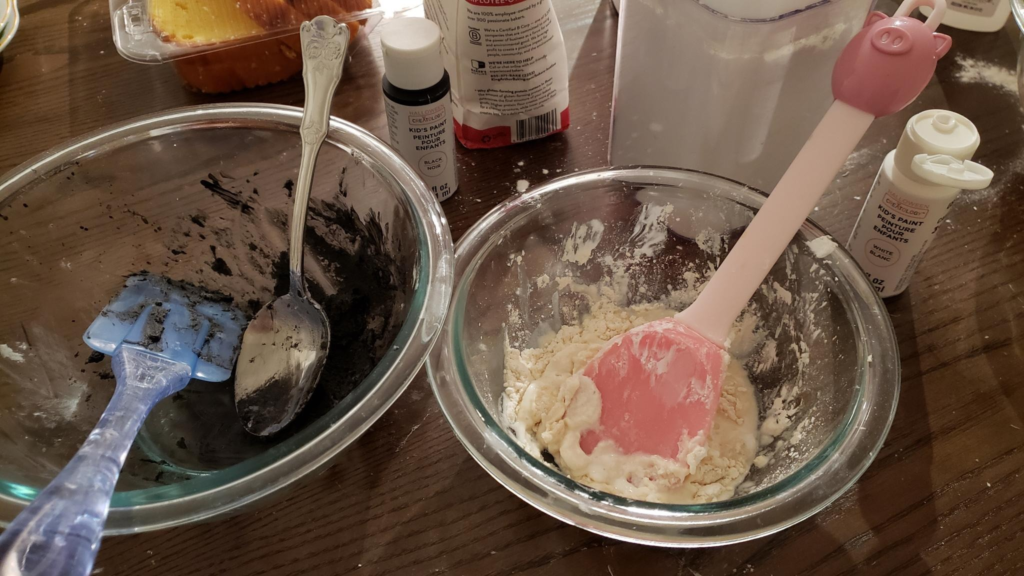
this is what i get for going to a website shilling coconut oil for a face paint recipe… would not recommend, also needed WAY less paint, but this was ~1/8 c flour 1/4 c cornstarch 1/4 cup coconut oil and like 1 tbsp tempure paint, mix for a while 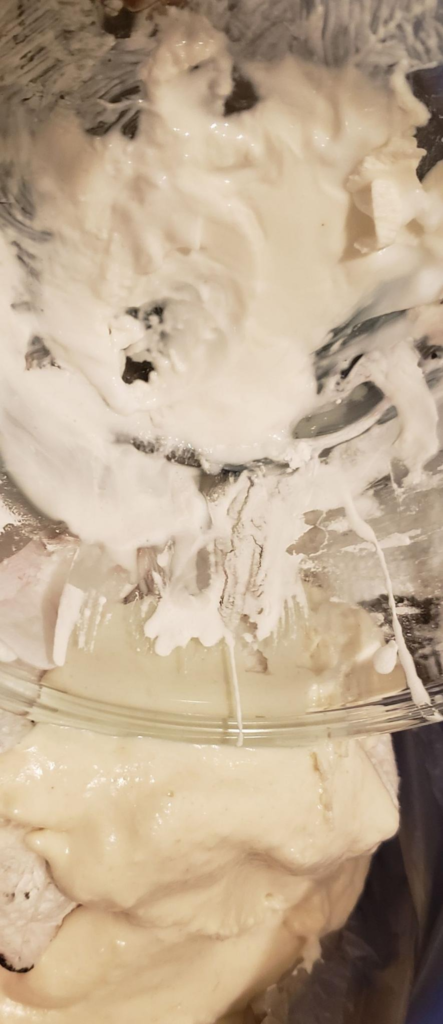
top: rice flour, cornstarch, paint, water mixture.
bottom: lumpy from having normal flour in there, and thick due to coconut oil
so the issue with the flour was, i just used regular all purpose flour and it’s not nearly fine enough. eventually i realized i should look to youtube to understand the consistency i needed, and found https://youtu.be/FC-TNESAfMI?t=1285 the recipe here is just water, cornstarch and rice flour — these are all finer powders than flour. i added some white tempura paint ($0.8) to make it more opaque, and black tempura paint for the 2nd color of course. this was a lot better than the coconut oil, which was just like… thick clumpy paste…
in the end still everything was terrible, i think adding lotion was needed to the latter mixture to prevent flaking when dry. it would be okay in the street at night, but in daylight…
But anyway. I can add skeleton makeup to cuts as something that I can do fast in the future. I’ll just know what supplies to get online before hand.
Here are the pictures of the WIP.
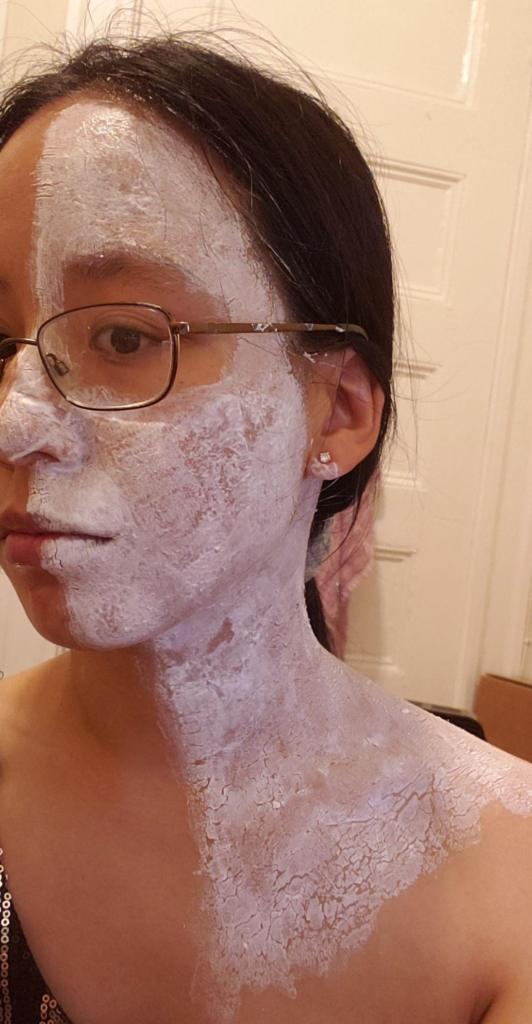
start in on teeth and … no idea what’s going on on the side 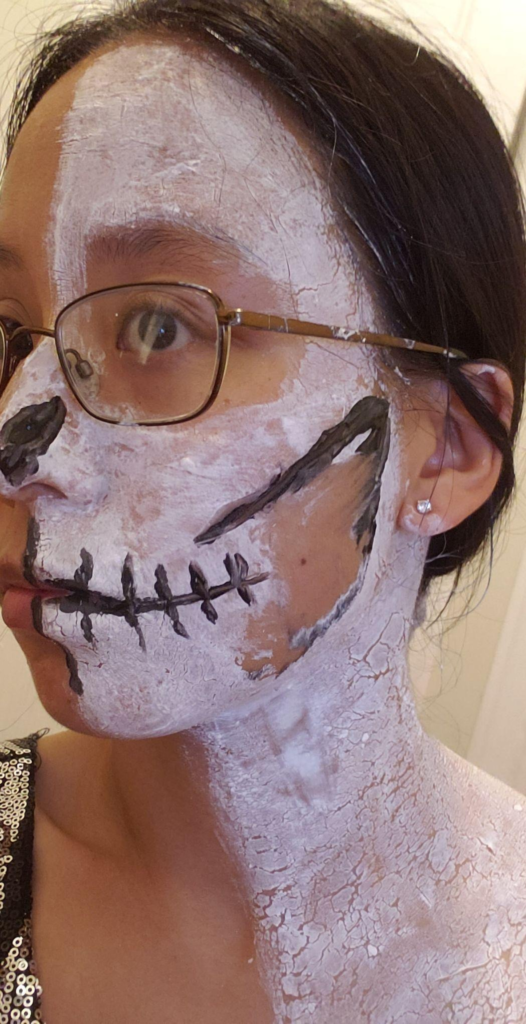
ah f*k we filled in the wrong sections, wipe that off 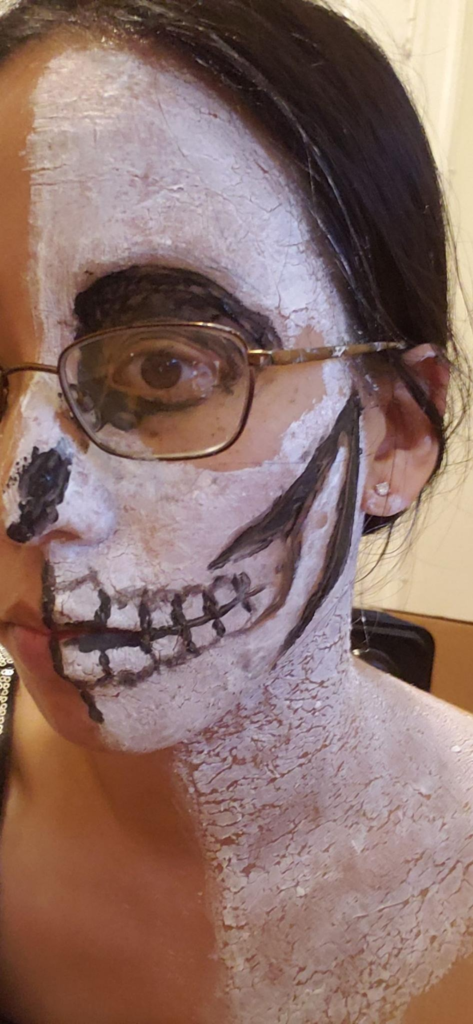
ok let’s add the teeth, and also fk up the eye socket 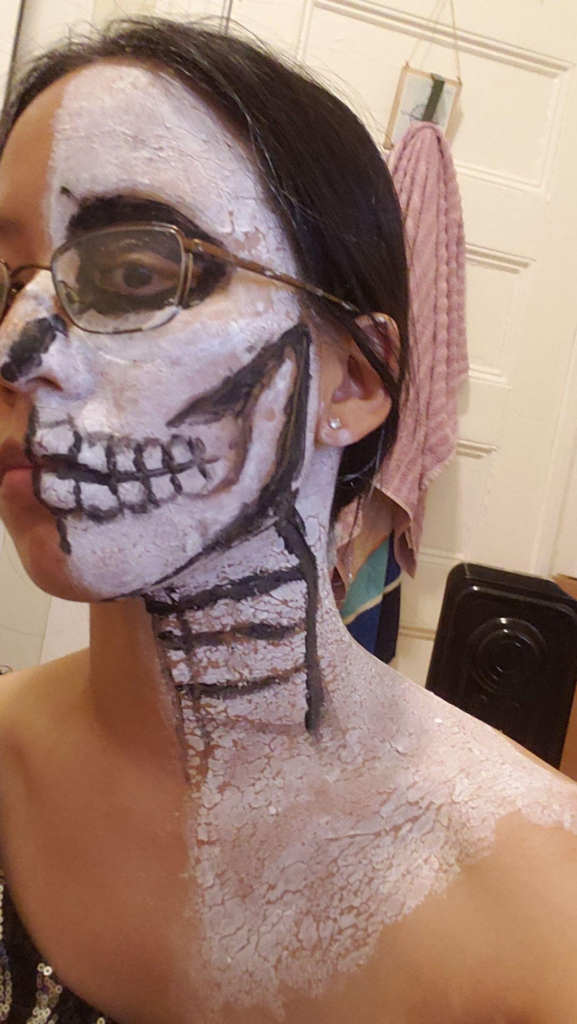
redo eye socket, start in on neck final result, dried into a flaky mess ;__; also why did i struggle so hard on the white if most was covered by black in the end?!
painting my ear was the worst
In future I can also look at more skull references https://duckduckgo.com/?t=ffab&q=skull&iax=images&ia=images
This tutorial just uses pale foundation, with baby powder to set it. https://www.youtube.com/watch?v=wbNanDEQb6E
This tutorial (https://www.youtube.com/watch?v=cOzQipKgeic) has more of the fun countouring stuff, and actual face paint recommendations: Face Paint Cheaper Alternative (Mehron Paradise Paint) which is about $13 for a cake of white, which is pretty reasonable given THE 8 HOURS I SPENT TRYING TO MAKE MY OWN i hate my spontaneity sometimes
lessons learned
decide on friday so you can amazon face paint to yourself on sunday because all the stores will be out of face paint on halloween,
also if you’re making your own, add lotion to the paint so it doesn’t flake everywhere after it dries
don’t care so much about the white layer, you’ll f*k it up and wipe it clean and just apply another white layer anyway
buying things
I have been reflecting a bit. I’ve been trying to go to stores in person (now that I’m vaxxed) locally vs buying amazon. But it saves so much time to just buy online sometimes (well… unless too much indecision due to massive # options). And there are more likely to be used items for less money and feels better than consuming new things. Plus, I already pay amazon $60-$70 a year to host this website. So does anything matter?!
other notes
even when it looks awful compared to youtube, people IRL don’t have that reference and will just be impressed at the boldness of doing full face makeup o__o
2017, when it all started
aw yea that crayon look, for lack of a $2 brush…
try 2 on the next day went a little better…
2017 supplies used:

my notes at the time:
- Just ordinary eyeshadow (for lining the eyes and eyebrows),
- eyebrow shadow (optional),
- eyeliner (for thinner black lines for the wound),
- lip balm (bright red for the blood, which should be cover an area bigger than the black lines) (I wish I had had a thinner red. Also, this leaves stains for a day even after I scrub with makeup remover clothes),
- clear nail polish,
- pale foundation (to give it an eerier feel) — could also be combined with the white eyeshadow for a paler shinier feel
- and latex peel-off nail polish (you put it around your nail bed for easy cleanup after applying nail polish).
- Not pictured: hairspray, just to keep things together (it doesn’t seem to help with shininess?)