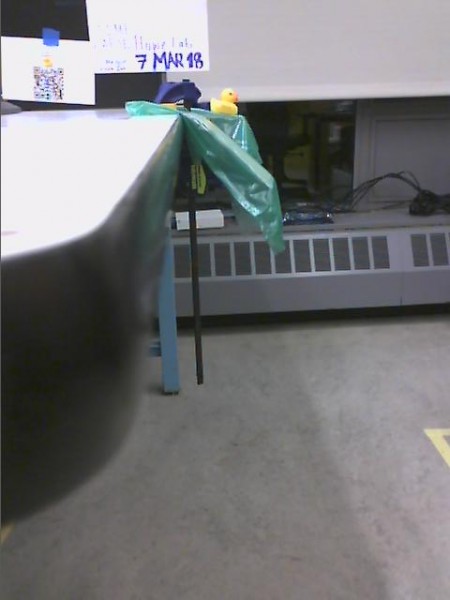
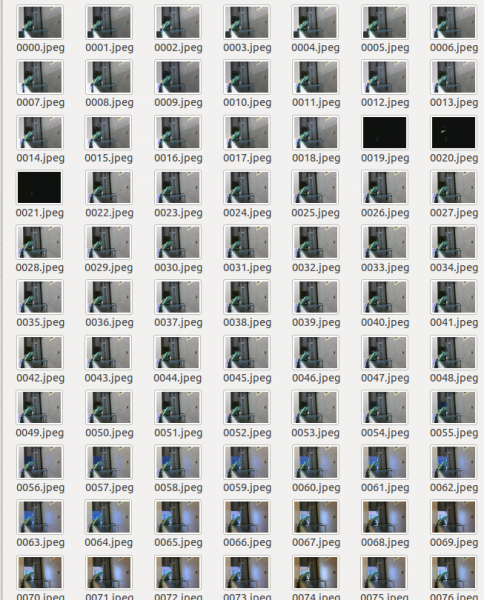
edit: Note that physically, the set-up is that I have an extra desktop which is always on and connect to the internet which is running Ubuntu (16.04). I have an external webcam. This also requires a dropbox account.
I’ve often wanted to monitor something remotely, but have had issues in the past trying to set up a video stream. For monitoring experiments remotely (or for instance a 3d printer), I really don’t need 30 frames per second.
I suppose nowadays, in theory I could set up a youtube live stream, especially since I could just disable audio. But for more control over the end result, my solution is a one-liner bash command, combined with a dropbox account.
I was having a terrible time with all my search results describing ways to create a timelapse animation, instead of detailing how to take the pictures for the timelapse in the first place.
use streamer
streamer -c /dev/video1 -t 10 -r 1 -o 0000.jpeg &
The settings for the above command are as follows:
- Using the “second” camera (ince my desktop has a built-in webcam mapped to /dev/video0, whereas I wanted to take pictures with a USB webcam)
- 10 frames total
- 1 frame a second (rate)
- Name starts at 0000.jpeg (it will automatically count up)
streamer -c /dev/video1 -t 300 -r 0.0033 -s 640x480 -o 0000.jpeg &
i used the first command to test whether the command is working.
- For the actual timelapse, I wanted to take a picture every 5 minutes, or in other words every (1/360 = 0.0033) seconds. (I don’t think there’s an option to define the rate in anything other than seconds).
- I wanted about 24 hours of timelapse. At every 5 minutes, I take 12 an hour or 12*24 a day, so around 300 frames
- Streamer was defaulting to 320×240 pixel images, so I asked streamer to instead take 640×480 pictures, which are what my webcam supports.
Note: I did not really play around with this, but I think you can also create video with streamer, e.g.
streamer -c /dev/video1 -t 0:30 -o movie.avi -f jpeg
installing headless dropbox
Following the online instructions from the dropbox site
cd ~ && wget -O - "https://www.dropbox.com/download?plat=lnx.x86_64" | tar xzf -
Run the synchronizer
~/.dropbox-dist/dropbox
making the timelapse persistent
screen allows our session (within which we are running streamer) to persist, even if someone closes the terminal window.
Screen Basic commands:
screen -r (reattach)
screen -d (inside screen session, to detach)
ctrl-shift-w
ctrl-a w (list windows)
ctrl-a 1 (switch to window #1)
ctrl-a c (new window)
exit (close window) — after last window is closed, screen terminates.
Commands to handle background process
For instance, if you messed up your settings and streamer is now taking 300 frames at a rapid rate,
$ ps x | grep streamer
$ sudo killall streamer
Putting it all together
$ nohup ~/.dropbox-dist/dropboxd&
$ screen
> cd ~/Dropbox
> streamer -c /dev/video1 -t 300 -r 0.0033 -s 640x480 -o 0000.jpeg &
Now, I can access my setup online at dropbox.com. I can also use the “share folder using link” option on dropbox to share with multiple people.
Make a QR code
This was purely for fun, but I turned the dropbox link into a QR code which I printed out and stuck next to the experiment
Protips
I find it really handy to include labeling information not just in the filenames but also physically in the image. Below you can see I labeled the image with the date of the timelapse.
Making a timelapse (animation / video of the resulting images) using ffmpeg
Use ffmpeg.
cat *.jpg | ffmpeg -r 20 -f image2pipe -i - output.mp4
Takes all jpg files and turns it into an mp4 with 20 frames per second.
I was having a lot of issues following the instructions online, but somehow using the image2pipe solved everything. (I was getting errors like “would you like to overwrite this .jpeg file y/n”).
[~/Downloads/buse/rotate]$ ffmpeg -framerate 1/2 -i *.JPG -c:v libx2^C -r 30 out.mp~4
File '0010_rotated.JPG' already exists. Overwrite ? [y/N] nNot overwriting - exiting
https://en.wikibooks.org/wiki/FFMPEG_An_Intermediate_Guide/image_sequence
One thing that surprised me on this page, is that a common command such as “all images in this folder” is a little trickier than I’d expect. (I was working with another set of images that used timestamps as filenames, instead of an orderly 0001.jpeg like other examples onlin).
1) You must use “glob option”
2) You must surround your search pattern in quotes
ffmpeg -pattern_type glob -i "image-*.png" video.webm
note to self: to rotate all images in a directory 90 degrees clockwise:
for file in ./*.jpg do
 convert "$file" -rotate 90 "${file%.JPG}"_rotated.JPG
done
There you have it!
Thanks to the one-liner “streamer” command, and by using dropbox as a syncing service. you can accomplish a real-time viewable timelapse with just 4 or 5 lines of code, and then use just one more line to create a video of the resulting images.
$ nohup ~/.dropbox-dist/dropboxd&
$ screen
> cd ~/Dropbox
> streamer -c /dev/video1 -t 300 -r 0.0033 -s 640x480 -o 0000.jpeg &
cat *.jpg | ffmpeg -r 20 -f image2pipe -i - output.mp4


Alright, I have to say, “Thank you,” on this one. This is something that I needed, remote ‘live’ monitoring without having to worry about bandwidth so much. One-liner bash command saves the day yet again.
Thank you x10^3!