I guess now is as good a time as any to reflect on my years of building things (years now?!). Hello, crackaday.
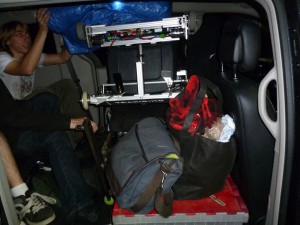
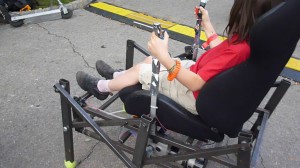
Quick note: hexarideablepod is run off of two A123 magic 12v batteries and is actually controlled by drill triggers. @__@
First, a brief interlude.
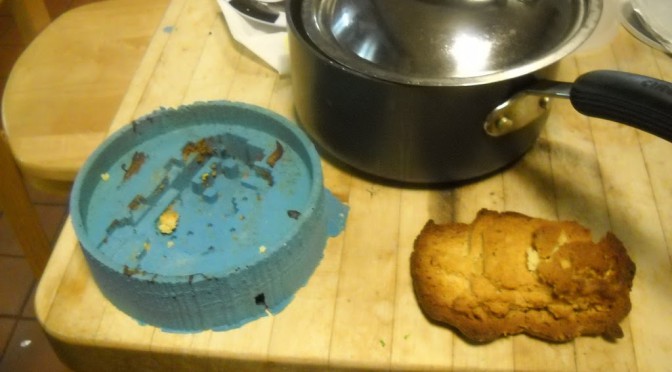
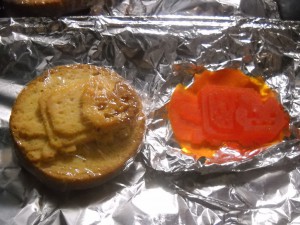
Back in the day I made some nyancakes for MAS.863. That was cut out on the shopbot from pink foam, around which I poured a full pound of easymold two-part silicone mix, aka $26.52 1lb Easymold Silicone Rubber (price has gone up since then).
 |
| one of the earlier tries. turns out it’s sad without a mold release agent, aka vegetable oil. |
Kind of pricey for a single cake. Most of the silicone goes into the areas around the nyancake which can’t really be hollowed out without doing a two-part mold process. Being utterly lazy, I didn’t do that.
Well, lately I’ve been thinking that a better idea is to make cute little nyancupcake molds. So Saturday around 3 am when we were packing up getting ready to leave for maker faire, I decided to emergency nyancake.
- 3:19am
Nancy R. Ouyang
hi charles, can i 3d print a tiny nyancake right now?
like 1” x .5 ”
if not that’s okay!
i recognize i am slightly crazily procrastinative
- 3:21am
Charles Guan
squee squee squee
0_0 do you have the stl?
it’s gonna take like 15 minutes just to heat the machine up
i somehow think this is a bad idea 0___0
if you’re really down i’ll go heat it up right now
This actually turned out pretty well!
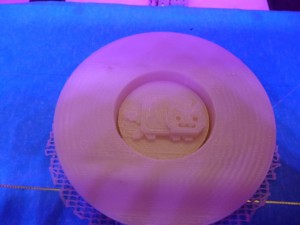 |
| Files: https://github.com/nouyang/orangenarwhals-nouyang-blog-files |
So then I was staying over at Dane Kouttron-wrote-own-software-for-giant-robot-arm-turned-3d-printer-currently-printing-[transportation to be disclosed] person. After getting home from maker faire I took my 1 lb Easymold Silicone Putty ($20) (putty, because since this is way smaller I don’t need to pour in the silicone) and mashed the two parts (white and purple putties) together and then stuck it into the mold. The only issue is I lost one of the eyes which wouldn’t come out of the 3d print.
The next morning, I pancaked! Using box pancake batter. This turned out surprisingly well — the pancake batter resulted in lots of holes yet it held the shape pretty well. We vegetable oiled the interior, spooned a bit of batter in, used the spatula to speed flip everything over, and let it sit for a few minutes, and then took it off the burner and let it cool to medium hot (this is a theory, that letting it cool a bit = contracts and better shape retention, and cooling too much = well idk).
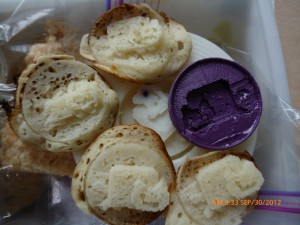 |
| ahhh one-eyed cat pancakes |
Then once we got to maker faire I had this awesome idea of getting someone to 3d print me a slightly larger cake mold and ask the pancake printer people to make some pancakes for me.
Some helpful people in the 3d printer pavilion printed this out, although it finished after we left so no pancakes :'( Ah well, good shot at emergency maker faire project.
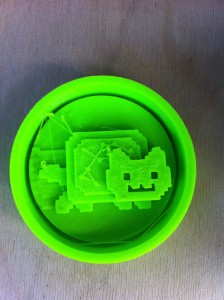 |
| Note spider webs, sphincter compared to earlier print; need more drool control 🙂 Appears to be branch from MTM snap. |
Okay, so back to existential crisis.
(I am totally doing this to intro all my projects so far, because I’m shameless. Also I made a portfolio recently and realized I should actually organize things).
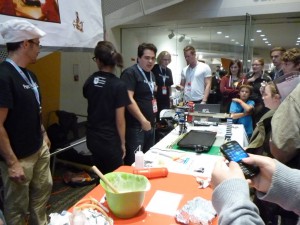
I would count 2.007 as the first time I really started building things (which is an interesting thing in itself — does this mean I only count electromechanical things I built mostly by myself?). As usual I’m plagued by my sense of inadequacy. Because I try to point out to my friends how awesome they are when they talk about their failures and envies, I can recognize the symptoms of this cognitive distortion. And at maker faire — I got a hackaday post off of what I would call a ripoff design, when all my friends have made such awesome projects. Just at maker faire, there was Bayley and Kramnik‘s oneTesla (soon to be kickstarted), Nick’s wholly unique forging-his-own-path-at-MITERS musical instruments and tricopter, Charles’s chibikarts, Shane’s crazy motor controllers, tinykart, and quadrotor, also Ben Katz’s I’m-a-crazy-freshman (okay Kramnik is too but he’s not new to MITERS) awesome!scooter, dgonz‘s scooter and robot arm, Hunter Bank’s let-me-almost-make-an-entire-scooter-in-two-days (designed beforehand), Dane‘s crazy death scooter (pics not up yet), Ted‘s bike-scooter, and a ton of projects
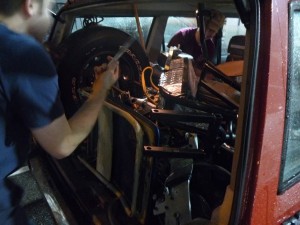 |
| oh robot hexalord all the projects |
Anyway, you see what I mean? Here I’ll list out how I think about my projects. I’ll roughly list my projects in my scale of rather inadequate to completely inadequate. Mostly it’s a combination of two axis — how much engineering I put into it and whether it actually worked or not.
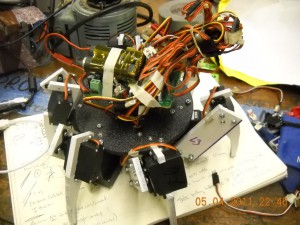
1) hexapod 18 servo
— failure because I never built controls / even sensors for it. Also now dead in the water because after several plane trips, I appear to have killed the pololu serial servo controller – a whopping $50 — which goes to teach me a lesson, buy things with the bare minimum I need because I’ll likely destroy it ;___; . To become legit: need to make actual (3d printed?) case for it, also figure out servo calcs instead of beast-it-and-hope-it-works as I’ve been doing. Figure out how to write inverse kinematics controls, make a GUI interface, make it dance.
2) hexaridaeblepod
— failure because I did very little engineering — almost entirely a ripoff of the epic rpalanteo instructables. Also I don’t think I’ll be working on anything other than maintenance for a long time. Well, maybe add some LED strip lights and a speaker playing nyancat, because I am apparently hexapod nyancat project person.
3) Nyancake
— failure because zero engineering involved besides CADing the model.
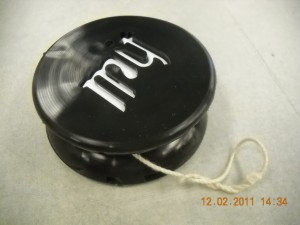
4) persistence of vision yoyo
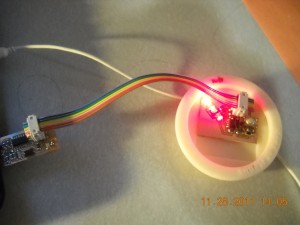
Failure because I never actually carried through on it and got it working (display text) with rotation, and got it to work as a yoyo. Although I did learn about charlieplexing, wrote terrible pov yoyo code which only worked when you waved the yoyo in a straight line.
5) 24v motor controller (h-bridge)
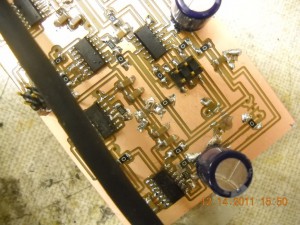
Well, I attempted to make this in 48 hours. That was a fail. I am most sad that I failed to even get to test it because I had issues with routing tiny traces under components, which the mill didn’t cut out, and also soldered the caps on top instead of poking out the bottom so I couldn’t reach the leads to solder them down. Derr. Fail. It was a simple H-bridge controller and I couldn’t even manage that despite lots of help from the thorough documentation on Charles‘s and Shane’s blog. Also it played into the pattern (yay cognitive distortion) of me not finishing final projects. -___-;;
6) Electronics vending machine
— failure because oh yea, speaking of not-finished final projects, this was for MAS.863, I made this over 48 hours — CAD’d and lasercut over 24 hrs — and I skipped the entire final class for it and only brought the half-working thing to the open house. Professor Gersheneld, I’m super sorry for taking up a spot in the class and not doing my fair share of work, although I guess in the end I am the only who lost out.
7) Random lasercutter stuff
(lab glass, business cards, clock)
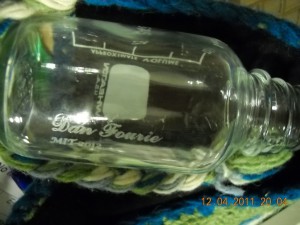
— failure because, well actually I really like the lab glass present for Dan Fourie (found glass of reuse = free gift for putz cruftmas), but for the most part, no engineering involved.
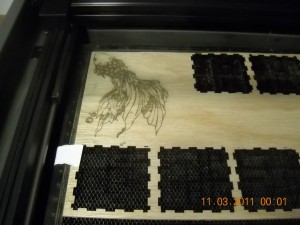 |
| gift for my friend, alice chung |
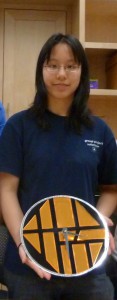 |
| clock face for what was actually supposed to be a waterjet-marble class, but I wimped out. |
 |
| Cathy Wu! and anodized aluminum laser-etched.. |
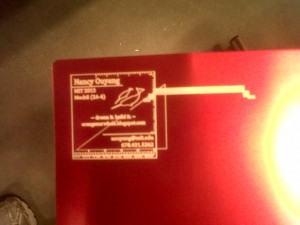 |
| yay fuzzy pictures. “MIT 2013, Meche (2-A), ~dream it. build it. ~ orangenarwhals.blogpsot.com” |
8) Nyanweight
— failure because I intended to make a 3d nyancat, but ended up making an engraving only because I spent countless hours and couldn’t get masterworks to overlap the cuts in the right order (yay pixels = many paths ending on the same point).
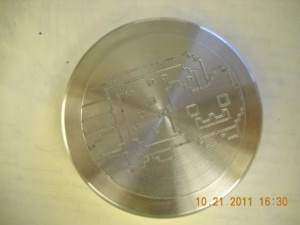 |
| speaking of which, I don’t know where i put this. oops. |
9) hexapod reading group
Katy Gero took charge and spearheaded the lasercutter – bristol board – doube-sided tape replica of berkeley biomimetic millisystem’s hexapods. Cool linkage design. So again I had nothing to do with the design, although I’m happy I inspired people to make things.
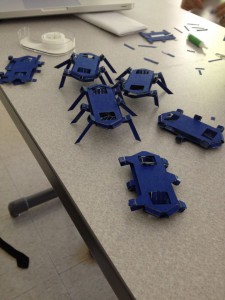 |
| credit: katy gero |
10) nyantart
— failure because it is entirely a derivative of lvl1 work. Zero engineering! Yay GIMP trace of bitmap on internet!
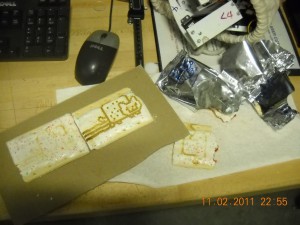 |
| hi lasercutter <3> |
11) Metrify wireless sensors
— failure because I didn’t do any board design (all by mark spatz) — I was more business “cofounder” (no, we didn’t pursue the project as a startup, but it did help me get a job my amazing internship at fitbit). also uber thanks to startlabs for funding us and redstar ventures for hosting us.
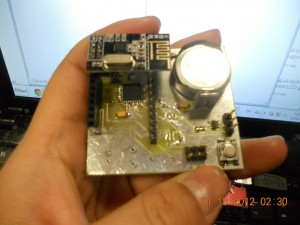 |
| daww generic chinese nrf24l01+ knockoff of nordic breakout board. |
12) 2.008 project
— failure due to my terrible grade in that class, also I don’t feel like I contributed much to my team. I didn’t pay enough attention to lecture even though I am fascinated by manufacturing, I didn’t learn all the ins and outs of the magical mold-making process since I worked on the thermoform mold.
 |
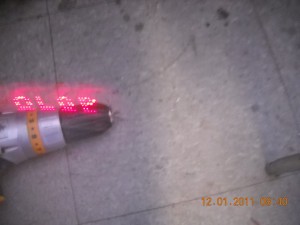
| does it say MIT? or hell? |

