Tag Archives: nyancake

recap (maker faire, hackaday and hexarideablepod, emergency nyanpancake)


I guess now is as good a time as any to reflect on my years of building things (years now?!). Hello, crackaday.
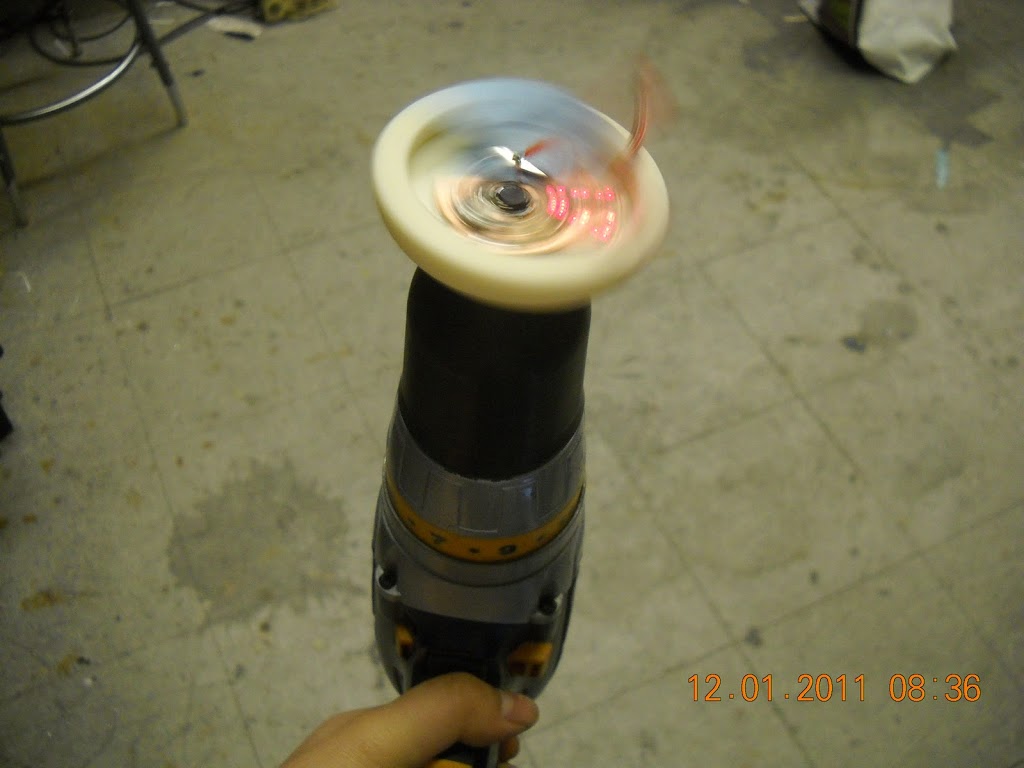
Quick note: hexarideablepod is run off of two A123 magic 12v batteries and is actually controlled by drill triggers. @__@

First, a brief interlude.

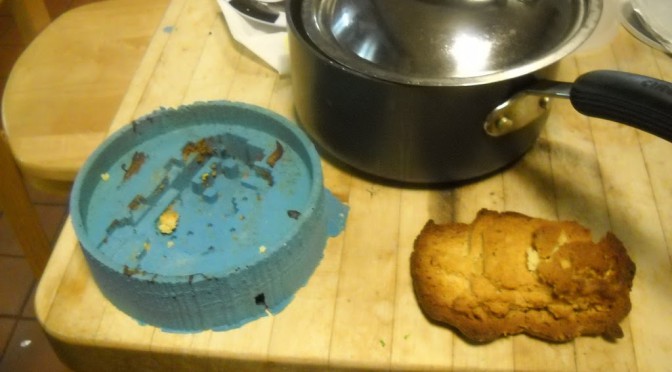
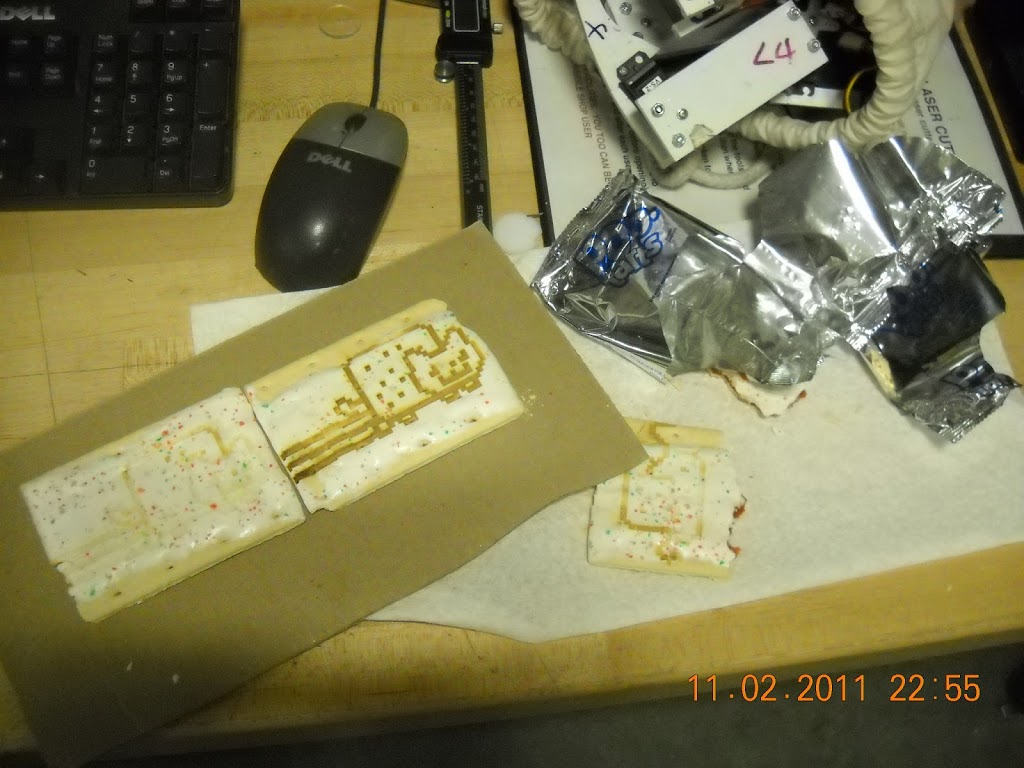
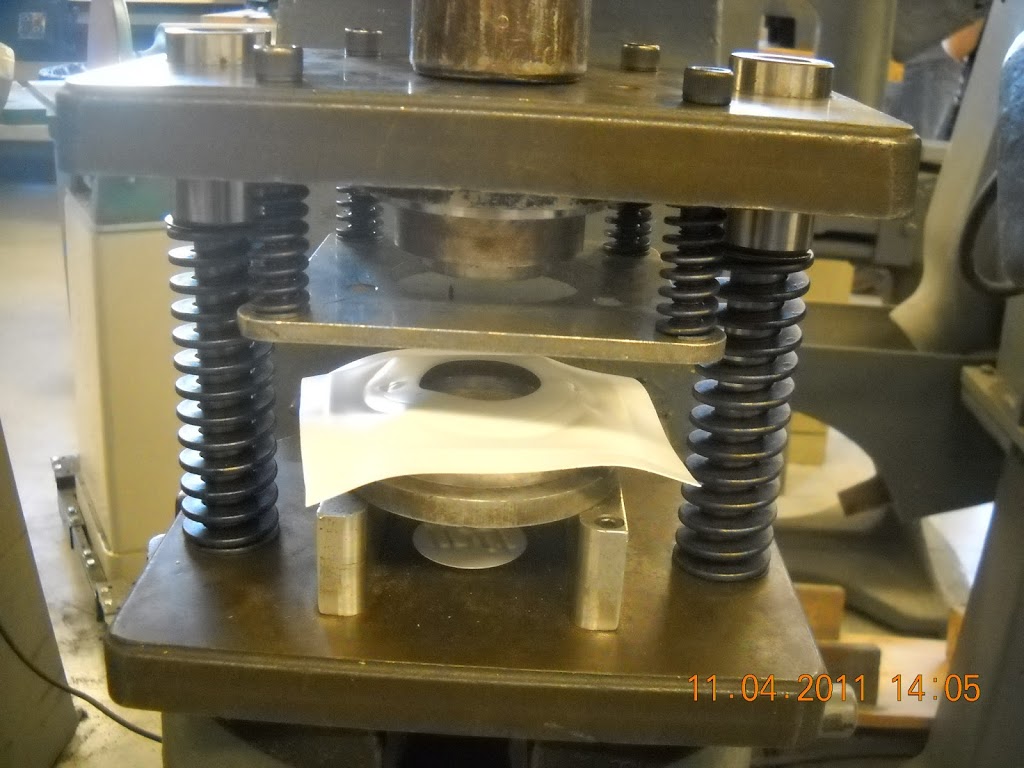
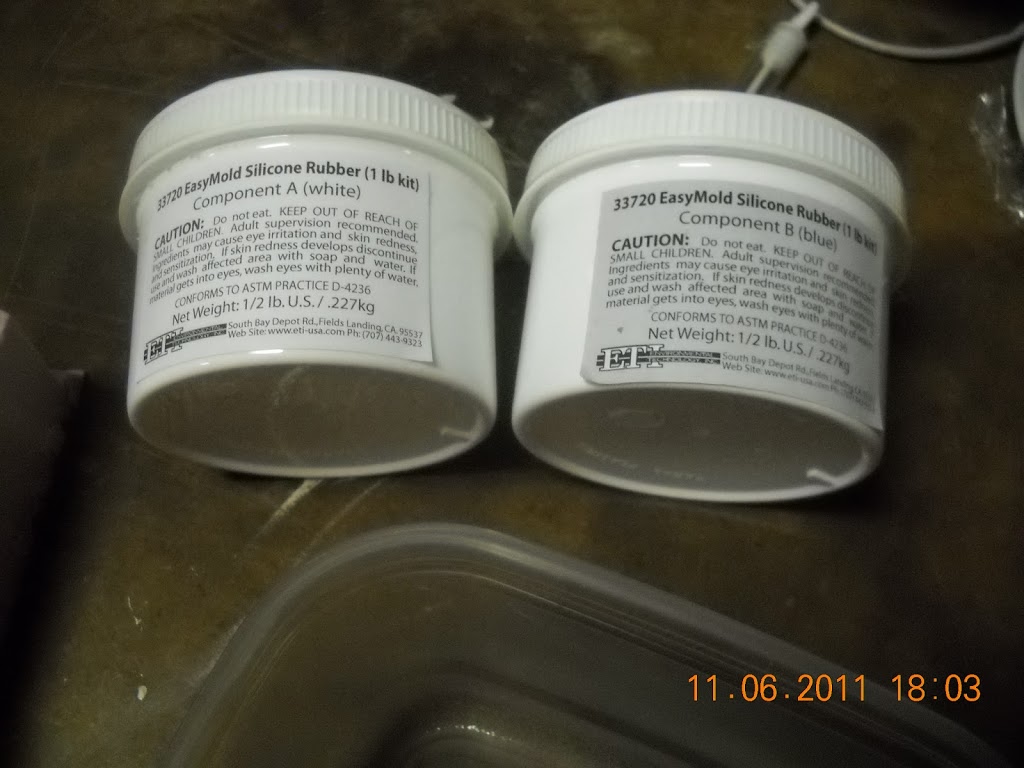
Back in the day I made some nyancakes for MAS.863. That was cut out on the shopbot from pink foam, around which I poured a full pound of easymold two-part silicone mix, aka $26.52 1lb Easymold Silicone Rubber (price has gone up since then).

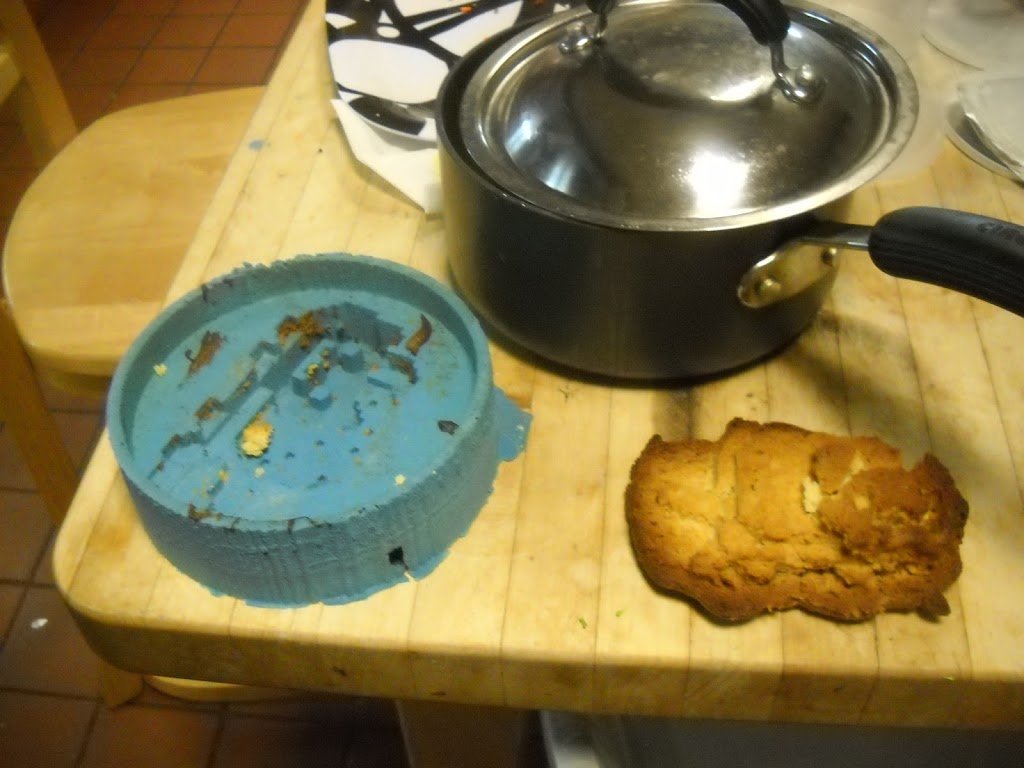
one of the earlier tries. turns out it’s sad without a mold release agent, aka vegetable oil.

Kind of pricey for a single cake. Most of the silicone goes into the areas around the nyancake which can’t really be hollowed out without doing a two-part mold process. Being utterly lazy, I didn’t do that.

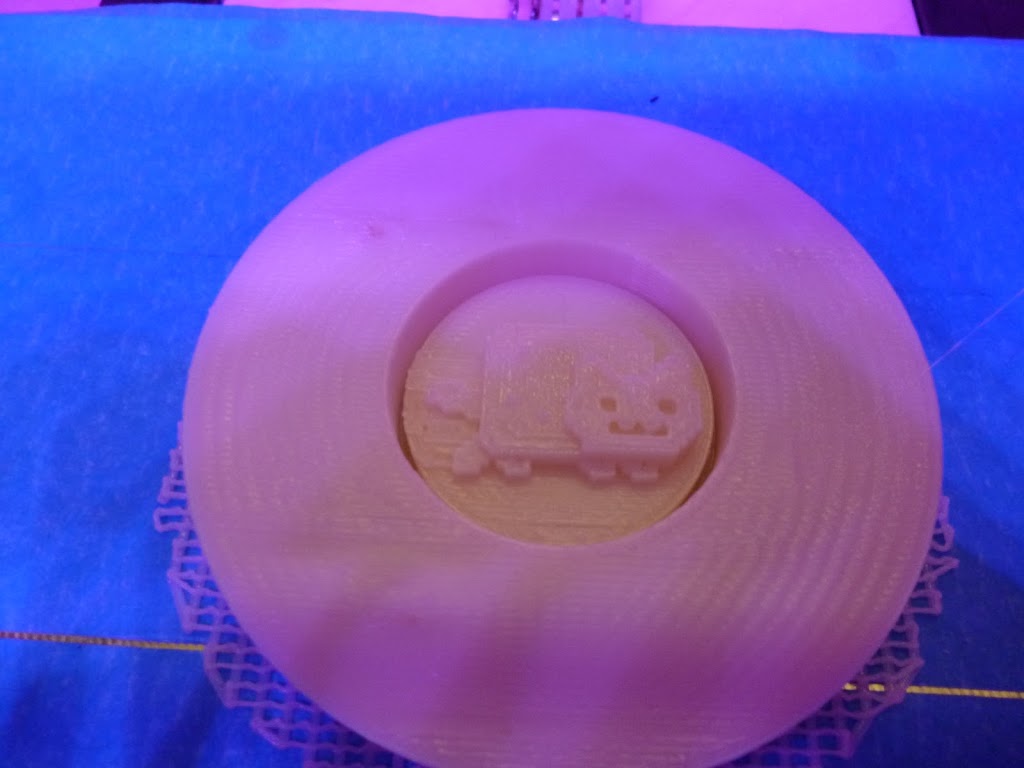
Well, lately I’ve been thinking that a better idea is to make cute little nyancupcake molds. So Saturday around 3 am when we were packing up getting ready to leave for maker faire, I decided to emergency nyancake.

  • 3:19am

Nancy R. Ouyang
hi charles, can i 3d print a tiny nyancake right now?
like 1” x .5 ”
if not that’s okay!
i recognize i am slightly crazily procrastinative

  • 3:21am

Charles Guan
squee squee squee
0_0 do you have the stl?
it’s gonna take like 15 minutes just to heat the machine up
i somehow think this is a bad idea 0___0
if you’re really down i’ll go heat it up right now

This actually turned out pretty well!

Files: https://github.com/nouyang/orangenarwhals-nouyang-blog-files

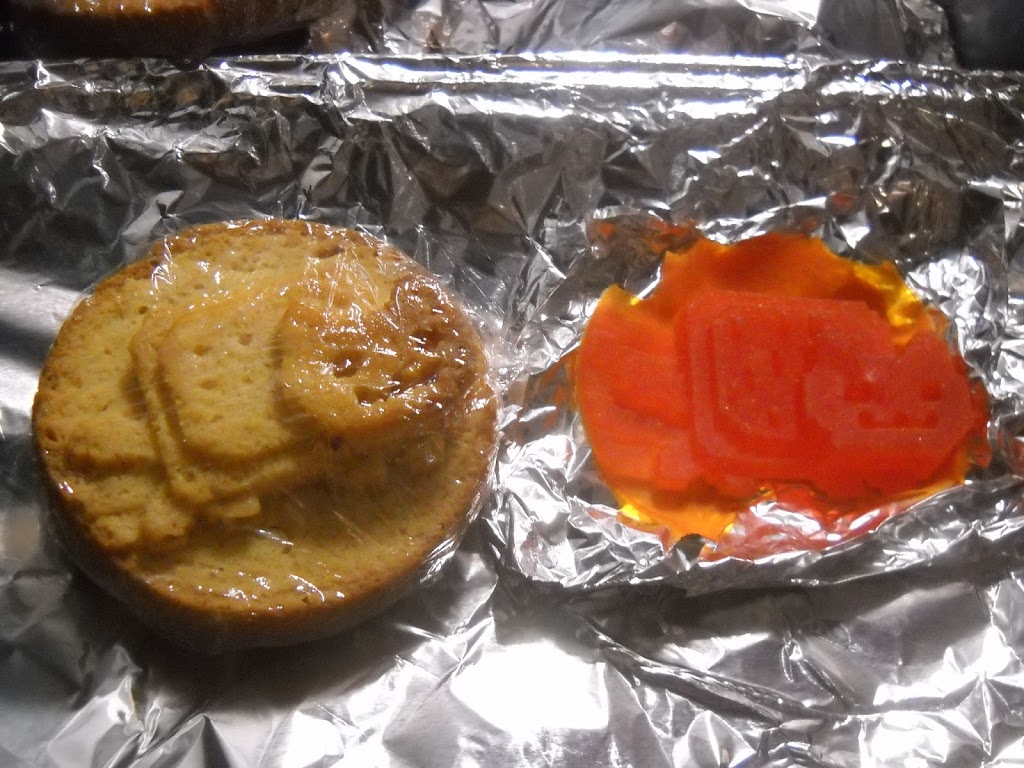
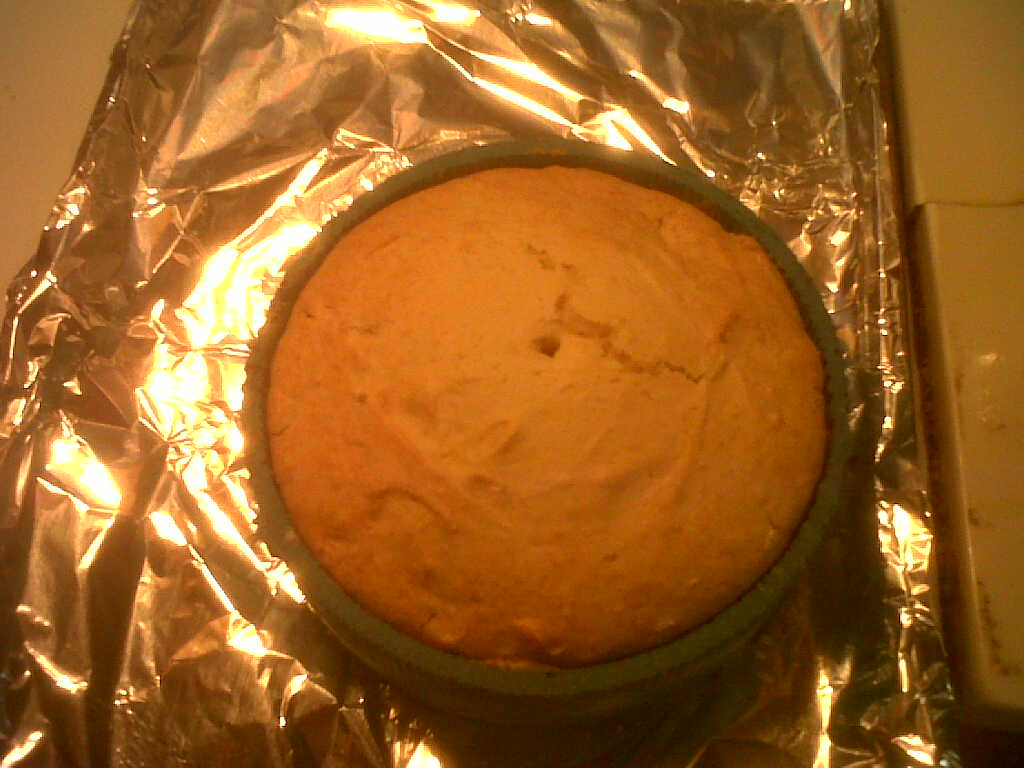
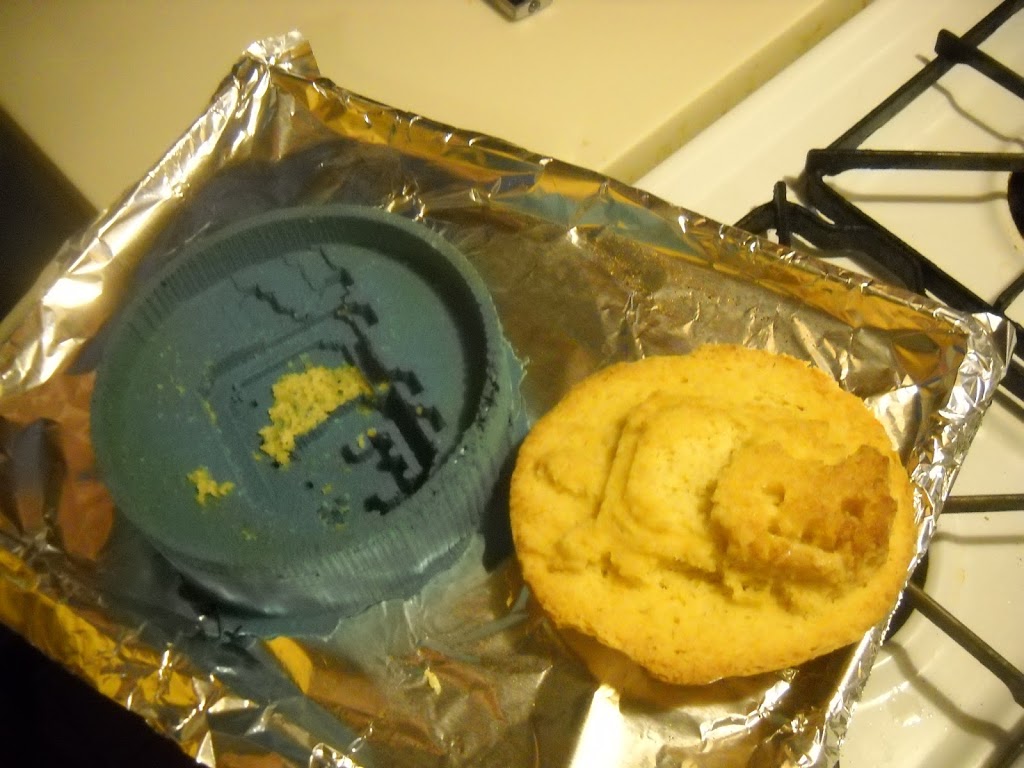
So then I was staying over at Dane Kouttron-wrote-own-software-for-giant-robot-arm-turned-3d-printer-currently-printing-[transportation to be disclosed] person. After getting home from maker faire I took my 1 lb Easymold Silicone Putty ($20) (putty, because since this is way smaller I don’t need to pour in the silicone) and mashed the two parts (white and purple putties) together and then stuck it into the mold. The only issue is I lost one of the eyes which wouldn’t come out of the 3d print.

The next morning, I pancaked! Using box pancake batter. This turned out surprisingly well — the pancake batter resulted in lots of holes yet it held the shape pretty well. We vegetable oiled the interior, spooned a bit of batter in, used the spatula to speed flip everything over, and let it sit for a few minutes, and then took it off the burner and let it cool to medium hot (this is a theory, that letting it cool a bit = contracts and better shape retention, and cooling too much = well idk).

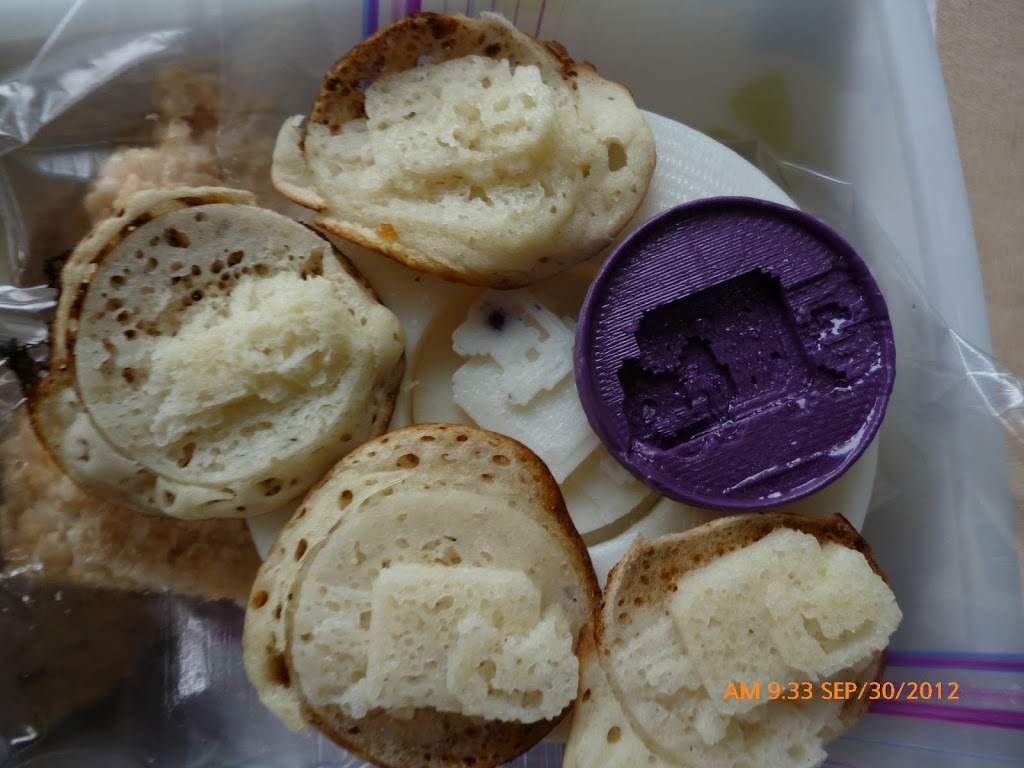
ahhh one-eyed cat pancakes

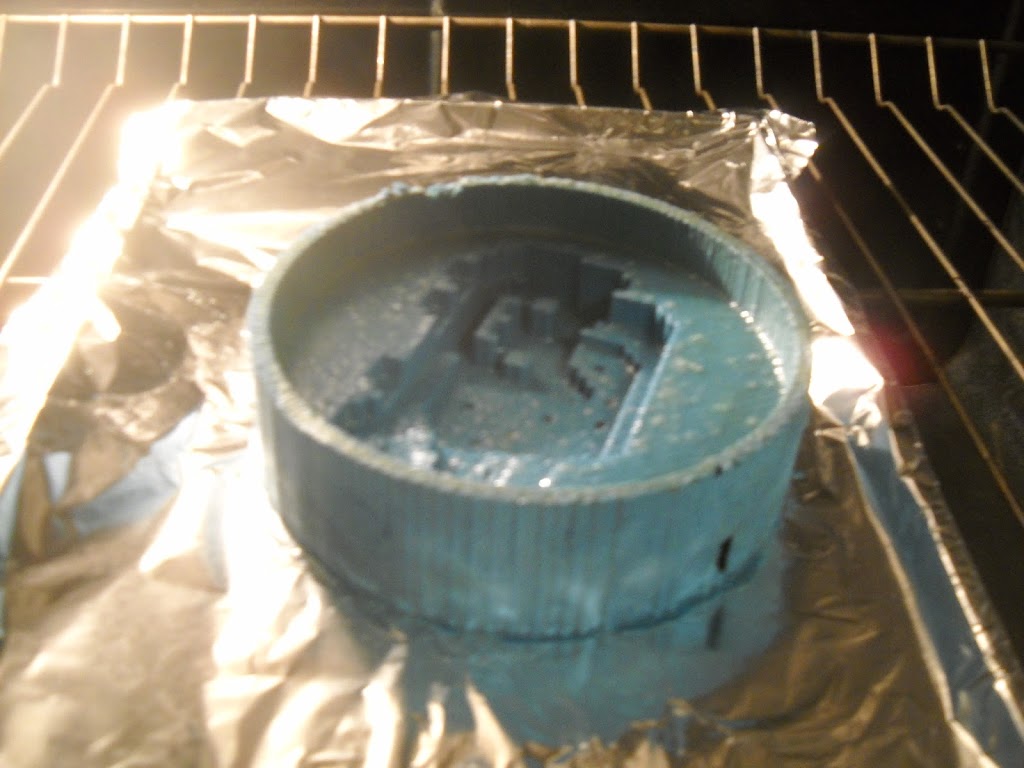
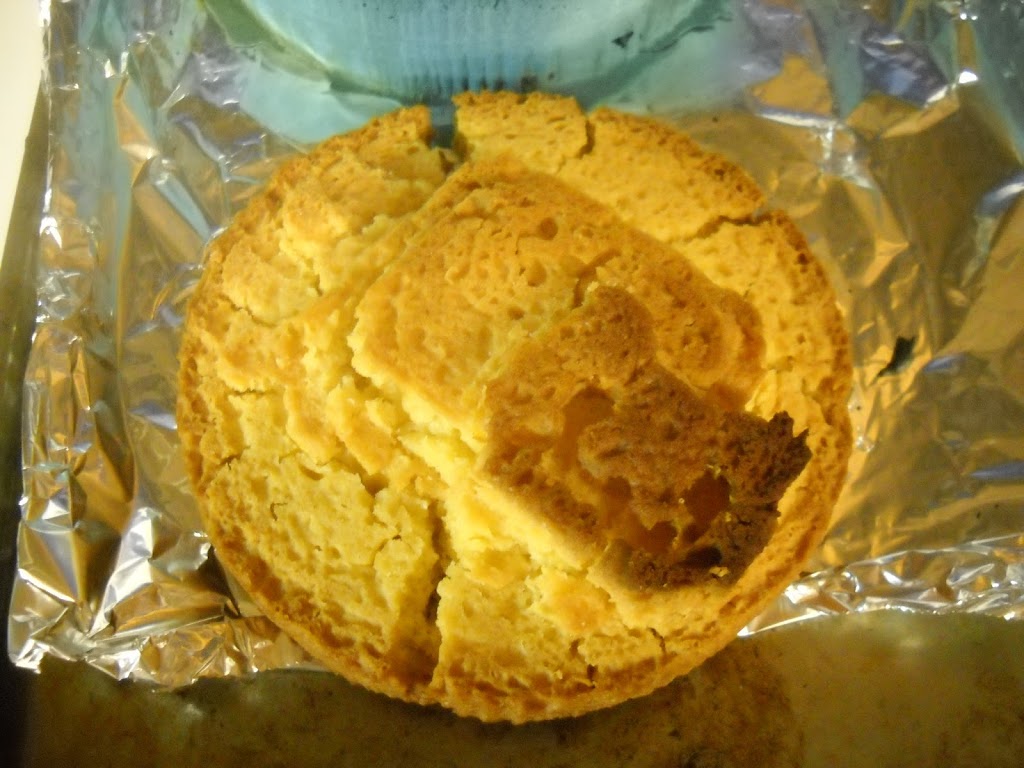
Then once we got to maker faire I had this awesome idea of getting someone to 3d print me a slightly larger cake mold and ask the pancake printer people to make some pancakes for me.

Some helpful people in the 3d printer pavilion printed this out, although it finished after we left so no pancakes :'( Ah well, good shot at emergency maker faire project.

Note spider webs, sphincter compared to earlier print; need more drool control 🙂 Appears to be branch from MTM snap

Okay, so back to existential crisis.

(I am totally doing this to intro all my projects so far, because I’m shameless. Also I made a portfolio recently and realized I should actually organize things).

I would count 2.007 as the first time I really started building things (which is an interesting thing in itself — does this mean I only count electromechanical things I built mostly by myself?). As usual I’m plagued by my sense of inadequacy. Because I try to point out to my friends how awesome they are when they talk about their failures and envies, I can recognize the symptoms of this cognitive distortion. And at maker faire — I got a hackaday post off of what I would call a ripoff design, when all my friends have made such awesome projects. Just at maker faire, there was Bayley and Kramnik‘s oneTesla (soon to be kickstarted), Nick’s wholly unique forging-his-own-path-at-MITERS musical instruments and tricopter, Charles’s chibikarts, Shane’s crazy motor controllers, tinykart, and quadrotor, also Ben Katz’s I’m-a-crazy-freshman (okay Kramnik is too but he’s not new to MITERS) awesome!scooter, dgonz‘s scooter and robot arm, Hunter Bank’s let-me-almost-make-an-entire-scooter-in-two-days (designed beforehand), Dane‘s crazy death scooter (pics not up yet), Ted‘s bike-scooter, and a ton of projects

oh robot hexalord all the projects

Anyway, you see what I mean? Here I’ll list out how I think about my projects. I’ll roughly list my projects in my scale of rather inadequate to completely inadequate. Mostly it’s a combination of two axis — how much engineering I put into it and whether it actually worked or not.
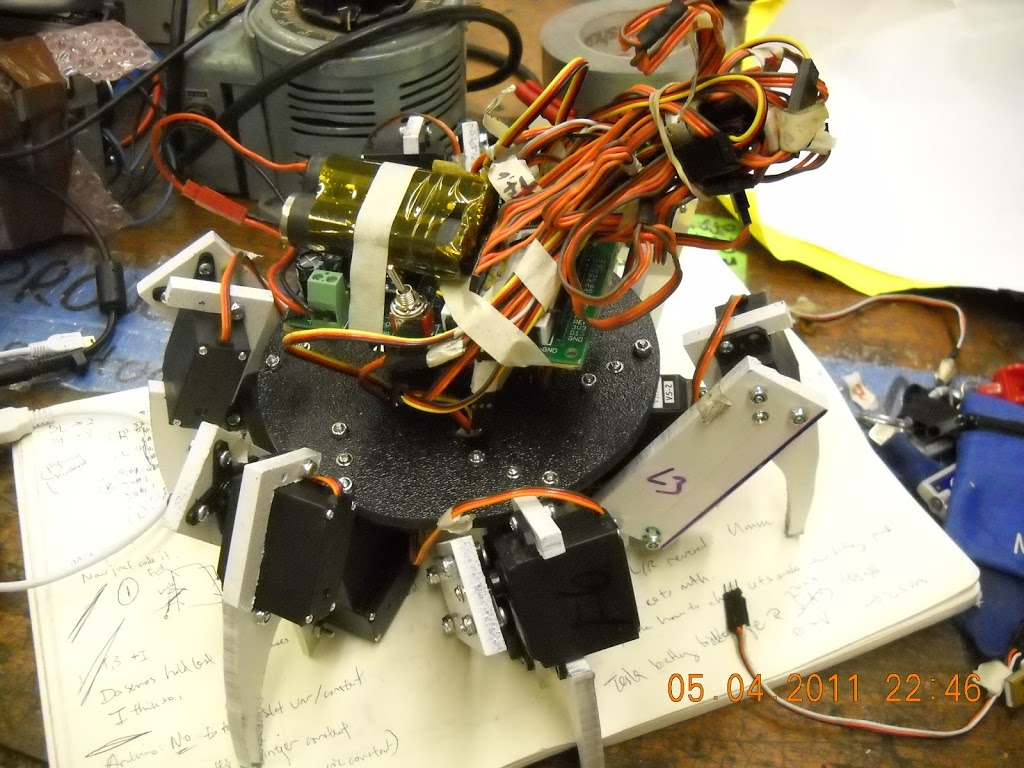
1) hexapod 18 servo
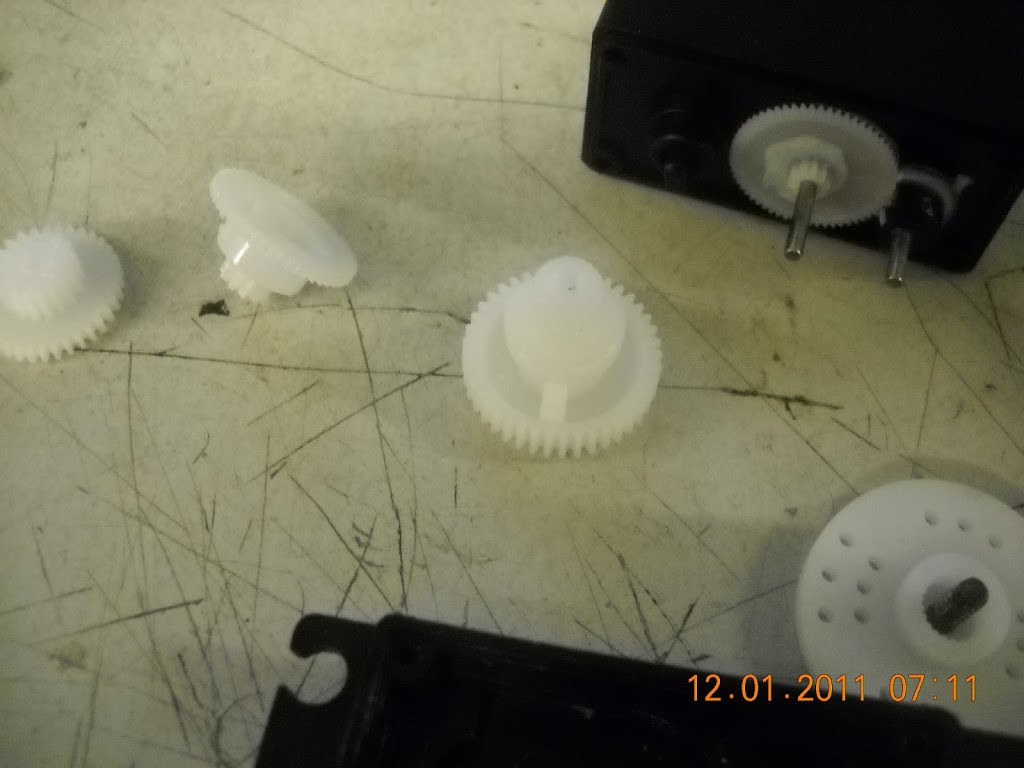
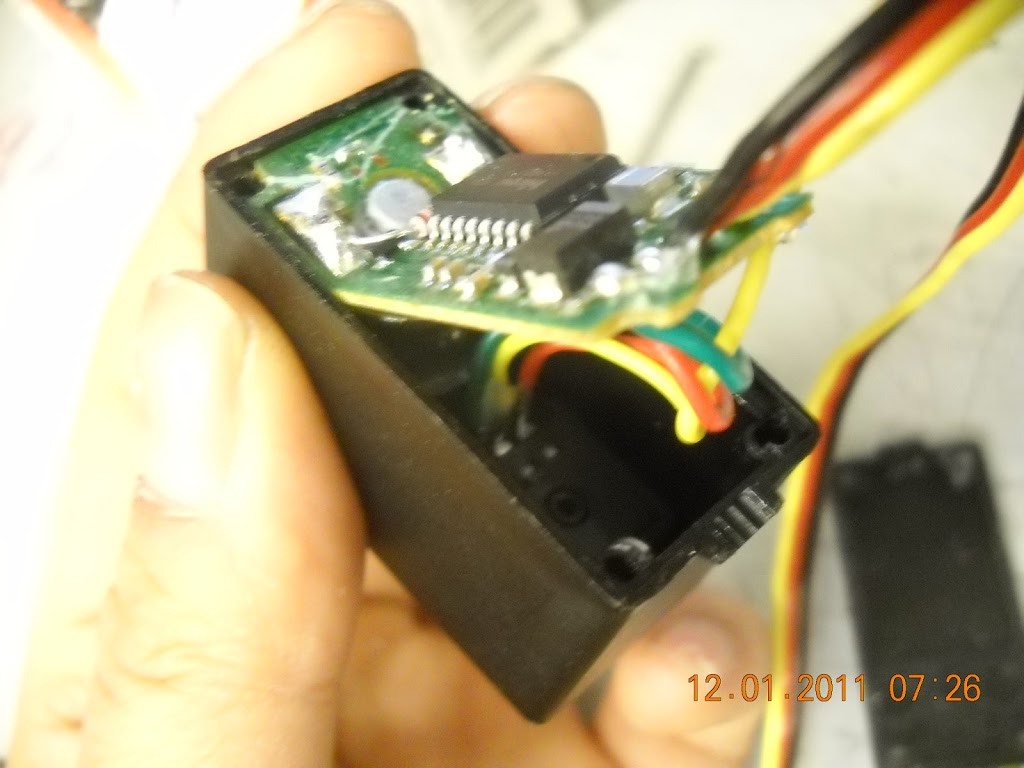
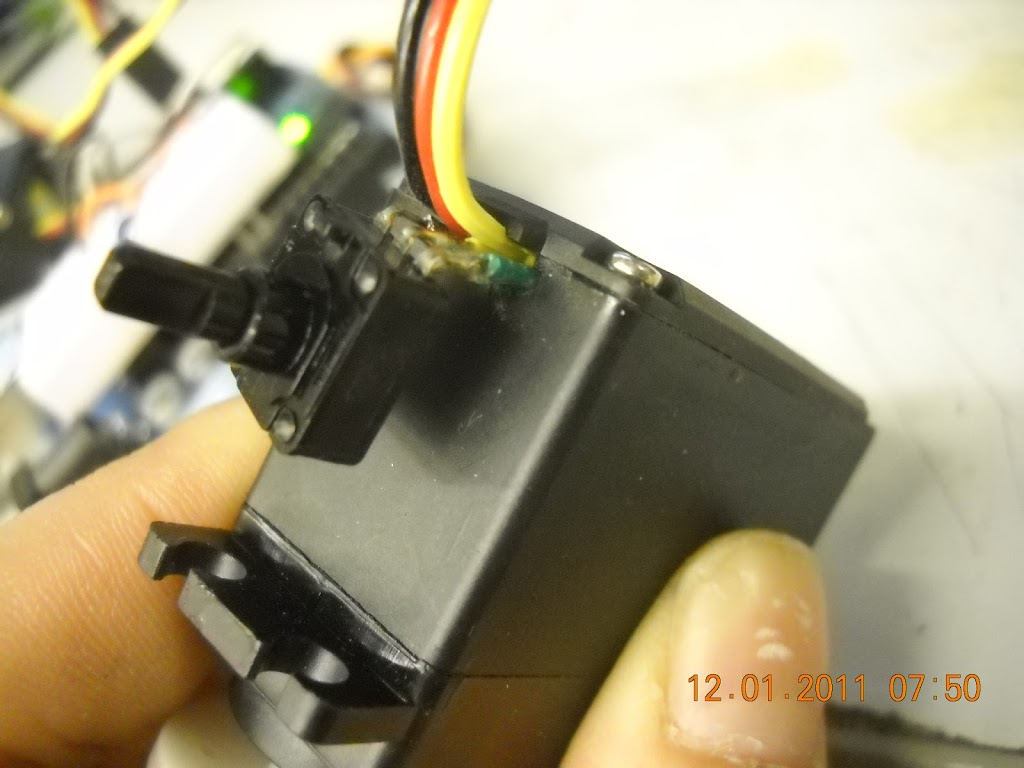
— failure because I never built controls / even sensors for it. Also now dead in the water because after several plane trips, I appear to have killed the pololu serial servo controller – a whopping $50 — which goes to teach me a lesson, buy things with the bare minimum I need because I’ll likely destroy it ;___; . To become legit: need to make actual (3d printed?) case for it, also figure out servo calcs instead of beast-it-and-hope-it-works as I’ve been doing. Figure out how to write inverse kinematics controls, make a GUI interface, make it dance.
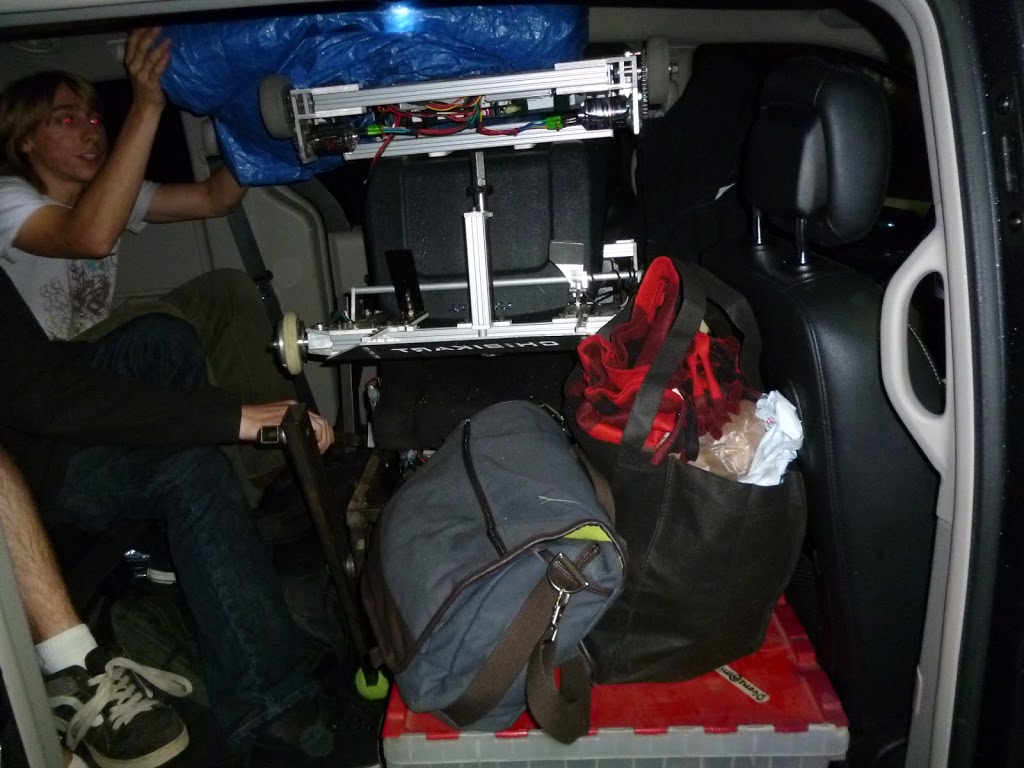
2) hexaridaeblepod
— failure because I did very little engineering — almost entirely a ripoff of the epic rpalanteo instructables. Also I don’t think I’ll be working on anything other than maintenance for a long time. Well, maybe add some LED strip lights and a speaker playing nyancat, because I am apparently hexapod nyancat project person.

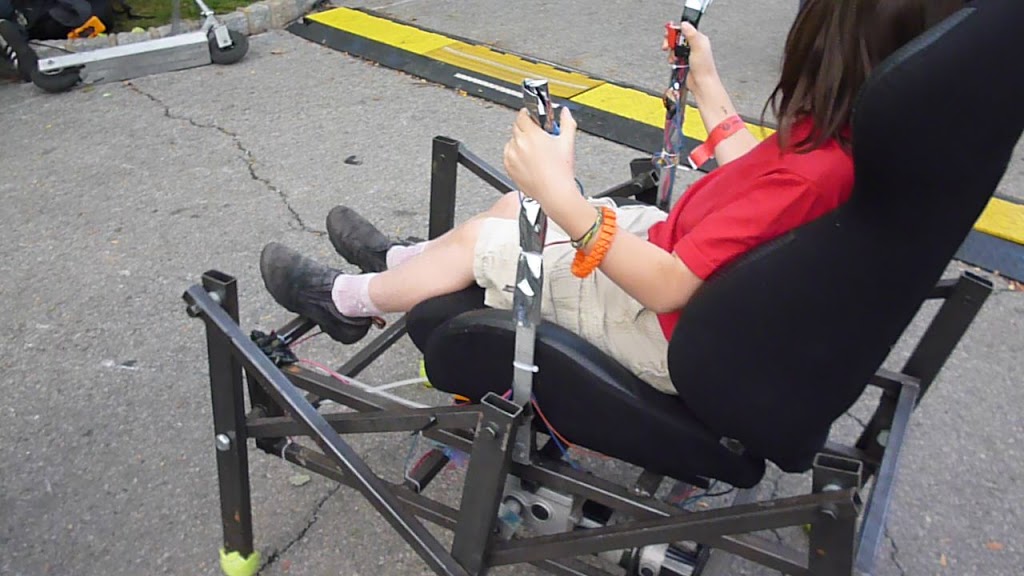
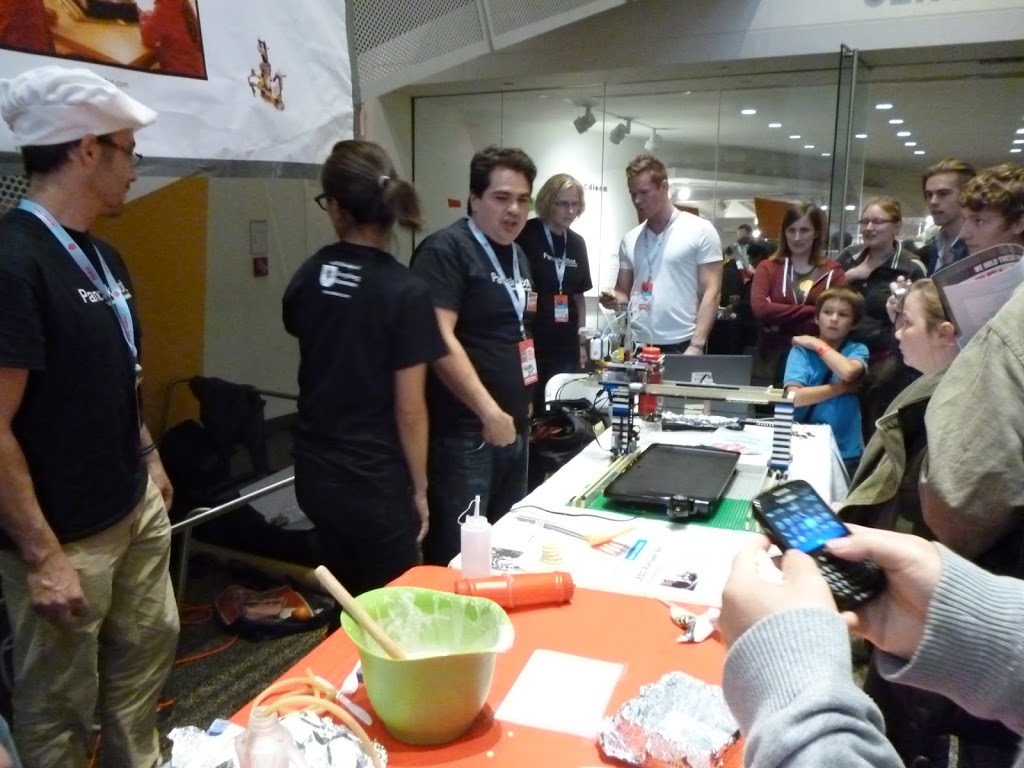
fewer kids than last year, also no rides the second day because I didn’t have batteries because other people’s projects ate them… ;__; the whole reason I brought hexarideablepod was to give kids rides
Also it runs much faster / scarier at 24v but I seem to be on a blowing-up-controllers spree right now.
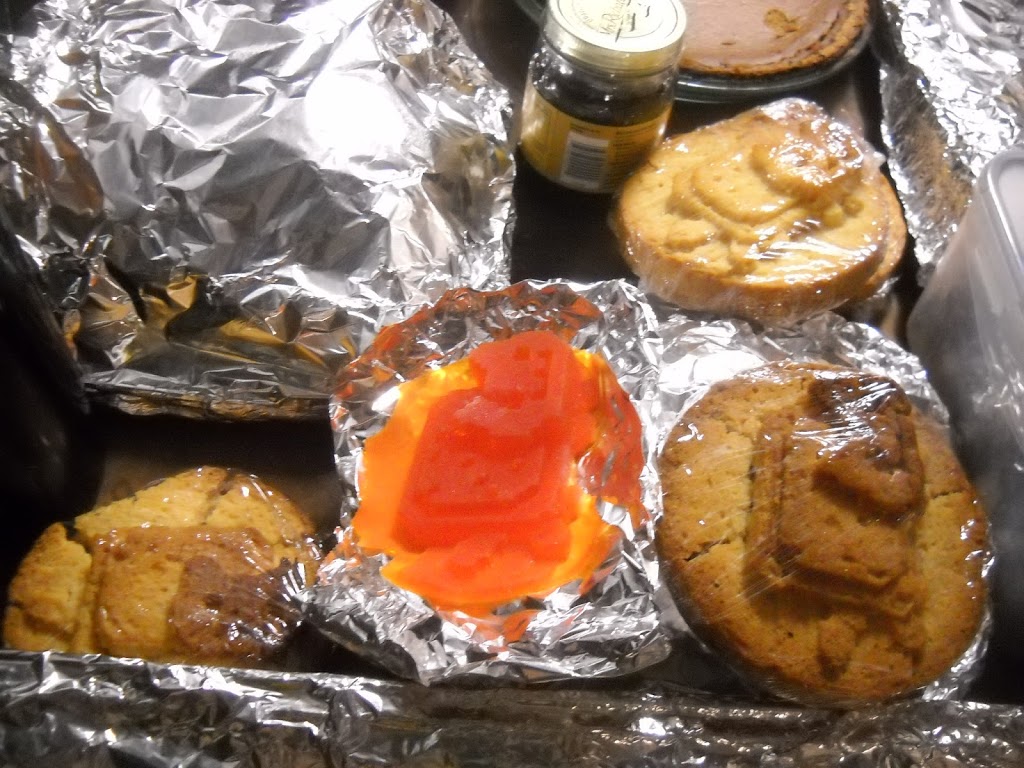
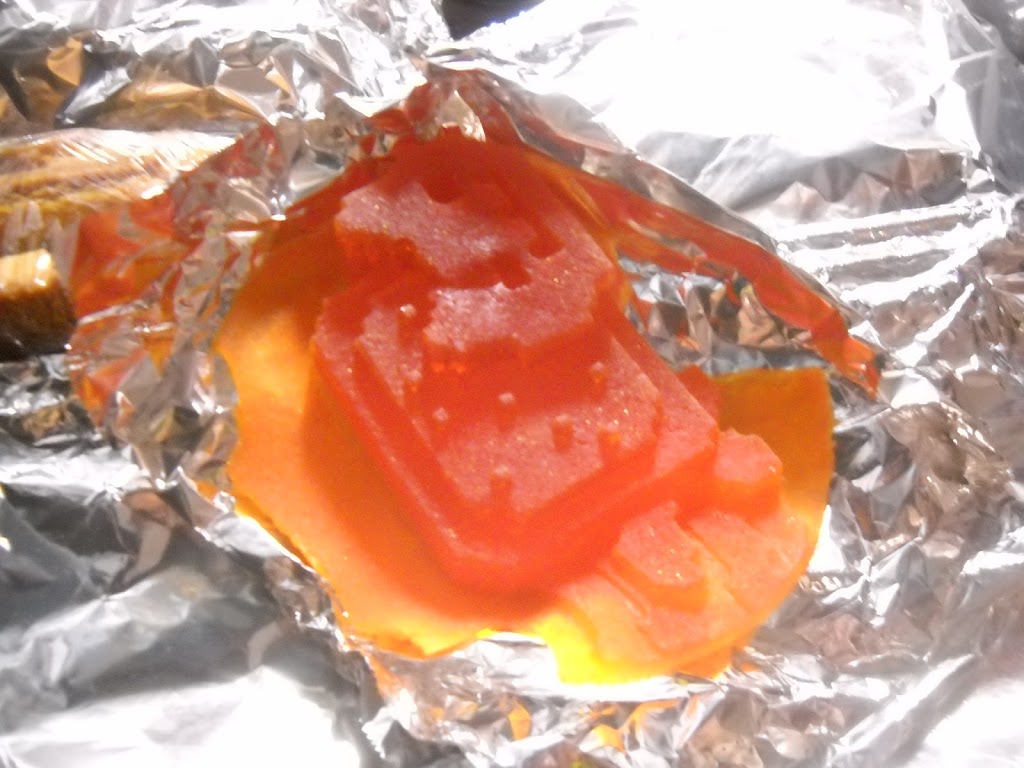
3) Nyancake
— failure because zero engineering involved besides CADing the model.

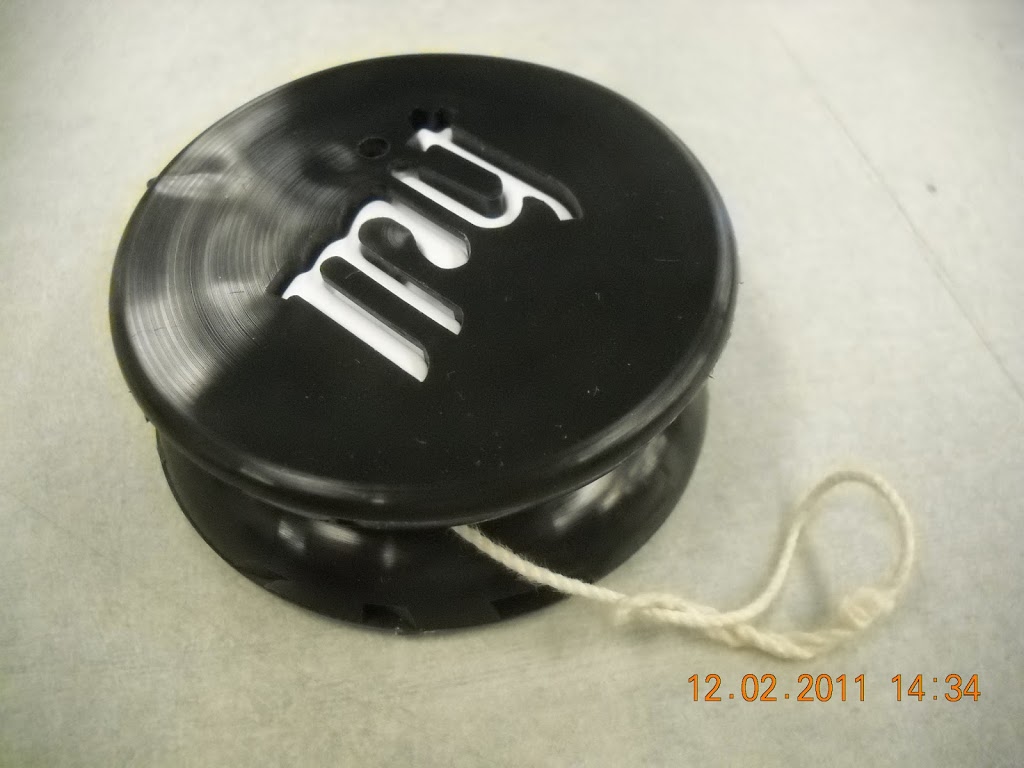
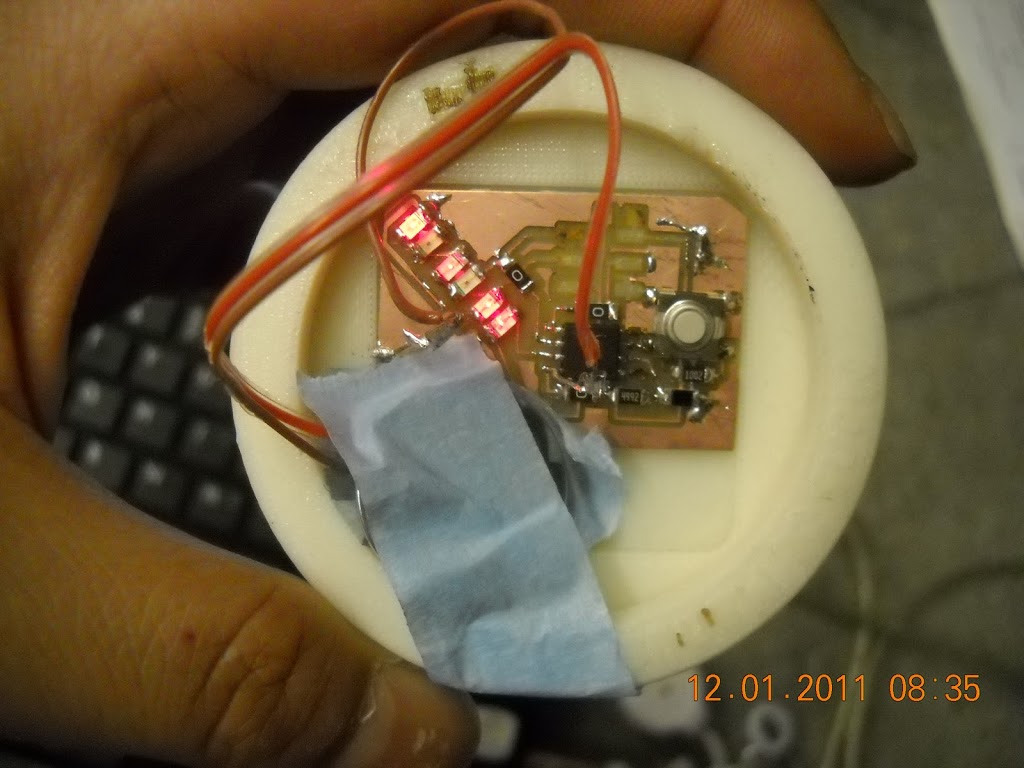
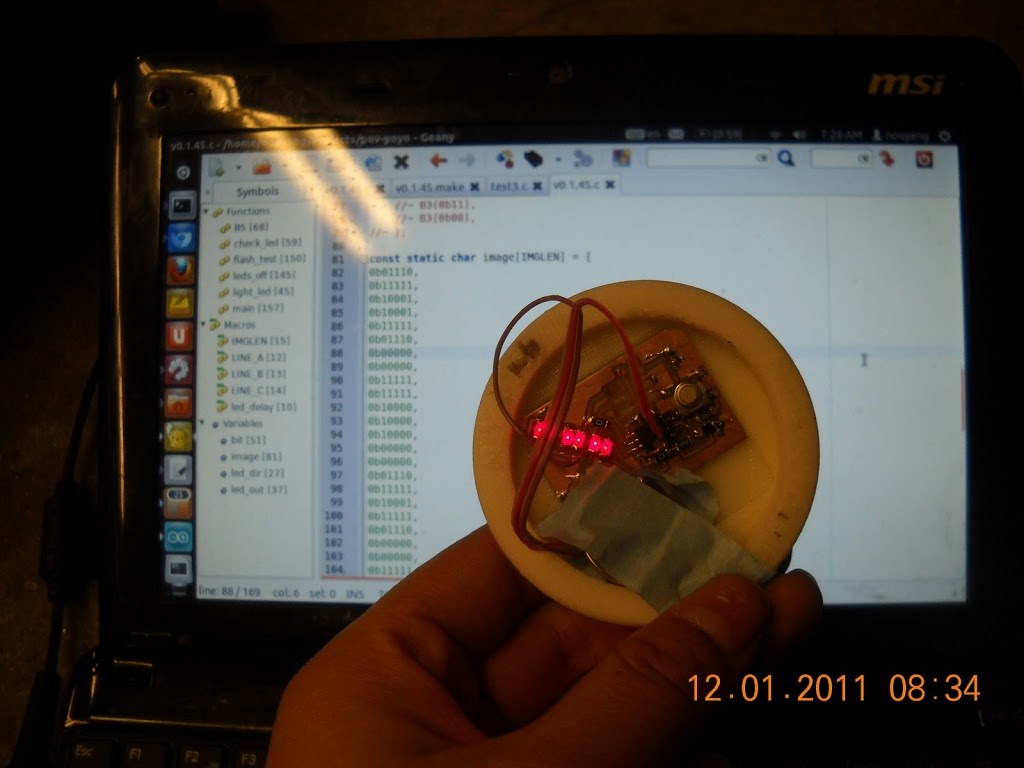
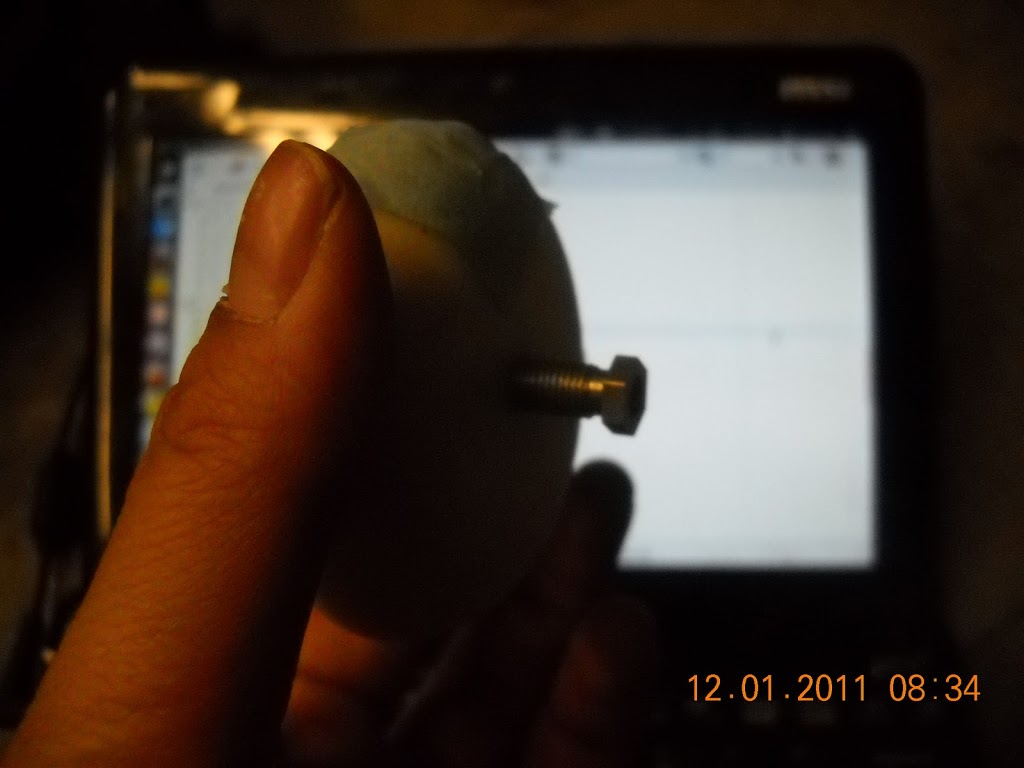
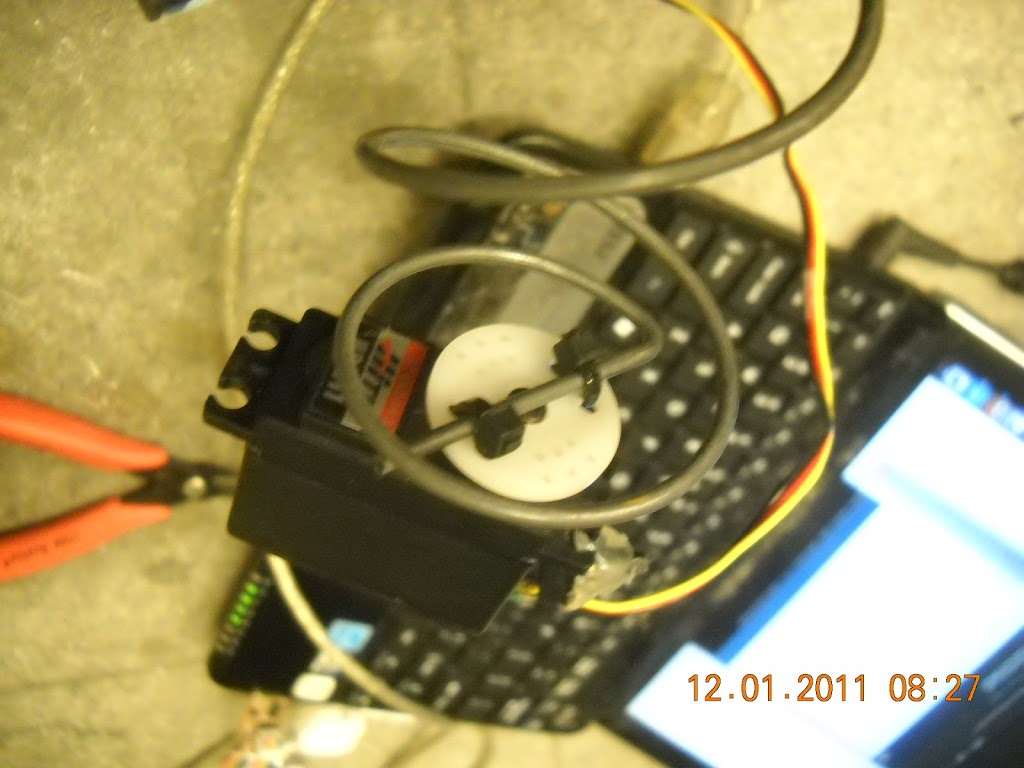
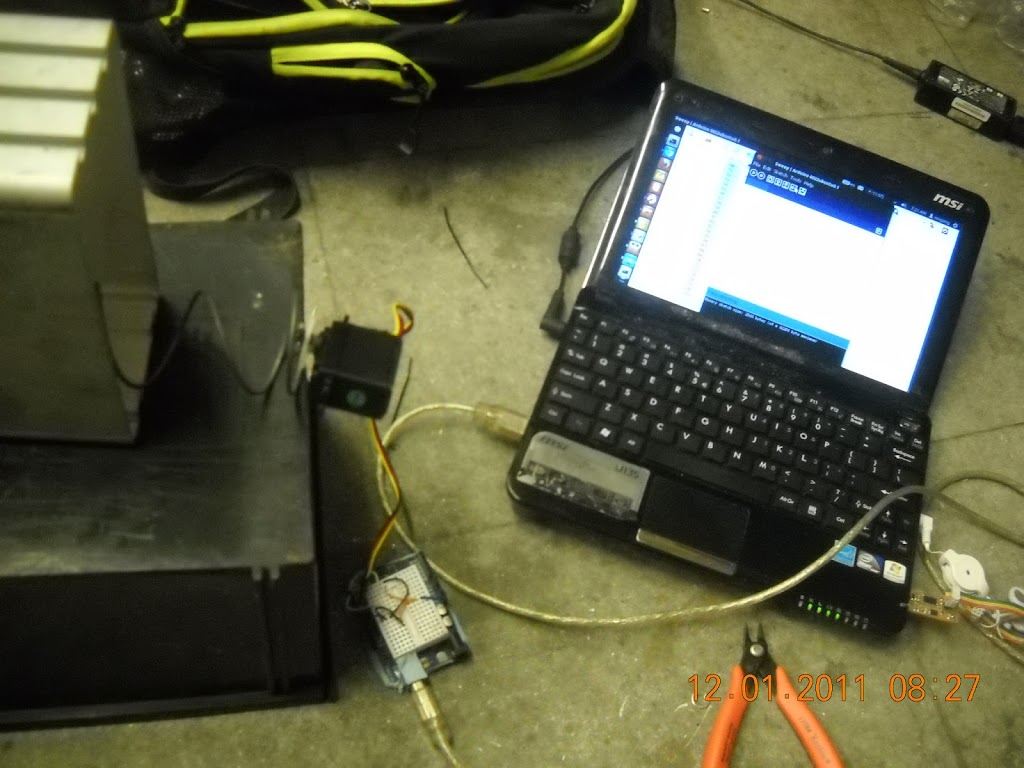
4) persistence of vision yoyo
Failure because I never actually carried through on it and got it working (display text) with rotation, and got it to work as a yoyo. Although I did learn about charlieplexing, wrote terrible pov yoyo code which only worked when you waved the yoyo in a straight line.

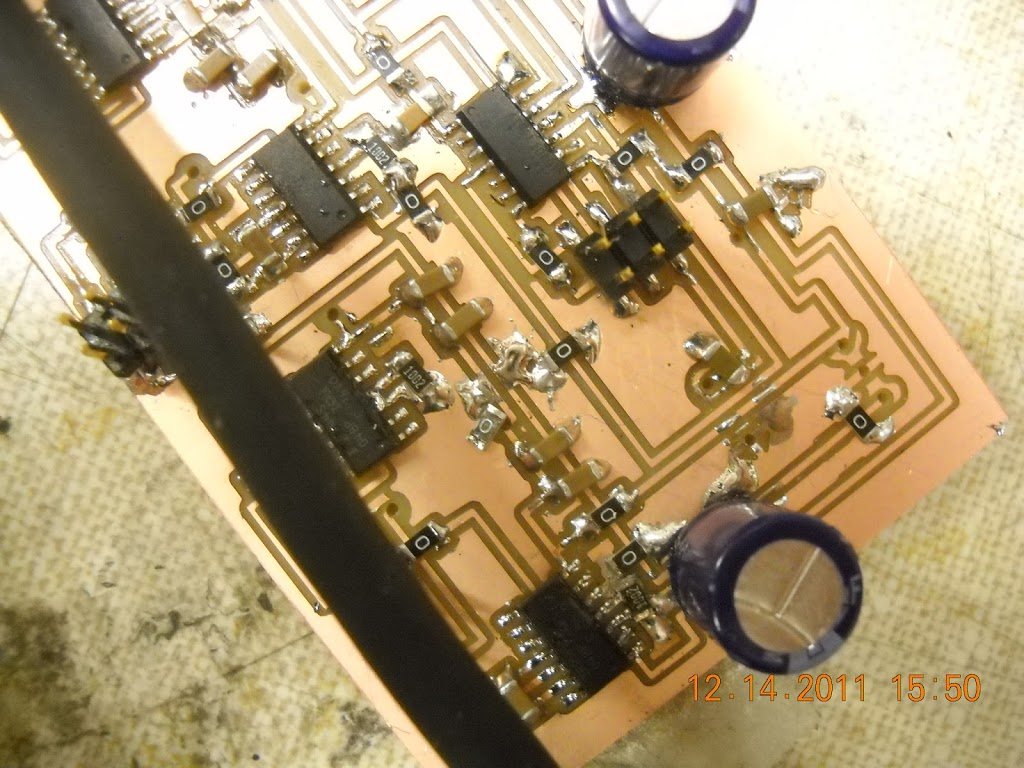
5) 24v motor controller (h-bridge)
Well, I attempted to make this in 48 hours. That was a fail. I am most sad that I failed to even get to test it because I had issues with routing tiny traces under components, which the mill didn’t cut out, and also soldered the caps on top instead of poking out the bottom so I couldn’t reach the leads to solder them down. Derr. Fail. It was a simple H-bridge controller and I couldn’t even manage that despite lots of help from the thorough documentation on Charles‘s and Shane’s blog. Also it played into the pattern (yay cognitive distortion) of me not finishing final projects. -___-;;

6) Electronics vending machine
— failure because oh yea, speaking of not-finished final projects, this was for MAS.863, I made this over 48 hours — CAD’d and lasercut over 24 hrs — and I skipped the entire final class for it and only brought the half-working thing to the open house. Professor Gersheneld, I’m super sorry for taking up a spot in the class and not doing my fair share of work, although I guess in the end I am the only who lost out.

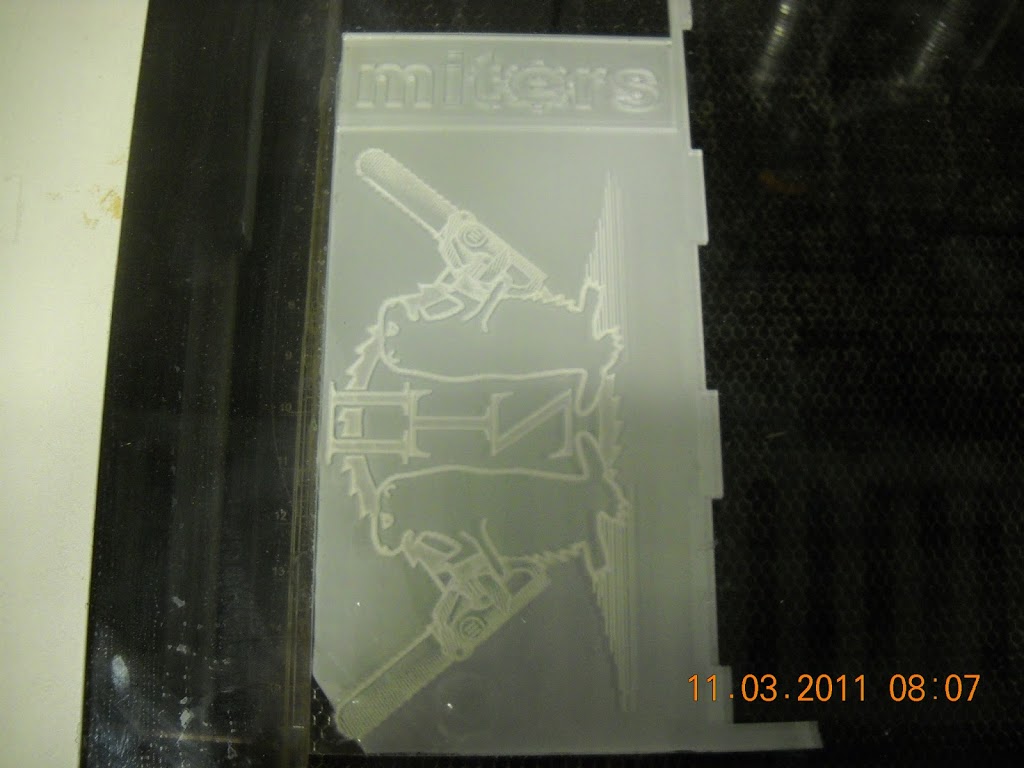
7) Random lasercutter stuff
(lab glass, business cards, clock)
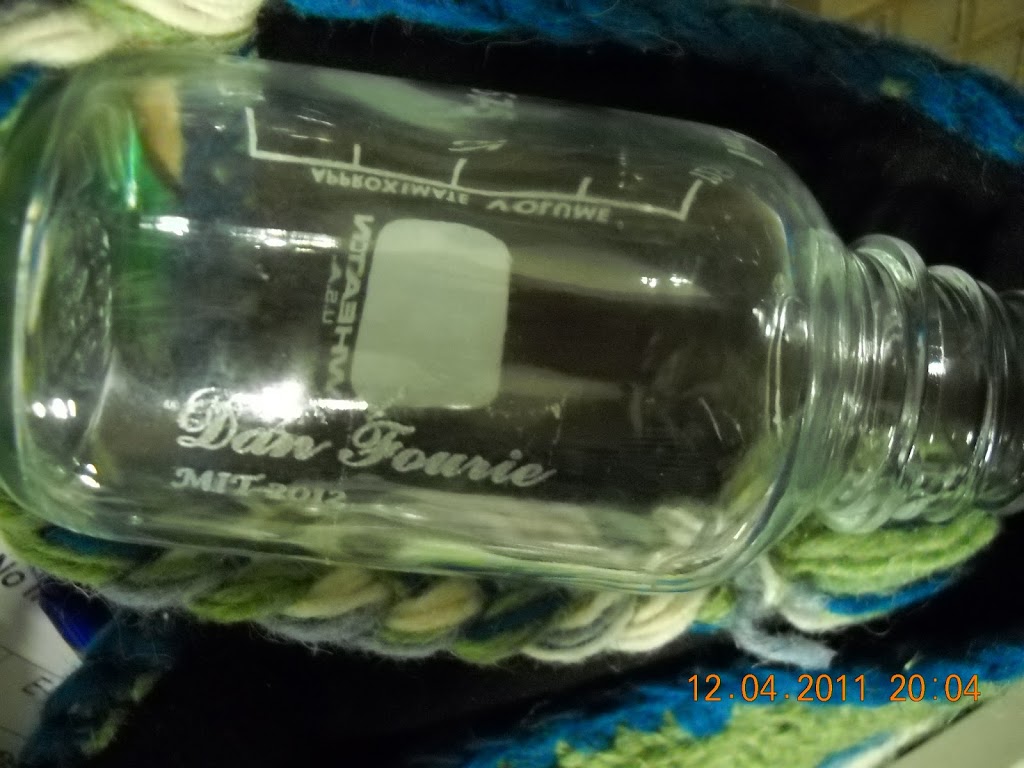
— failure because, well actually I really like the lab glass present for Dan Fourie (found glass of reuse = free gift for putz cruftmas), but for the most part, no engineering involved.

gift for my friend, alice chung
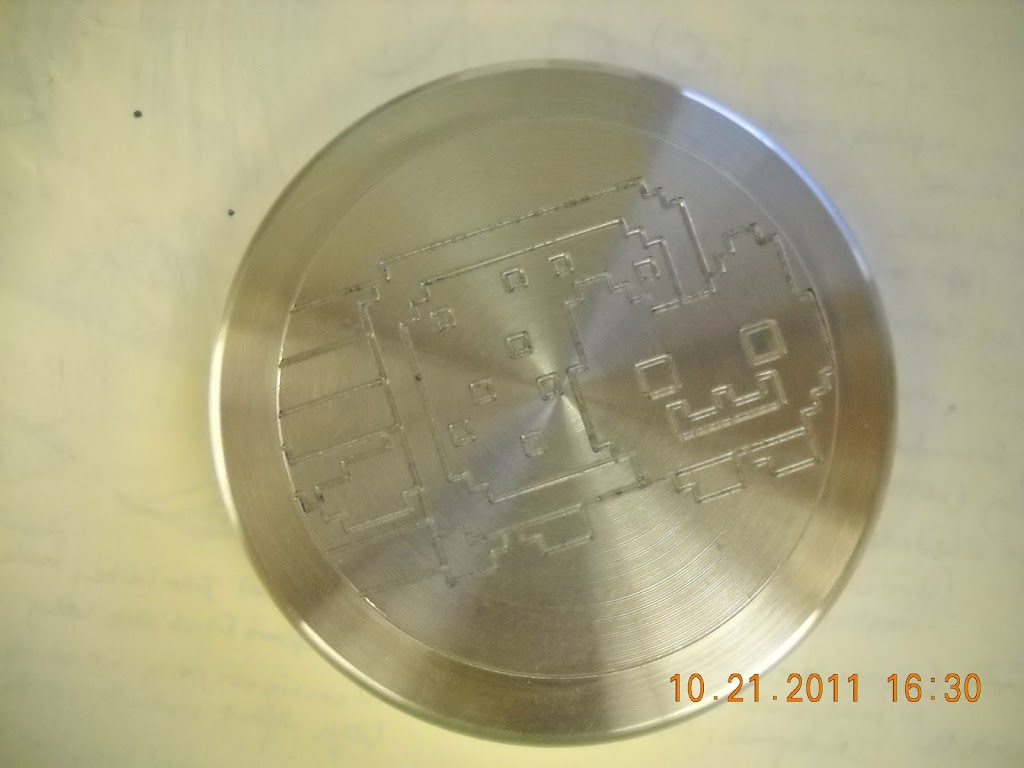
clock face for what was actually supposed to be a waterjet-marble class, but I wimped out.
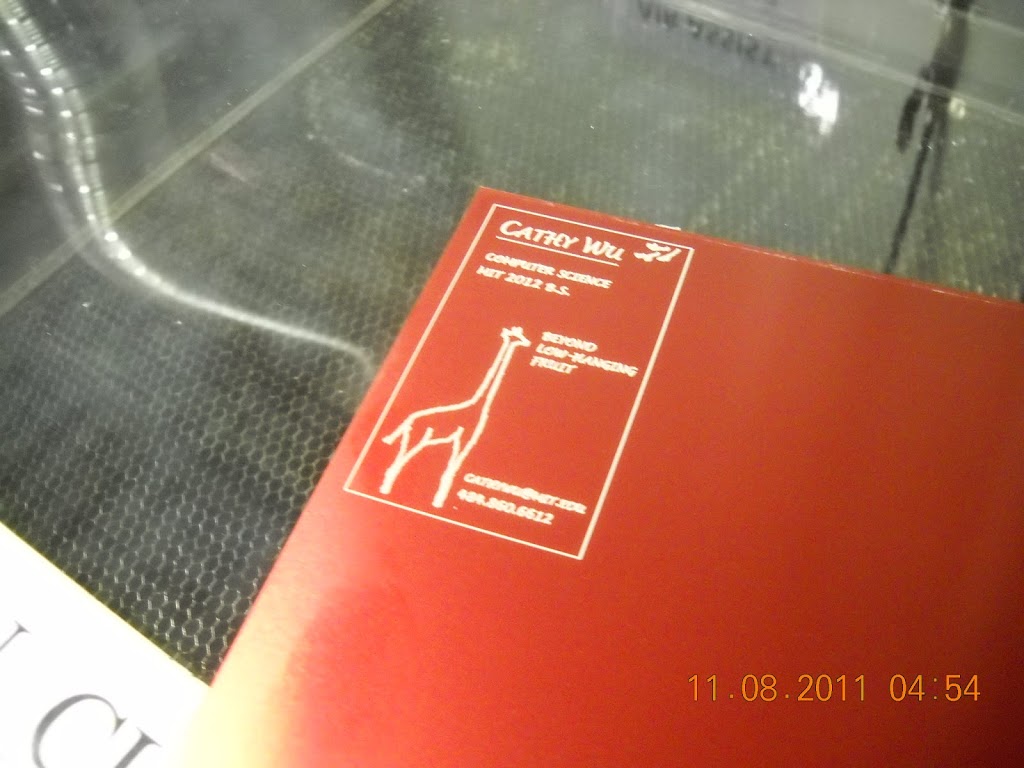
Cathy Wu! and anodized aluminum laser-etched..
yay fuzzy pictures. “MIT 2013, Meche (2-A), ~dream it. build it. ~ orangenarwhals.blogpsot.com”
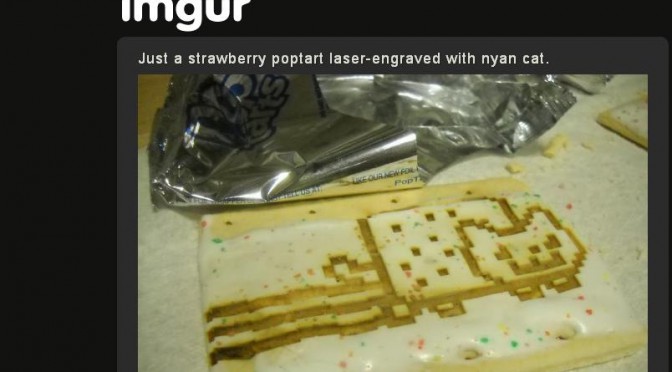
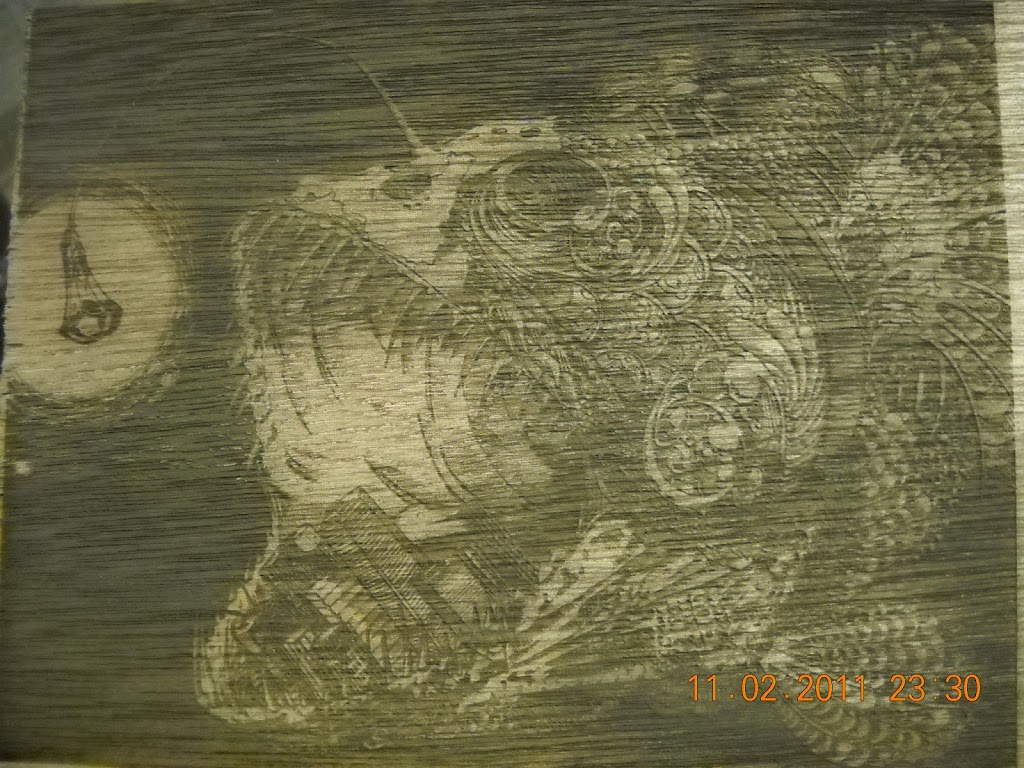
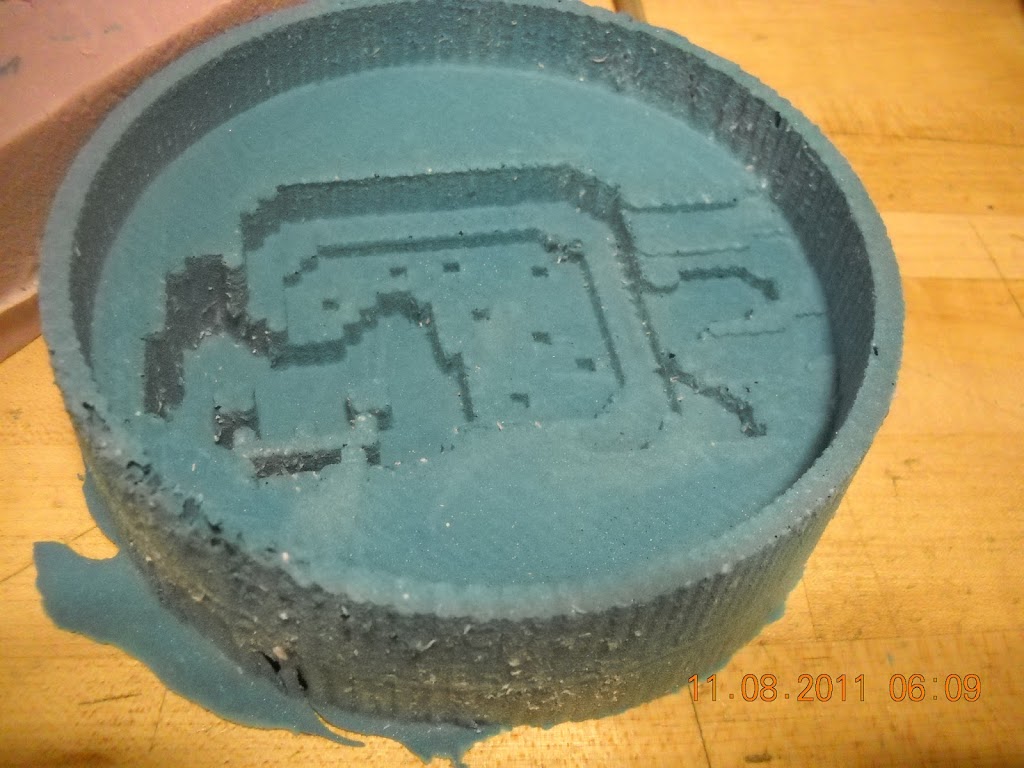
8) Nyanweight
— failure because I intended to make a 3d nyancat, but ended up making an engraving only because I spent countless hours and couldn’t get masterworks to overlap the cuts in the right order (yay pixels = many paths ending on the same point).

speaking of which, I don’t know where i put this. oops.

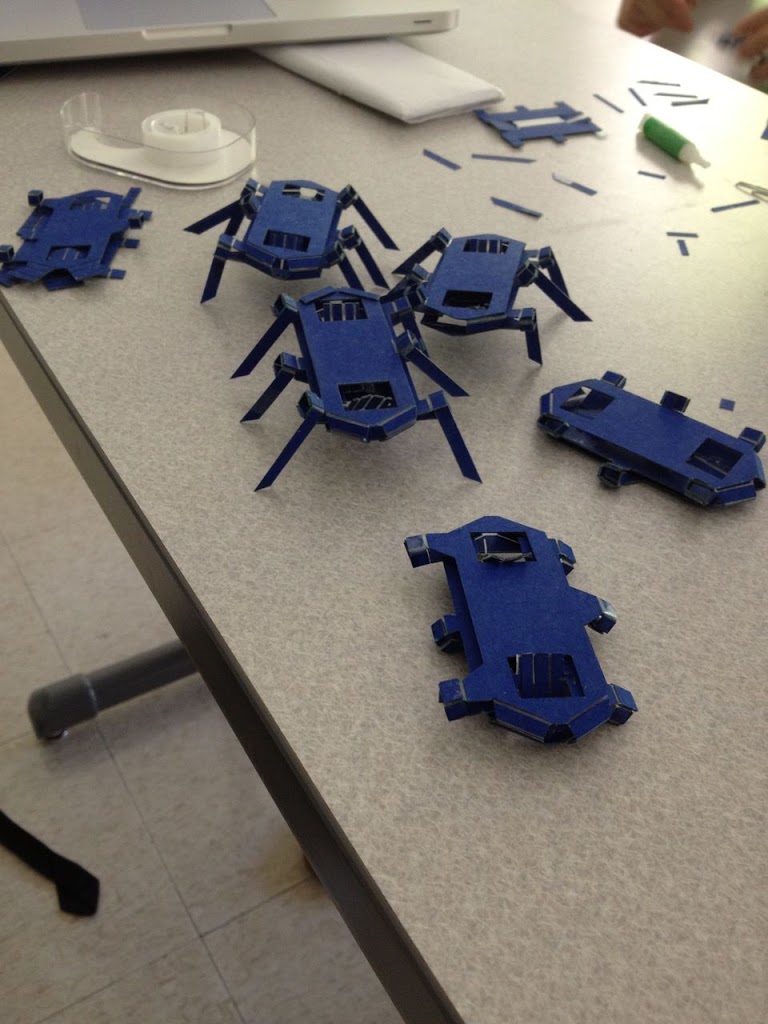
9) hexapod reading group
Katy Gero took charge and spearheaded the lasercutter – bristol board – doube-sided tape replica of berkeley biomimetic millisystem’s hexapods. Cool linkage design. So again I had nothing to do with the design, although I’m happy I inspired people to make things.

credit: katy gero

10) nyantart
— failure because it is entirely a derivative of lvl1 work. Zero engineering! Yay GIMP trace of bitmap on internet!

hi lasercutter <3>

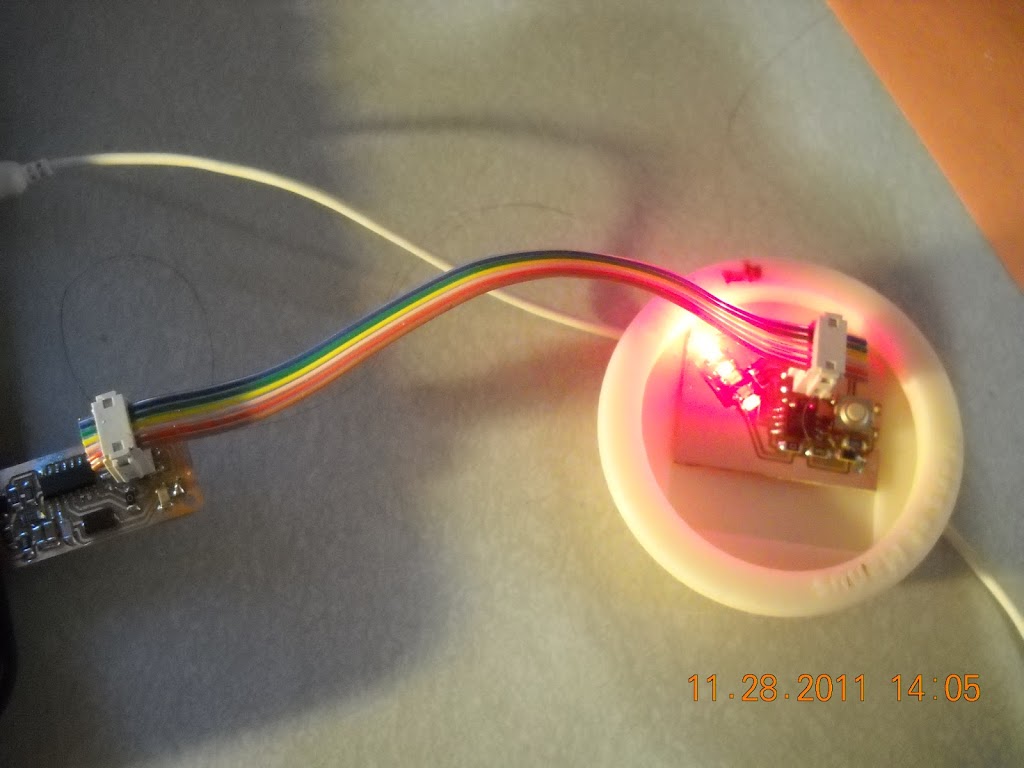
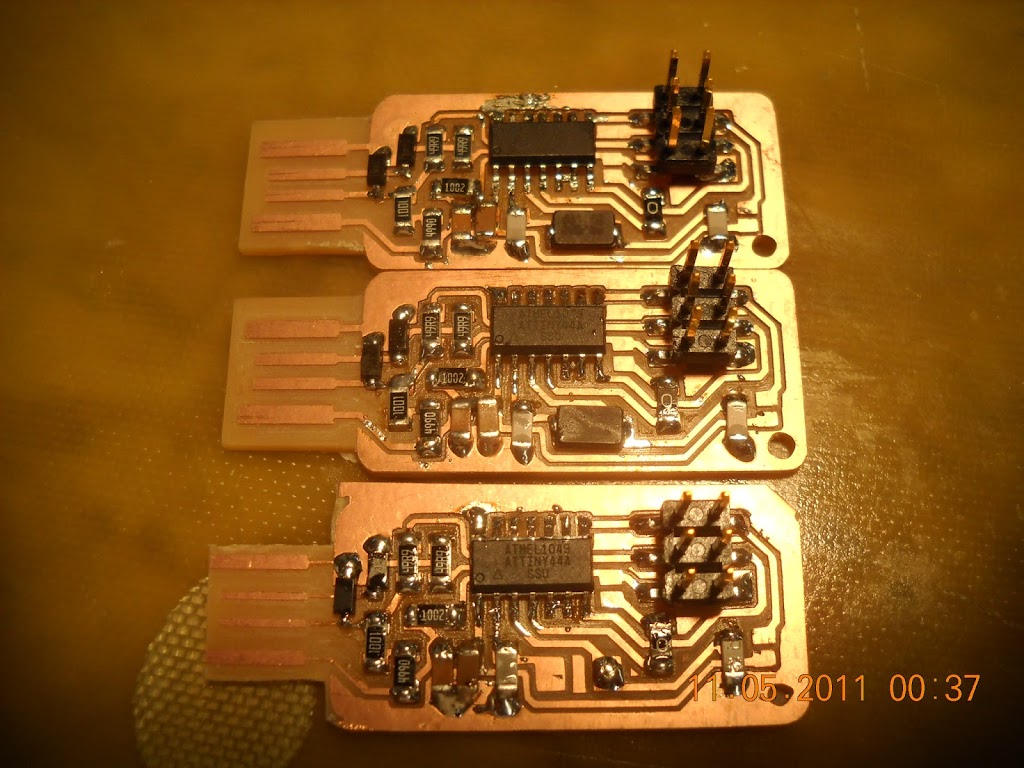
11) Metrify wireless sensors
— failure because I didn’t do any board design (all by mark spatz) — I was more business “cofounder” (no, we didn’t pursue the project as a startup, but it did help me get a job my amazing internship at fitbit). also uber thanks to startlabs for funding us and redstar ventures for hosting us.

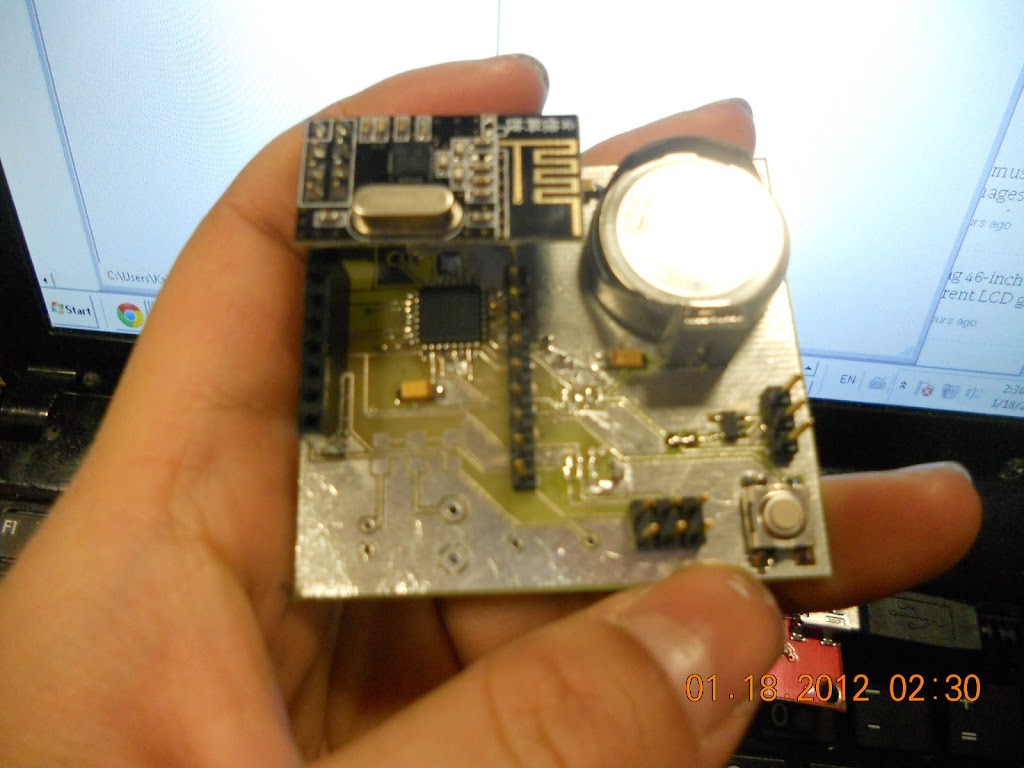
daww generic chinese nrf24l01+ knockoff of nordic breakout board.
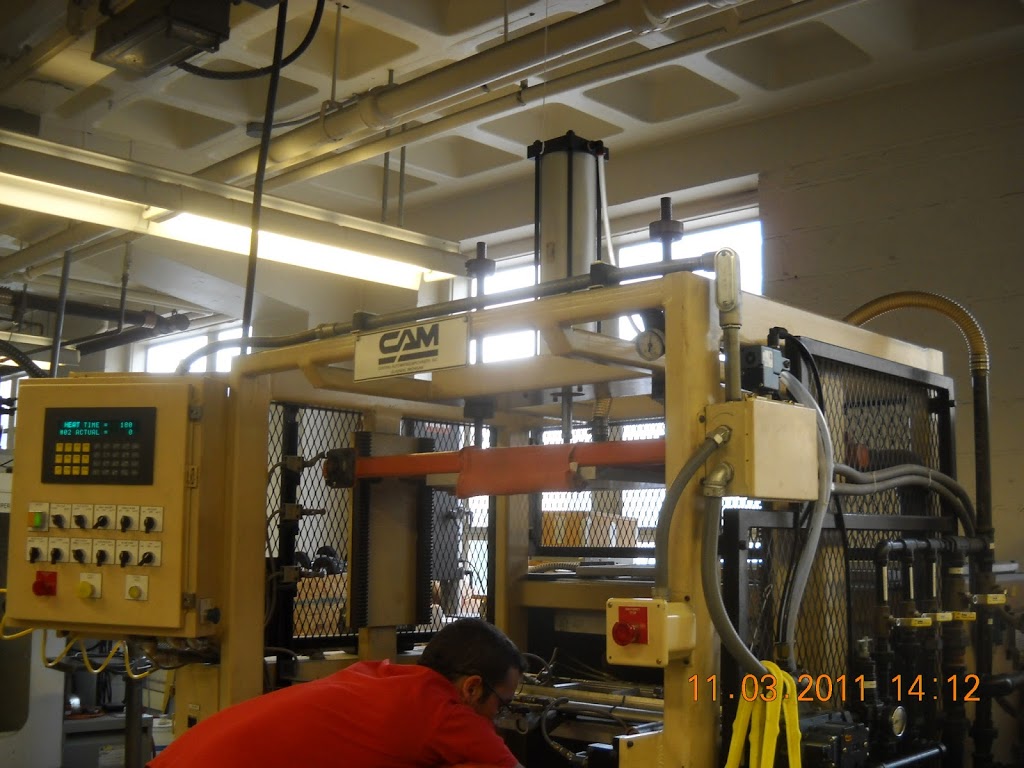
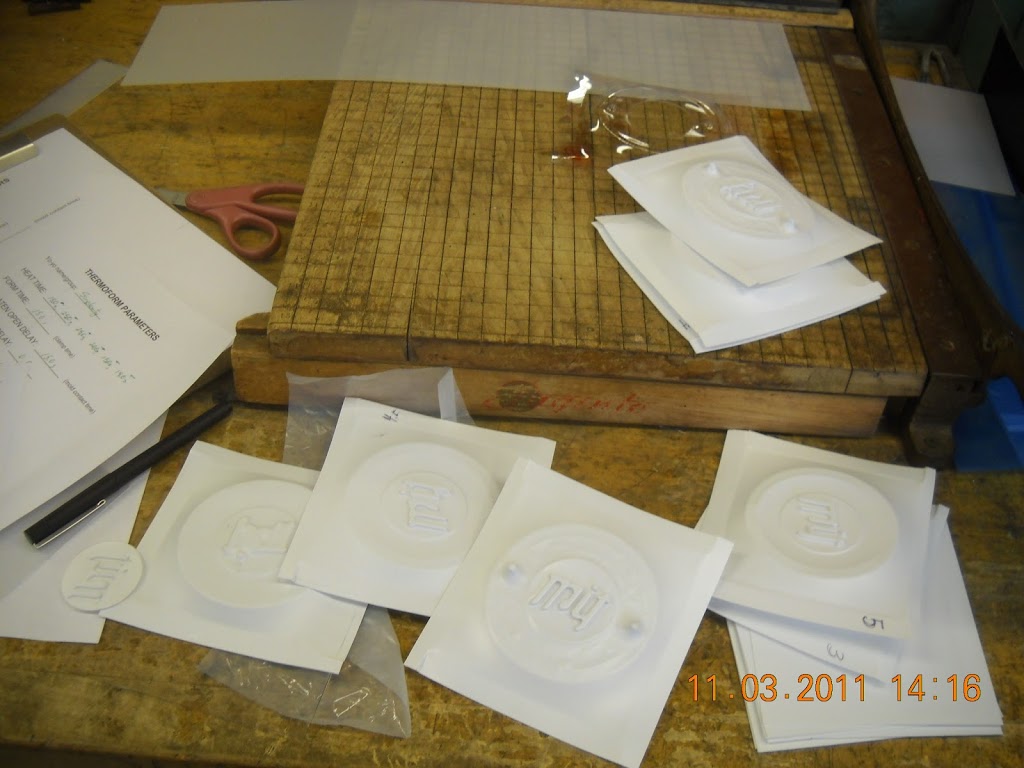
12) 2.008 project
— failure due to my terrible grade in that class, also I don’t feel like I contributed much to my team. I didn’t pay enough attention to lecture even though I am fascinated by manufacturing, I didn’t learn all the ins and outs of the magical mold-making process since I worked on the thermoform mold.

does it say MIT? or hell?
Hmmkay. Look, all the dumb projects I have done.

Nyancat cake mold, working PoV [not so yoyo], vending corkscrew test (mod servo for continuous rotation)

nyancake
Uhh I’ve been doing a lot of blogging and neglecting my other work, so here is minimalist style ftw.

nyancake? nyangummi?

My hall’s thanksgiving (putzgiving, alums come back for this) was two Saturdays ago. I tested out the nyancat cake mold:

for ease of “parameter optimization” runs, I used even-simpler-cake-recipe: cake mix and sprite as the only ingredients (apparently a dieting trick. comes out fine, although for molds probably want to let bubbles settle for a bit after pouring and before intensive mixing).
apply release agent, aka cooking spray / pam — otherwise doesn’t come out well. also,  sprite+cakemix mixture should not be too gloopy. add flour if accidentally pour too much sprite.

many fail results. Here, did not let bake long enough. (much longer than box says — I baked a bit lower temp based on silicone mold research, ~325deg C, and for say 1 or 2 hours)
demolded too quickly, also did not cover in saran wrap to retain moisture afterward
nyancake party~! nyan nyan nyan
probably the best of all my nyancakes. you can see that the minimum mold feature size — the sprinkles — were too small for the resolution of the cake mix and actually resulted in holes.
speed cooling jello in freezer. recipe used: the lego gummies from instructables
nyanjello = almost perfect mold replica. you can see the sprinkles are supposed to stand out, as opposed to how the nyancakes turned out. however, more limited / difficult coloring opportunities with jello than with cake (which you can just apply frosting / food coloring to)
Persistence of Vision Yoyo
I also figured out the issue with the MAS.863 makefiles causing my weird “compiler” bug (actually, compiler options / makefile bug):

Class-based makefile includes:
avr-objcopy -j .text -O ihex ./v0.1.45.out ./v0.1.45.c.hex
man avr-objcopy
       -j sectionname
       –only-section=sectionname
  Copy only the named section from the input file to the output file.
  This option may  be  given more than once.  Note that using this
  option inappropriately may make the output file unusable. >__> <__<
So the class makefiles should be fixed to include “-j .data”The internet says
“The makefile above DOES NOT create a proper HEX image and is a bad example. When creating an  image, not only does the text section (which holds the code) need to be included but the data section (which holds any initialized data) also needs to be included.
The remedy for this is correct .hex rule to to copy the data setion as well
Example:
$(OBJCOPY) -j .text -j .data -O ihex $(PROJECT).out $(PROJECT).hex
http://www.micahcarrick.com/avr-tutorial-digital-output.html

bmayton: that actually explains a lot of odd bugs that I’ve been seeing with people

using constant arrays, since the array data is never getting copied into the
program

So the actual model of what was causing my bug was, I believe, without calling another function the compiler goes ahead and uses the array to insert the correct commands into the compiled code. But when I used a subfunction, the compiler loads the subfunction which the microcontroller calls, but the ucontroller does not have the array data to look up what to set DDRB and PORTB to.

Anyway, then I proceeded to hack together terrible!code and get PoV working. I used oloepede’s sample image ‘cos I’m all about the laziest and quickest tests and ‘cos olopede is awesome.

eheh derp ripped off ISP traces / headers
works fine waving it by hand (without camera extended exposure time, hard to see entire “olopede” message — can see maybe three letters at a time. dead reckoning PoV timing — no sensors.) 

Doesn’t do so hot on the drill. Mess with timing? Although I spun it slow and fast (and in-use yoyo spins quite fast). May require sensors (fan pov as seen on dealextreme — product designer has better idea of speed of motor while yoyo has more variable speed. maybe they used hall effect sensors, ‘cos it was resilient to me slowing down the blades.) to get stable image.

See video:
https://picasaweb.google.com/113942194695013581888/PoVYoyoPersistenceOfVision#5681157457783660930

Vending machine
Right, essentially two weeks until final projects due. Aka time to start cramming on vending machine.

What do I have on hand? Arduino uno, extra servos leftover from when I bought out all the old 2.007 servos., zipties, handheld drill, a corkscrew. Found some rectangular metal thing to act as guiderails lying around MITERS scrap pile. Also found a block of wood lying around the floor.

Mod a servo  to be
continuous rotation servo
(essentially turn it into a cheap RC motor that comes with motor speed controller in a convenient package for mounting) —
aka remove mechanical stop on gear 

apply flush cutters to stop on gear

and remove pot, which like all pots doesn’t turn infinitely — make sure to be gentle ‘cos pot is held in by internal screw, why it doesn’t just fall out normally

see blurry screw at bottom. Also, I wasn’t gentle and cracked the PCB. Maybe it is inevitable for these servos (motor is soldered onto pcb so not much flexibility there) to get to pot screw. Surprisingly the servo still works…
stick pot on outside, chew a hole for it in the casing — i abused flush cutters

see How to Hack a Servo by Daniela Faas http://stellar.mit.edu/S/course/2/sp11/2.007/courseMaterial/topics/topic12/other/Servo_Hack_large/Servo_Hack_large.pdf)

springs / coils
Attach to corkscrew (from real vending machine) I bought off of ebay to see what real mass manufactured ones are like so I can make fake ones DIY like http://www.instructables.com/id/Make-your-own-springs-in-seconds/

Drill out servo horns (1/8” bit fits zipties I found) and attach to corkscrew with zipties

it vends a block! haha. terrible setup is terrible.

Video here:
https://picasaweb.google.com/113942194695013581888/VendingMachineOpenHardware#5681154916854562050

Yea, not a very interesting proof-of-concept (a “duh are you an idiot” one), but it was very satisfying to me.

Oh right, I tried to use hot glue to hold the pot in one place, since that affects how the servo reacts to servo.write() (pot adjusts when it goes fwd/reverse) — I just used
myServo.write(50) with a 0.5 sec delay
myServo.write(90) with a 3 sec delay
myServo.write(130) with a 0.5 sec delay
to calibrate the pot so that servo was completely still at 90. And then attempted to hot glue. a bit flaky– not good enough for long-term banging around but good enough for dirty proto.

yes, i stole arduino from hexarideablepod. arduino uno with a small breadboard on top and 3 male header pins to connect arduino (Vcc, Gnd, and SIG — arbitrarily pin 2 in my case) and servo. unplugged in this pic.

Not clear from pics, but to test it I’m holding the servo still with my hand.

Lasers and such (aluminum business cards, wood and paper etching, edge-lit acrylic signs, thermoforming

I’m proud to say that I’ve sunk at least 40 man-hours of other’s people time into nyancat 🙂
(~150,000 views * 1 sec each / 3600 secs/hr  = 41.7 hours)

from 6:20am today (11/8/11) http://imgur.com/HnoAf

Makes me regret not thinking about watermarking my images (free publicity!). Thankfully, these are but brief lapses in my unfailing devotion to laziness.

Meanwhile, I’ve been exploring the joys of the lasercutter. I found some scrap wood sitting around the lasercutter and etched some of my best friend’s art (shout-out to Alice Chung! http://the-crowned.deviantart.com/)

I didn’t know what type of wood it was so I approximated:
material, lens, thickness, ppi, power, speed, description
aircraft plywood        2    1/8″        500    15%        80%        raster
aircraft plywood        2    .17        300    40%        3%        cut ~.17

I also want to make edge-lit signs and found some scrap acrylic. I checked out some real edge-lit signs, the ones used on the newer-style EXIT signs, looking straight up at them, and you can see the individual blips indicating a strip of LEDs. I thought they might have been using a fluorescent tube, which was my other though for lighting — strip out a discarded scanner’s tube and make a lamp ballast for it, then stick it over the acrylic. Todo: buy some nice strips of RGB LEDs. http://www.adafruit.com/blog/2009/09/22/making-an-edge-lit-acrylic-sign/ ~$7: http://ledshoppe.com/Product/led/LE5045.htm

this was .24” thick acrylic:
ACRYLIC (clear)        2    1/2″        500    80%        50        RASTER, 1/32 inch
ACRYLIC (clear)    (tinted)    2    1/4″        500    100%        1.4        cuts through 1/4” (.21”)

I’m sitting in the media lab shop right now helping a friend, Cathy Wu, make business cards for her imminent plane trip to some conference somewhere (_sigh_ smart people…). I was asleep in my room at 11pm when I heard a loud knocking, which turned out to be a hyper Cathy excited about cutting out business cards with the laser cutter 🙂 I had some anodized aluminum let over from the waterjet clock class / Kevin Rustagi, so there we go.
Giraffe design courtesy of Laura Shumaker, another awesome friend.

Settings used:
METAL ENGRAVE    2    n/a        400    50%        10        (Vector) Engraves into most sheet metals. (incl. anodized Al)to confirm: “my impression was that CO2 bleaches the dye in the anodize coating, while YAG actually penetrates the anodize to etch the aluminum”

The 100 watt lasercutter is definitely not awesome enough to cut this out (we tried full power really slow speed high ppi and it looked to have cut to the same depth as the etching). Maybe the BEAM lasercutter? We settled on using the power shears to cut it out.

I also learned that one can etch paper without burning it up!

Construction paper    2    0.01”        500    6%        80%        etch; — @100% speed, 7% min. to etch. @6%, 97% min. speed

thin cardstock — 1mm thick

People online seem to be getting lighter engravings, though, and I can’t figure that out! I tried all sorts of different settings for the construction paper and all I get is the burnt look. The cardstock I know for sure is white through and through and it also gives me this brown color. ??? I need to figure out this mystery:

http://www.epiloglaser.com/tl_paper.htm

Some very useful links:
Different materials at a glance, with examples (look at the dress under textiles! amazing)
http://lasercuttingshapes.com/page/materials
Everything ever about the Universal 100W CO2 laser and all the possible parameters:
http://www.inlay.com/cnc/laser/index.html
Supplier Acrylics, fluorescent (looks edge-lit without needing lighting):
http://www.usplastic.com/catalog/default.aspx?catid=442&parentcatid=443&clickid=searchresults

Ladyada’s examples page:
http://www.adafruit.com/laser/
With more details here:
http://www.ladyada.net/library/laser/settings.html
What people charge for some lasercutting services:
http://www.tree-fox.com/laser-engraved-and-cut-business-card-110.html
And pumpkins! Plastic ones though. We have real ones on hall that I was pondering…
http://www.advancedwj.com/gpage.html1.html

In other news, my surface mount soldering skills have vastly improved with a touch of patience. These all used the: tin one copper pad | tweezer solder the component onto that pad so that it’s straight | solder the other pad on | reflow the first pad. This seemed tedious to me in the past, but it actually goes pretty quickly and helps me place my components correctly (darn lack of silkscreening) since I’ll go through and tin one pad for all the components.

I also printed tiny-to-be-painted-and-turned-into-earring nyancat:

This is the 3d printer:

Meanwhile in 2.008 we thermoformed for the first time. Here’s the thermoform machine:

turned out pretty well, almost none of the webbing we were afraid of.

The machine is super-straightforward to use. I’ll write it down sometime.

then you use the punch/die to cut out the part you want
some of the injection molded parts. The metal shim actually really affects the shrinking of the part, so our ring and body parts didn’t press-fit together (both used a 3% shrinkage estimate). To be fixed!

Oh, and my food-grade silicone arrived. $17 for a lb off of amazon.

And I shopbot’d a new foam positive. But the silicone negative mold turned out fuzzy :/ with bits of construction foam attached:

Make lots of sacrificial cake until all the foam is melted away? I’m not sure. This silicone will stand up to 400F while the foam melts pretty easily (eg at the hint of a heat gun).

My vending machine coils arrived off of ebay. They definitely look like something I could make by hand.

Also, I learned that ftdi breakout boards are indeed substitutes for ftdi cables. See here for a cool look at what you can do with ftdi:
http://hackaday.com/2009/09/22/introduction-to-ftdi-bitbang-mode/
and some more about ftdi (e.g. vs. avr programmer):
http://www.ladyada.net/learn/breakoutplus/ftdifriend.html

Oh, for 6.131, my final project, some research:
Our normal 6.131 555 pwm generator will not work here. Servo “PWM” signals are very specific — 2 to 4% duty cycle, 20msec period.

http://www.seattlerobotics.org/encoder/200106/16csscnt.htm

use a servo tester then:
http://www.hobbyking.com/hobbyking/store/uh_viewItem.asp?idProduct=17143 $5
or implement the circuit:
http://www.societyofrobots.com/robotforum/index.php?topic=13833.0

Also, turns out you can totally do diy soldermask (to mask the circuit traces you don’t want to accidentally solder to):
http://retromaster.wordpress.com/pcb-making/ via http://electronics.stackexchange.com/questions/15792/diy-solder-mask-toner-transfer
and a product from seeedstudio:
http://www.seeedstudio.com/wiki/index.php?title=Solder_Mask_Ink