i need to go clean up the code so the “documentation” post later but here’s a demo
back story
I worked on this short coding challenge for many hours, got nowhere and gave up. Then in the same amount of time got this robot demo working …
Maybe 2 hours setting up a safety plane in ur5, 2 hrs on the actual hand coordinate to robot coordinate code, and 2 hrs taking videos and showing friends heh.
next steps thoughts
honestly with the word salad machine’s help (pointed out I could use servoL, aka giving it velocities, instead of position coordinates moveL) I finished this much faster than I thought and now I’m at a loss as to what to do next (then my brain was like “oh, it was so easy, the only thing it demoed was me not having enough experience to realize how simple it is” thanks brain that’s the whole point of why we’re doing this, to gain more experience)
i could make the code accept z as well (right now it’s limited to a xy plane for safety), add kd (right now if you swing your hand around too fast too many times the robot starts to wildly swing in bigger and bigger circles), try rewriting with moveJ and seeing what happens, make a gripper, switch to a wrist-mount camera, make the robot high-five and fist bump, switch back to small arms and collect sock data (probably the main issue is I should set the small arms up with my desktop instead of my laptop so I’m not having to plug in 6 cables each time to go between ur5 and the desktop arms), giving the robot expressions… putting aside thinking about what tasks are “how to job” since that will sap all the joy out of robots again
i think i was most excited about a robot that could fold my laundry and also do other tasks like put my tools back or sort screws. it’d be fun to have it make me a sandwich. then there’s another category of what other people would enjoy — people find interactive demos fun, and this hand-tracking fell under that.
Hmm, people also find food fun. So perhaps getting the UR5 to make sandwiches should be my next goal!!
(Using the moveJ command, just offsetting from the starting pose).
This is mostly notes to myself — assuming most people don’t have a UR5 arm to just play around with.
And also to maintain enthusiasm about robots (sometimes hard even for me in a vacuum) and what I’m doing (easy after each task I complete to go “oh, that wasn’t exciting at all”. I did that with my paper(s), thesis, and degrees, so I can definitely do it with any hacked project haha).
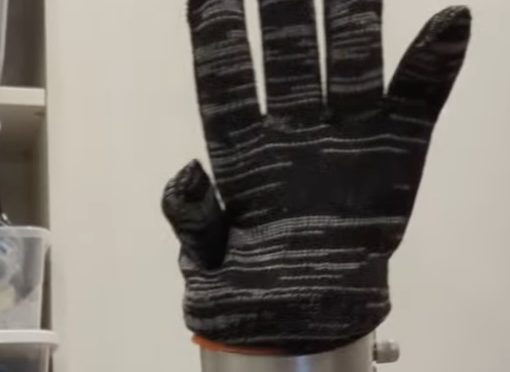
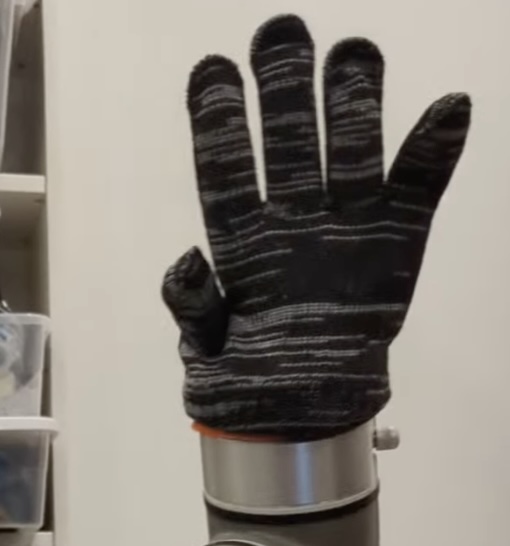
Create the hand
Find a normal glove and a latex glove, put both on
Blow up the latex glove and tie it off
Put glove over end effector
Connecting via Python: ur-rtde library
Back in the day I used py urx — apparently now the standard is ur-rtde as a pip install python library. (whoo!)
The robot talks over TCP/IP. If you run a real time kernel, then the communication is safe from interference from e.g. web browsing. I chose to not install a RTK for my startup script as I heard it’s a major pain.
“The Real-Time Data Exchange (RTDE) interface provides a way to synchronize external applications with the UR controller over a standard TCP/IP connection, without breaking any real-time properties of the UR controller. This functionality is useful for interacting with fieldbus drivers (e.g., Ethernet/IP), manipulating robot I/O, and plotting robot status (e.g., robot trajectories). The RTDE interface is by default available when the UR controller is running.”
I plugged in ethernet to my laptop via a USB-C adapter. For whatever reason at first nothing would show up. I did mess around with the subnet settings on my linux laptop network ethernet settings. Not sure if that’s what fixed it, or rebooting, etc. But in the end I didn’t need to connect my robot to my router, just direct to my laptop.
Sanity check: Is network connection working?
( Have to admit, the word salad machines do decently at this basic ur5 stuff. Though they probably gave me a lot of misconceptions … )
#!/usr/bin/env python3
import rtde_control
import rtde_receive
import time

ROBOT_IP = "192.168.1.150"

def test_ur_rtde():
    try:
        print(f"Connecting to UR5 at {ROBOT_IP}...")

        # Connect to receive interface (read robot state)
        rtde_r = rtde_receive.RTDEReceiveInterface(ROBOT_IP)

        # Read some basic robot data
        actual_q = rtde_r.getActualQ()  # Joint positions
        actual_tcp = rtde_r.getActualTCPPose()  # TCP position

        print("\n--- Robot State ---")
        print(f"Joint positions: {[f'{q:.3f}' for q in actual_q]}")

        # Connect to control interface
        rtde_c = rtde_control.RTDEControlInterface(ROBOT_IP)
        print("\n Successfully connected to RTDE control interface")

        # Cleanup
        rtde_c.stopScript()
        rtde_r.disconnect()
        rtde_c.disconnect()
        return True

    except Exception as e:
        print(f"\nError: {e}")
        print("\nTroubleshooting:")
        print("- Make sure the robot is powered on")
        print("- Check that RTDE is enabled on the robot")
        print("- Verify IP address is correct")
        return False

if __name__ == "__main__":
    # Make sure ur-rtde is installed
    try:
        import rtde_control
        import rtde_receive
    except ImportError:
        print("ur-rtde not installed.")
        print("Run: pip3 install ur-rtde or similar")
        exit(1)

    test_ur_rtde()
Write to the robot, waving the arm
We’ll use the moveJ command which takes a list of 6 floats in radians as well as the velocity and acceleration (in rad/s) and whether the command should be asynchronous or not — if set to False, the robot will wait for the first command to complete.
Move the robot using freedrive mode on the back of the pendant to a good starting position.
#!/usr/bin/env python3
import rtde_control
import rtde_receive
import time

ROBOT_IP = "192.168.1.150"

def test_ur_rtde():
    try:
        print(f"Connecting to UR5 at {ROBOT_IP}...")

        rtde_r = rtde_receive.RTDEReceiveInterface(ROBOT_IP)
        print("Successfully connected to RTDE *receive* interface")

        # Read some basic robot data
        home_q = rtde_r.getActualQ()  # Joint positions
        robot_mode = rtde_r.getRobotMode()  # Robot mode

        print("\n--- Robot State ---")
        print(f"Joint positions: {[f'{q:.3f}' for q in actual_q]}")

        # Connect to control interface
        rtde_c = rtde_control.RTDEControlInterface(ROBOT_IP)
        print("\nSuccessfully connected to RTDE *control* interface")

        target_q = home_q.copy()
        target_q[5] += 0.3  #
        target_q[4] += 0.1  #
        target_q[3] += 0.3  #
        target_q[2] += 0.2  # 0.2 radians ~= 11.5 degrees # elbow

        # Movement parameters
        velocity = 2.2      # Rad/s (0.1 Very slow)
        acceleration = 1.8  # Rad/s^2
        asynchronous = False # Set to True if you don't want the script to wait

        print(f"Moving elbow joint to {target_q[2]}...")

        # Execute the move. Repeat five times to wave.
        for i in range(5):
            rtde_c.moveJ(target_q, velocity, acceleration, asynchronous)
            rtde_c.moveJ(home_q, velocity, acceleration, asynchronous)

        print("Movement completed")

        rtde_c.stopScript()

        rtde_r.disconnect()
        rtde_c.disconnect()

        return True

    except Exception as e:
        print(f"\nError: {e}")


if __name__ == "__main__":
    # Make sure ur-rtde is installed
    try:
        import rtde_control
        import rtde_receive
    except ImportError:
        print("ur-rtde not installed.")
        exit(1)

    test_ur_rtde()
Video
yay
that was a nice afternoon’s work (didn’t rescue my terrible surprise zero preparation interview, but hey, i have an arm now?)
Fin.
Side note: Why q?
Why do we have joint angles labeled as q?
Per reddit it may just be that generalized coordinates q are an adjacent concept to momentum p — and per reddit that is named potentially due to the calling momentum “impetus” and not confusing it with mass in p=mv.
Anyway, tl;dr I’ve as usual forgotten all the things I learned the better part of a decade ago (rip).
thanks dane for spotting this arm online and davidben for helping with the adoption fees
ur5 life history
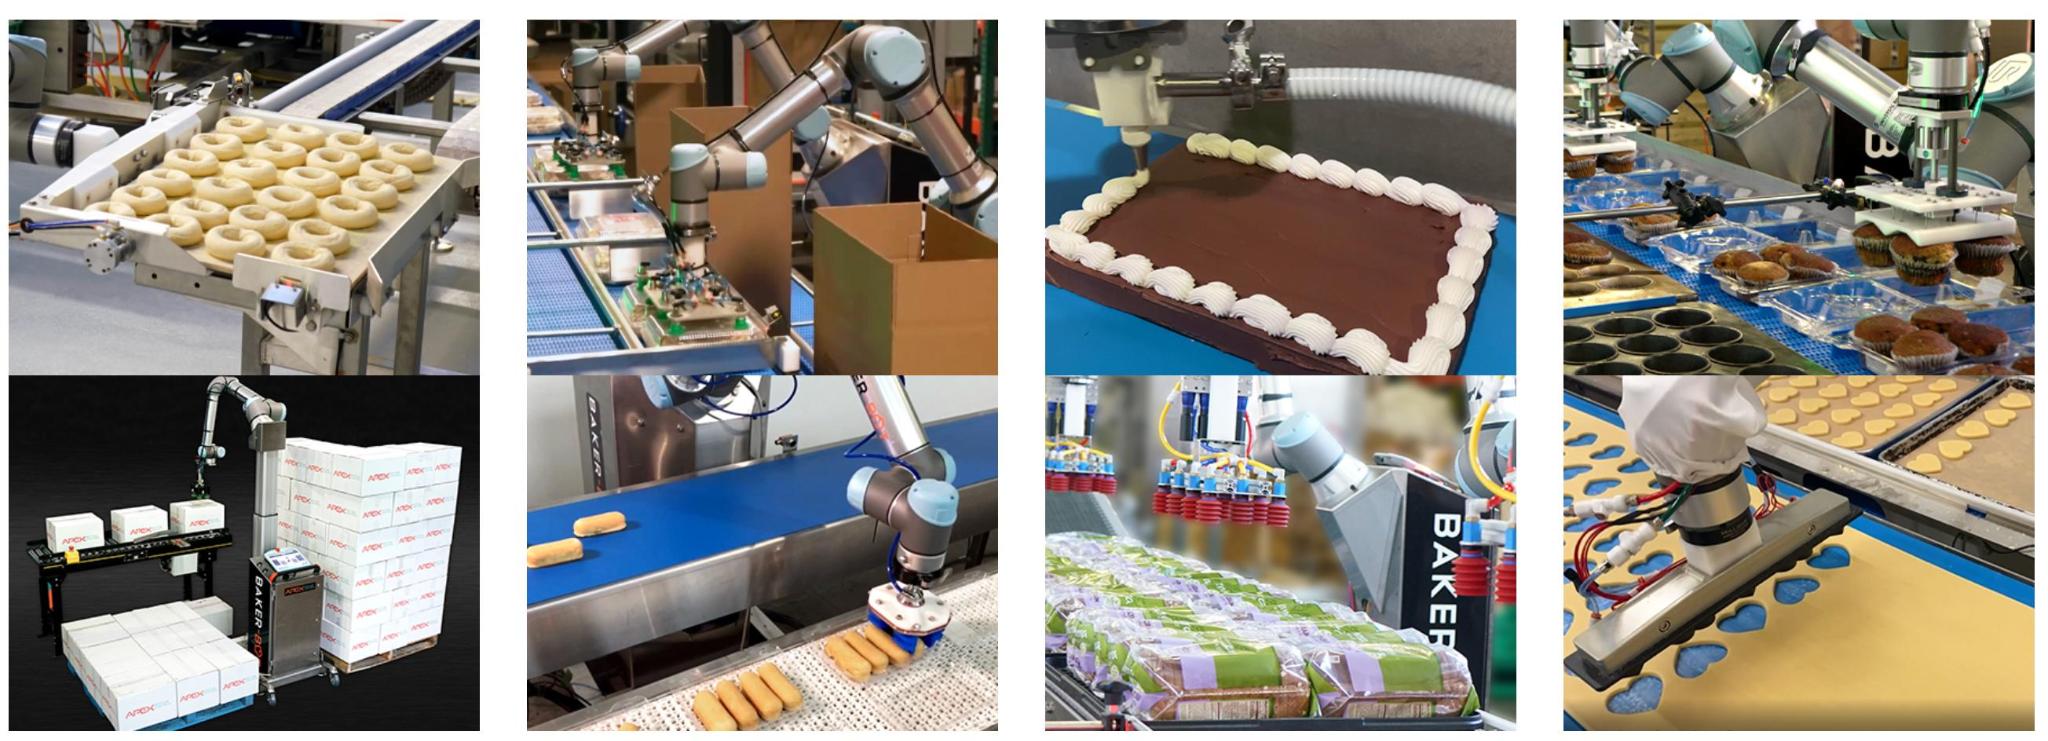
the person i bought it from says that it lived its life as an R&D bot making pizzas at a pizza factory, then got auctioned off. he saw it and rented a home depot truck and went to get it. (more stories but i should ask permission first). it was part of a bakerbot which I looked up at https://www.apexmotion.com/baker-bot-cobot .
Screenshot from that apexmotion site of ur5s decorating cakes, stamping cookies, etc.
my diary, aka “well that escalated suddenly”
to be honest, i didn’t quite intend for my robot arm collection to escalate so fast.
i think early april i decided to get the SO-ARM101 desktop arms,
and now it’s late april and i have a ur5 arm, bringing my total to five robot arms >__>
from so-arm101
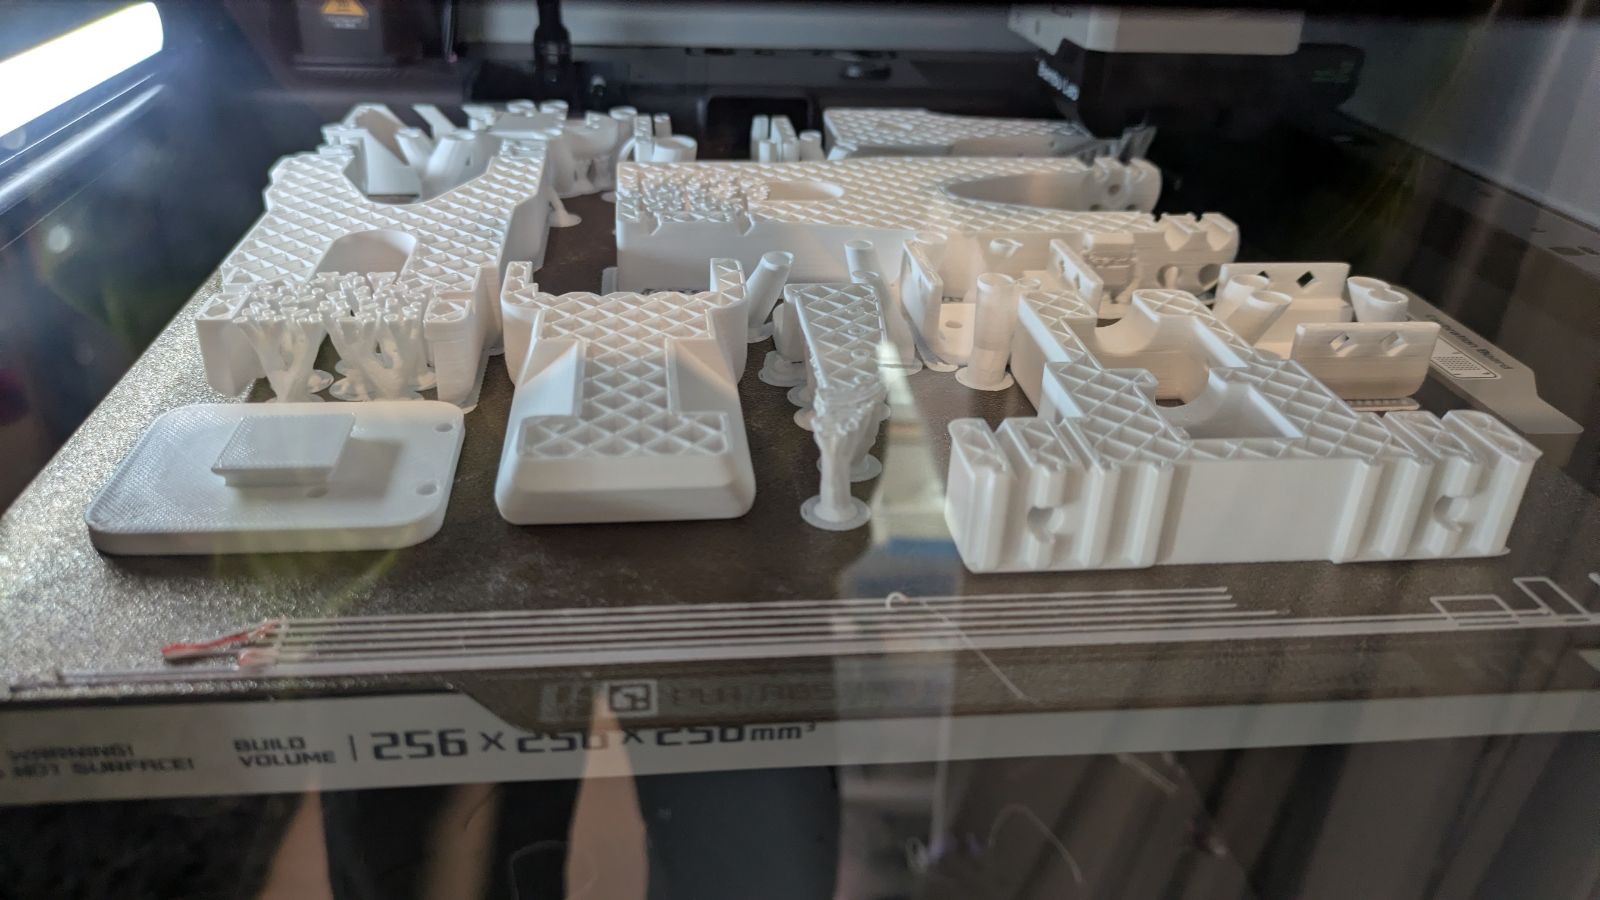
for the so-arm101 i got the “pro” unassembled kit –basically a pile of six 12.4v feetech servos for the follower arm, plus a pile of six 6V feetech servos for the leader arm, some wires, and two motor controllers. i proceeded to print the arms themselves (each print took 12 hours!)
image of x1 carbon plate (thanks erons for x1 adoption fees, A++ tactic to distract from life’s woes) with half-printed parts for an so-arm-101
(The picture above is actually where I cancelled one halfway through. I was cleaning and accidentally tripped over the power supply, shutting off the printer mid-print six hours in. The bambu did an amazing job recovering, but after a few layers there was an obvious xy shift and for the tight tolerances on this print I didn’t think it would be okay)
to an ur5?
and somehow i now have a ur5, which i sorta daydreamed about for years but the price was quite prohibitive even on ebay.
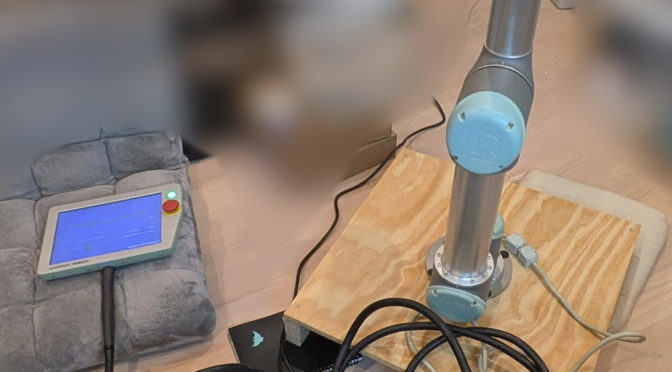
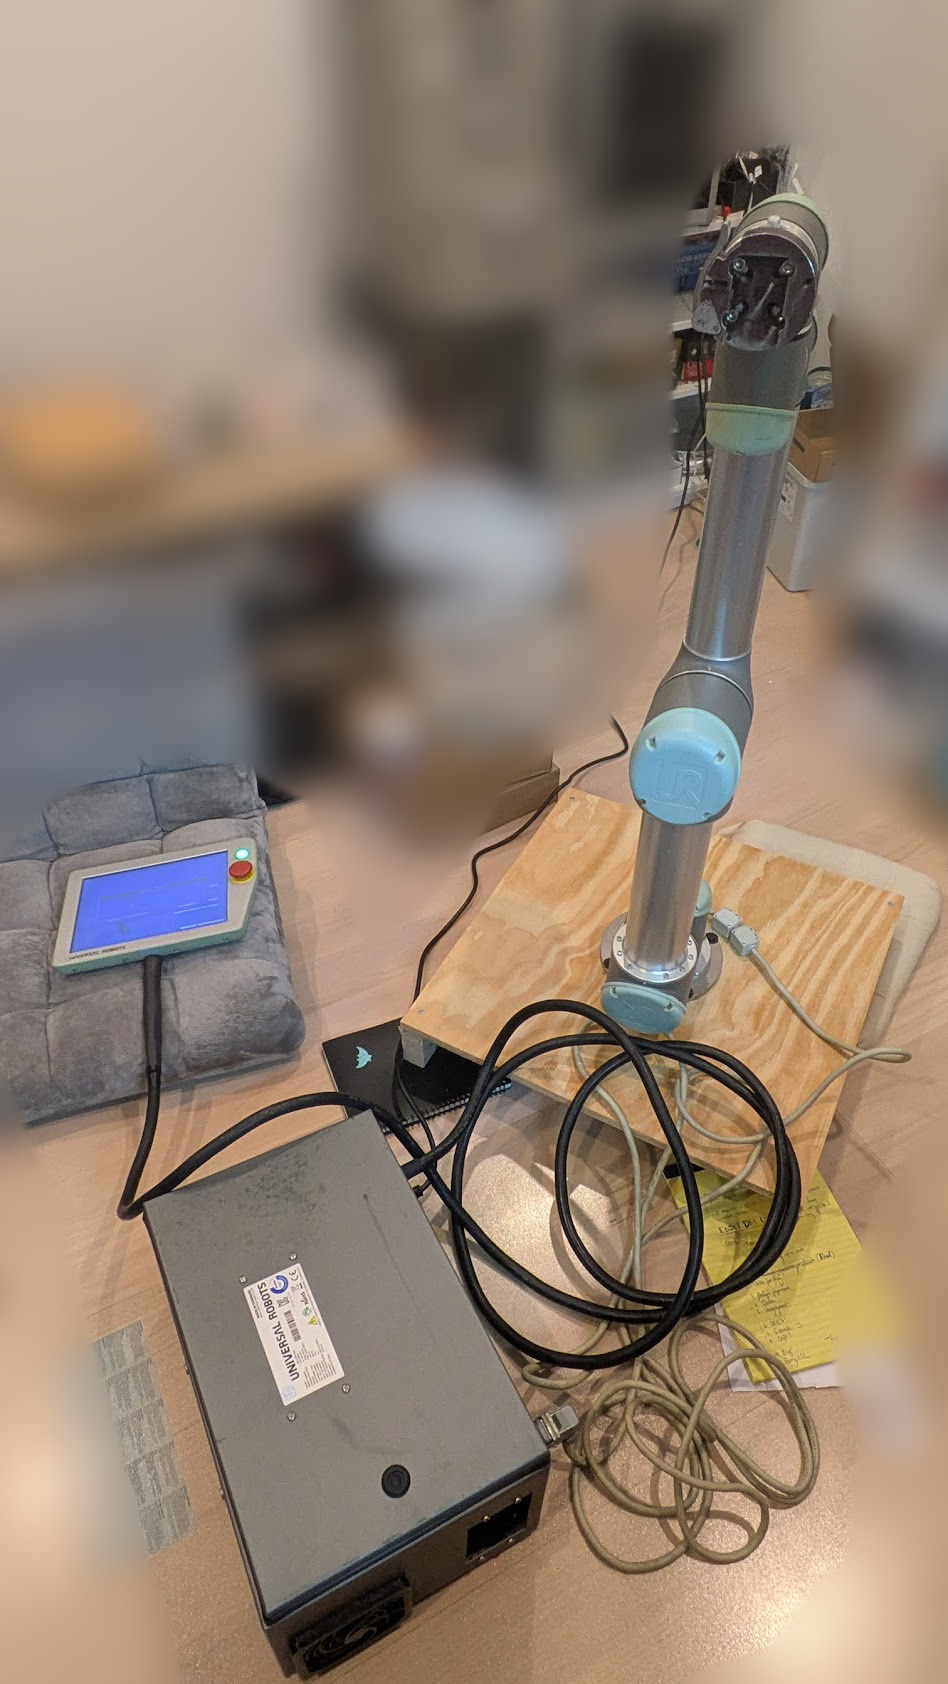
ur5 with controller and pendant
i think what happened is that i got to play with robot arms recently (see: job apps) and y’know that feeling when you smell food and suddenly realize you’re starving?
that’s how it felt to play around with robot arms again.
… and so i now own 5 robot arms.
feed me, i’m starving
Initial UR5 thoughts (pictures later)
when delivered, it took five minutes to set up and get working 0:
there is something nice about that i have to admit. just plug the controller into the wall, plug the arm into the controller, turn it on with the pendant, and it just works !!!
it’s nice that it homes slowly. collaborative robots are great.
it’s got a USB drive inside the control box, the whole robot runs off of a usb drive !
there’s an M8 connector near the end effector power and potentially data. 24v power i think. this is where the gripper would attach.
the end effector plate is https://millibar.com/product/mtc-345-rs “MTC-345-RS” Low Profile Series Manual Tool Changer – Robot Side (thanks previous owner)
deadline project
with any project like this it’s important to have a deadline or else enthusiasm peters out and the robot arm will be an expensive brick / toy
the original goal is also to have a demo for the first spring farmer’s market at union sq — originally the idea was collect calligraphy data — however that’s a bit tight (two weeks) so i’m thinking more a simple interactive demo (eg robot tracks palm, as you move your palm around the robot mirrors your movement)
The weekend / personal project, socks!
i did get excited about it just doing laundry, then i unfortunately realized laundry folding demos are all with two robot arms. oops. so aside from the above demo, in terms of what i want it to actually do at home, i think i’ll be backing down to a sock sorting robot.
problem statement (approximately): i have a pile of mismatching socks (singletons) so after each laundry run i pair my socks but then need to pair again with the mismatching pile / add to the pile as appropriate, which is annoying as the pile of mismatching socks is quite large. it’d be nice to just … not.
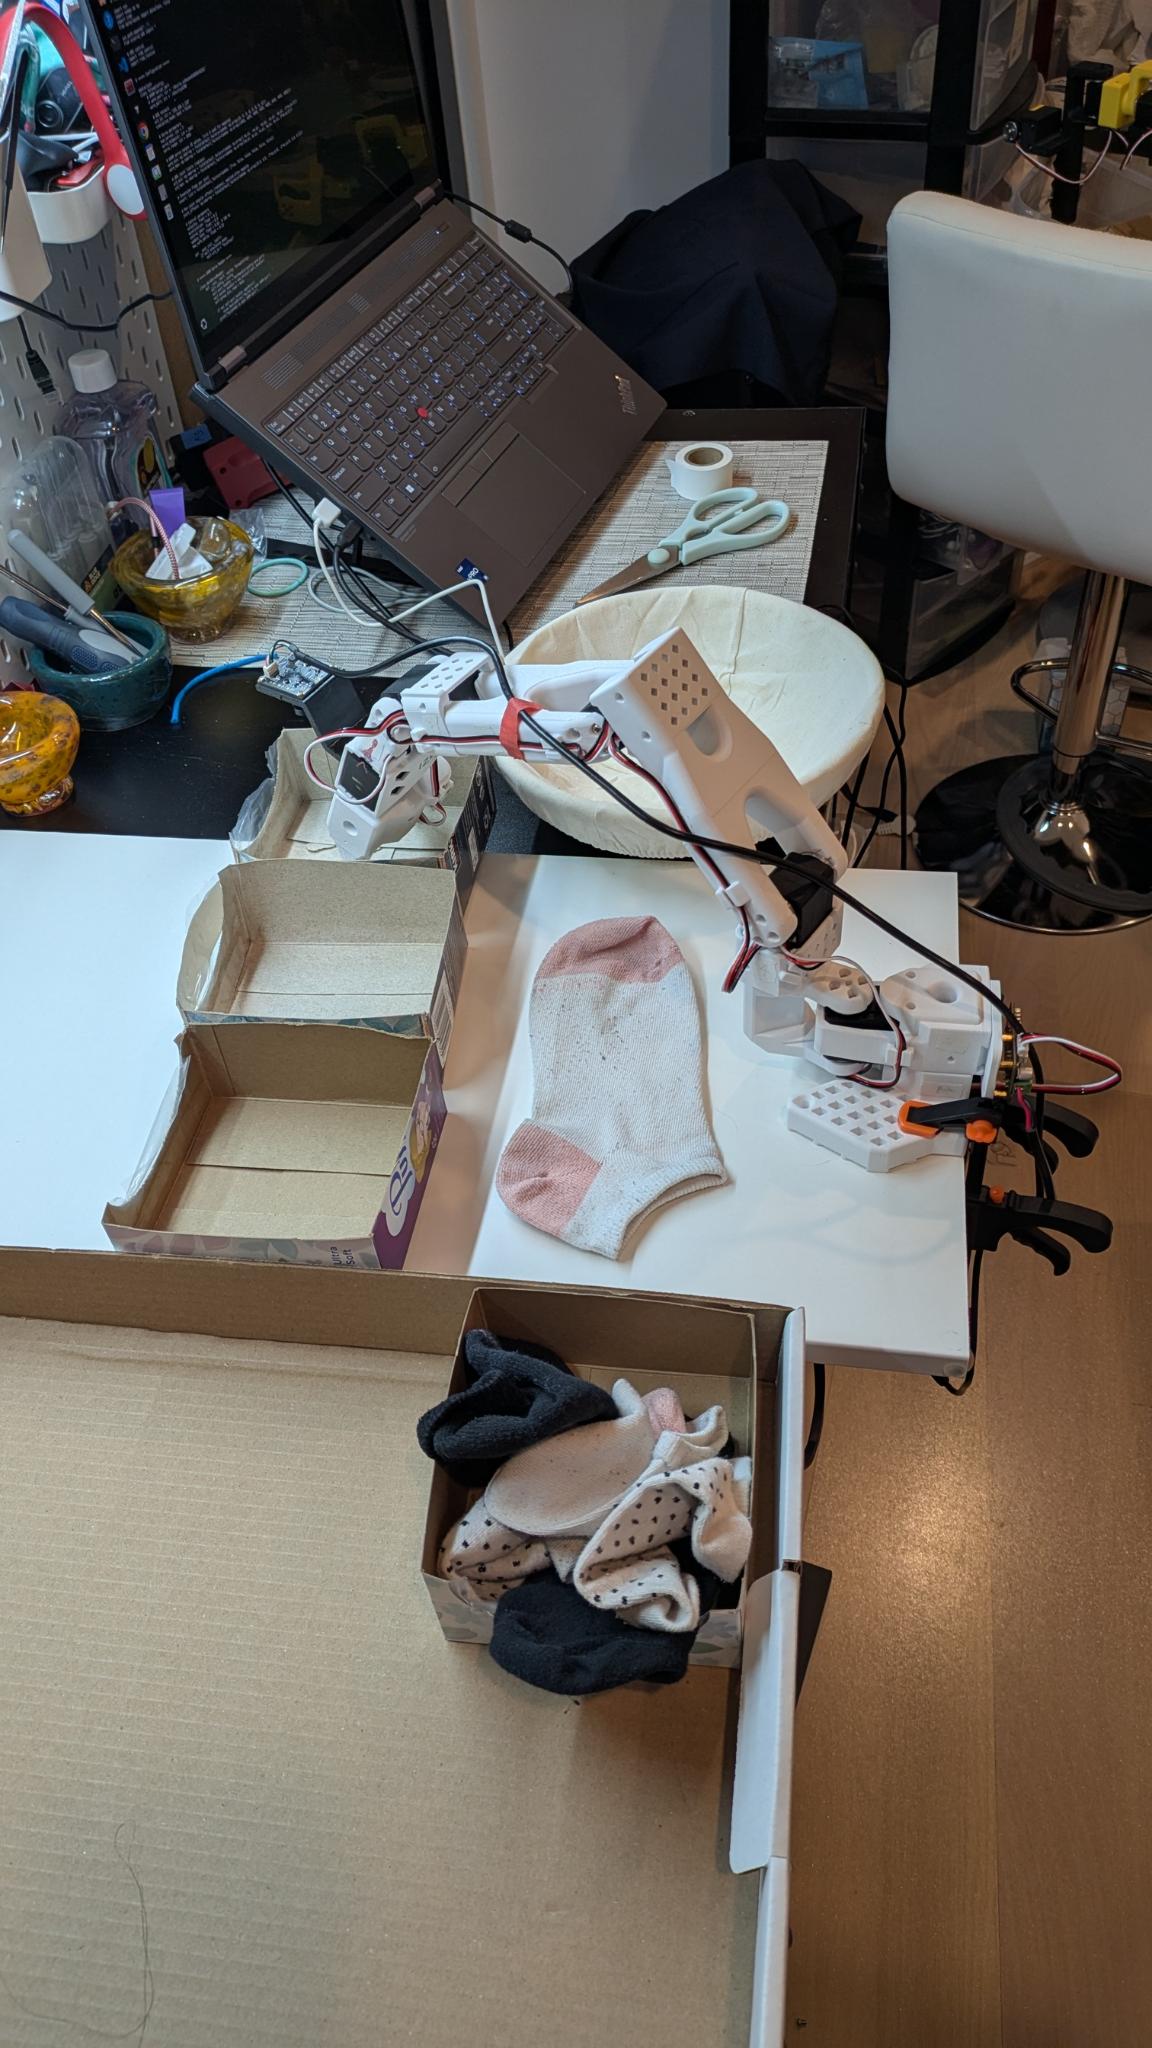
to simplify as much as possible (ideally this is a weekend project or at most a weeklong project to a MVP demo) i decided to start with the so101 arms. they have very limited reach so i cut up some kleenex boxes. if you read up online people talk about radix sort and such, but again, simplify it. i put three pairs of socks (of equal length) that are obviously different designs.
software system sketch
The goal will be for it to pull out one sock (that’s the standard “collect teleop data, train” bit) and lay it out. We take a picture using the overhead camera.
We use an off-the-shelf (i hope?) image segmentation to find the sock within the camera image.
Store the image: Assign the sock_image an id and store the associated image in either a pandas dataframe (+pickle) or sqlite or just as flat file.
We will also need a function to say if two images show a matching pair of socks.
Now for the loop. I mocked out the following set up to deal with the limited reach of the so101 arm. We have four bins: a bin (I’ll call it pile A) on the left, two bins (bin 1 and bin 2), and a fourth bin (called pile B). (The bins are just halved kleenex boxes).
Finally we have a bowl on the right. The bowl can be bigger since we only need to drop things in, not retrieve them.
the so101 follower arm with four boxes and a bowl, one with socks in it, as a mock setup for sorting socks. (note: the big carton on the left side has walls so that when the robot arm drops socks, pushes them around, etc. the socks are less likely to end up on the floor)
We start with pile A, where some human dumped all the socks. The robot arm pulls out a sock and drops it in the center (ideally so the sock is mostly flat) to take a picture.
Put the sock in bin 1 (I might not bother with training for this one, unless I want recovery when/if it fails. Might just tell it the x,y center of the box and have it open the claw over it for now).
Pull out another sock and drop it in the center for inspection. If pair_found(), put that sock in the bowl, then pick up the matching sock and put that in the bowl too.
Otherwise, put the inspected sock in an empty bin (bin 2). Pull another sock. If it matches, repeat pair_found(). Pull another sock. If at any point we pull a sock and have no empty bins, we toss the inspected sock into pile B which we treat as the “discard pile.”
Once the first pile is empty, we have inspected all socks once.
Now we determine if all the socks in discard (pile B) are singletons — if so we are done! But if not (aka there’s unsorted pairs in there) we do the same process again, except pile B is now our starting pile and pile A is our discard. Repeat until end state reached.
(Note: if we had another bin, if we pull a singleton but there are still pairs left we could put it the bin-of-singletons. But we don’t have enough space for that alas).
Fin.
time to sleep so i can wake up at 5AM to go to my safety at sea class, which i signed up for back when i thought i’d be sailing this year =/ alas. don’t see much of that in my future now.