Category Archives: Fashion

Infinity Dress Attempt in 8 hours

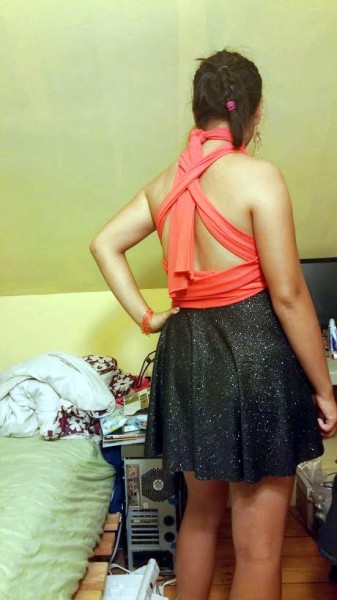
dressback

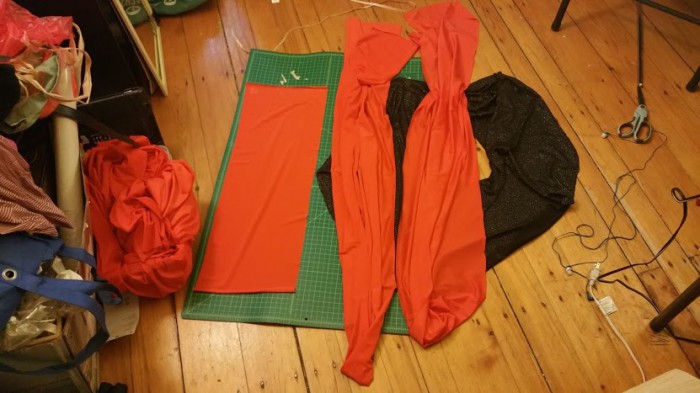
I wanted to replicate a dress I have for Open Hardware Summit (which I’m using as an excuse to start and finish a lot of projects, from heels to dress to earrings), but found it too difficult. Instead, I found this super-easy dress, which consists of just four pieces:

4pieces

http://www.instructables.com/id/Infinity-Dress/

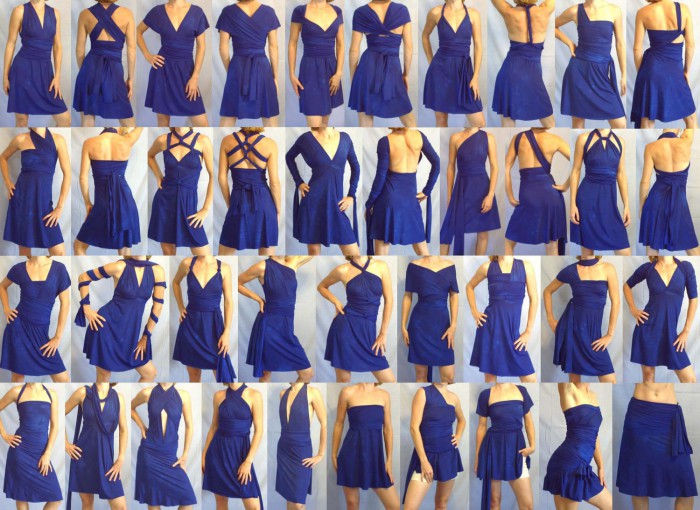
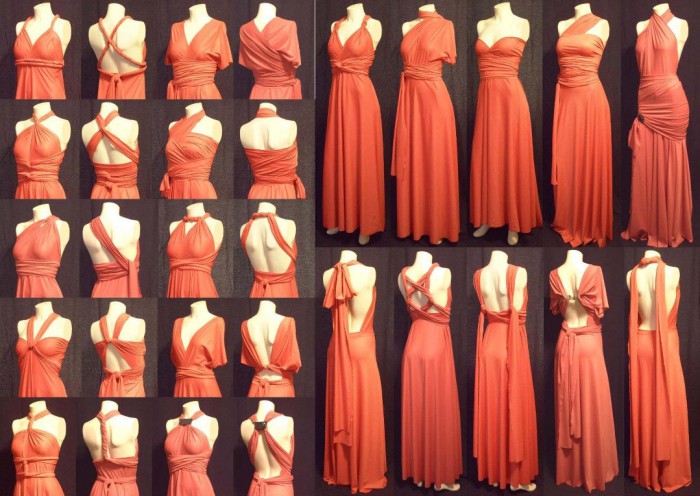
It is called an infinity dress because of all the ways you can wear it

il_fullxfull.302124536

il_fullxfull.403294097_pzws

My attempt came out more like a miniskirt due to some errors I made and lack of additional cloth. It also falls strangely on the front due to the lack of cloth pulling it down. So it goes.


dressfront

To remedy it, since I have no more of that cloth and the store that sold it (Sew Low) is now closed (owner retired), I can 1) sew a different color underneath 2) wear a slip underneath 3) wear dark tights.

Additionally, the stretchy orange fabric causes… issues when it’s stretch thin. Ala wet tshirt problems. 🙁

It was all pretty straightforward. I’ll just document my measurements and cloth dimensions here.

  1. height 64.5”
  2. waist 31.5”
  3. chest center to armpit back 10.5”
  4. bottom of ribcage to top of breasts 6”

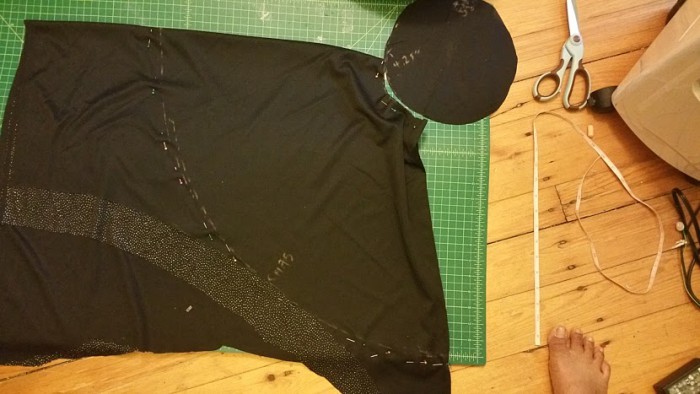
For the circle, my inner radius was 4.25” and my outer radius was 19.75”. Here is a picture (with the inner circle unfolded to show that the cloth is folded into quarters). I made the waist smaller than intended and it fit fine on my waist without falling down or being too small (although it did get on the smaller end of acceptable after I finished sewing everything to it).

skirtfinaldim

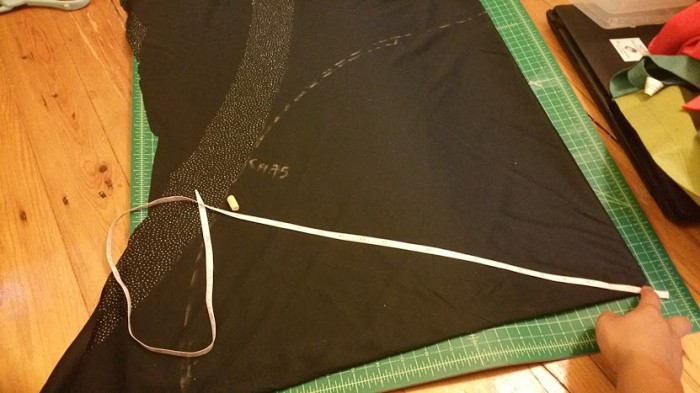
I mark it, I used a piece of chalk and a tape measure, then anchored my right hand at the center of the circle and swung the tape around.

radiusmarking

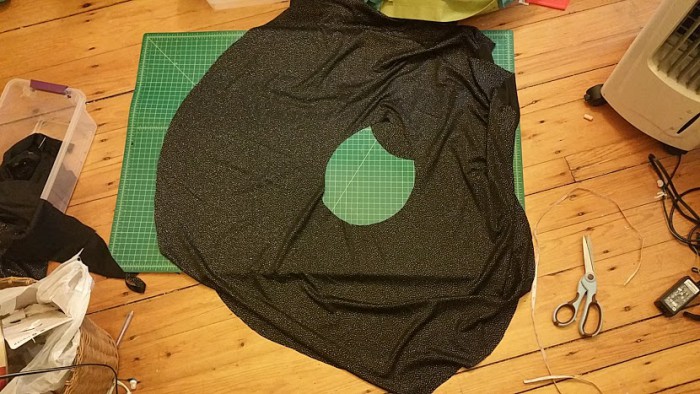
Unfolded

skirt_unfolded

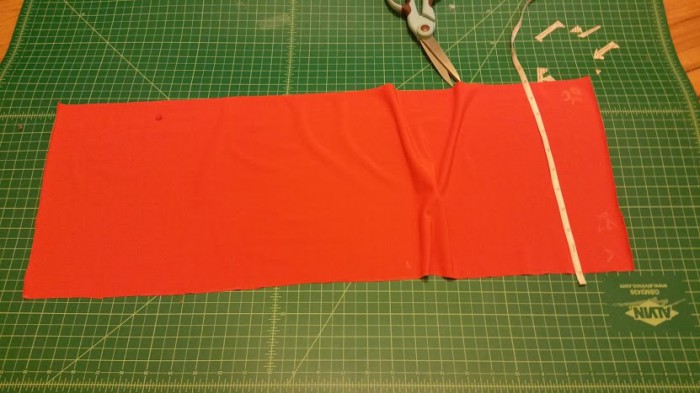
My rectangular cloth was 10” by 28”.

rectangle

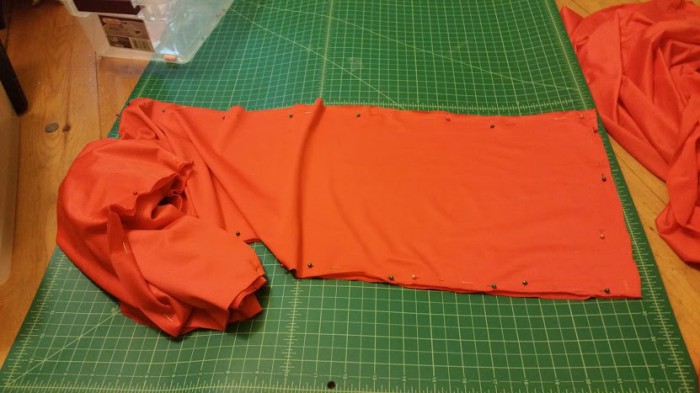
My long straps were 10.5” by 97”. I pinned them extensively down their entire length and the cutting was straightforward, although extremely tedious. The mat actually helped a lot, since I could line up the clean edges on the mat and actually see through the fabric to the white lines on the mat and mark down the entire length.

straps

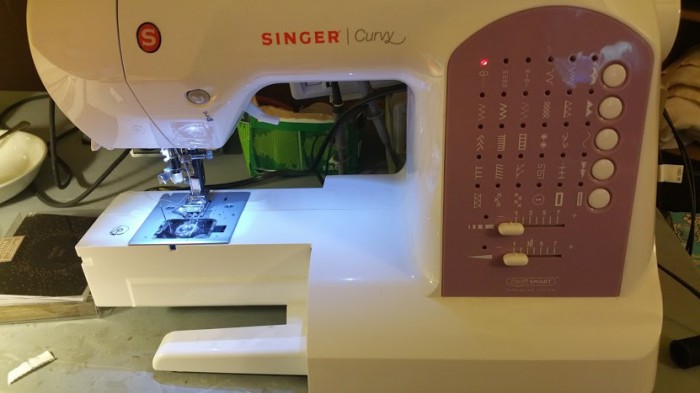
I used a single stitch, the straight stitch, no zigzag stitch needed (the second row on the machine), because the orange fabric was super stretchy.

sewingmachine

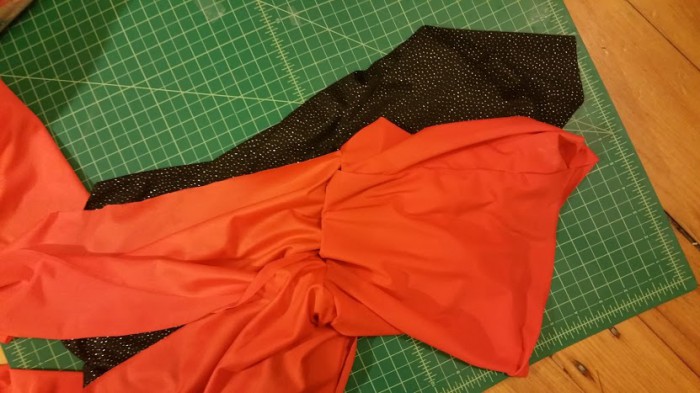
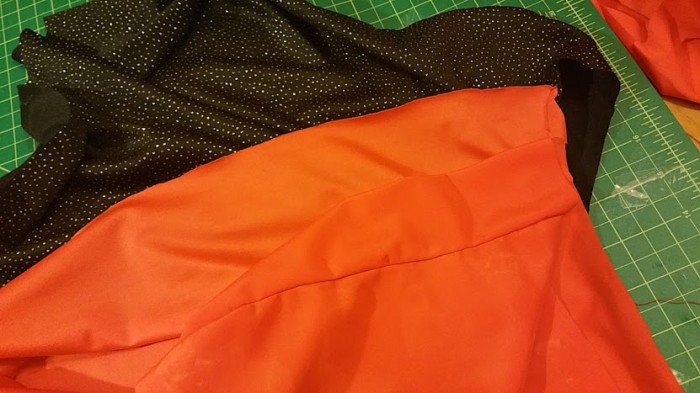
The only part I found tricky* was which side to sew the rectangle (turned into cylinder) on onto the dress. I almost sewed it on the wrong side. It should be sewn with the top part of the right side is facing you and the bottom part of the right side is facing the mat, and the wrong side is facing itself on the inside. That way, when you put on the dress, the right side is facing out. The right side of the cylinder is facing the wrong side of the straps. The right side of the straps is facing the right side of the skirt. The bottom part of the right side of the skirt is facing the mat.

rightsidedown

rightsidedown-closeup

*I messed up on the skirt mostly because I wasn’t really paying attention and was listening to a podcast 🙁 I folded it in half and cut out the quarter circle, instead of folding it into quarters. Unfolded, I got two useless halves of cloth instead of a circular skirt.

All told it took me 8 hours to go from first reading the instructions to wearing the dress.

[the end]

nail saloon parties: laseretched stamping plates, water marbling / hydrographic printing, toner transfer, and magnetic nail polish

nail saloon

I’ve been holding nail saloon parties at my place, the idea being it would be a place where people should feel welcome to ask questions about things they might feel awkward about normally, and also a chance for me to learn about other people’s experiences that I don’t know much of anything about.

Although it turned out to be mostly preaching to the choir, I’ve improved friendships through it, learned about other people’s lives, and also experimented with nail art with folks!

Here’s a few “pieces”. I drew this with the applicators that came on the bottle (and a toothpick, I think)

laser-etched stamping plates

I tried to make stamping plates (lasercut) — here’s how the professional ones look: https://youtu.be/HxIFgvfPC1c?t=1m29s — however, I think, because I was in a hurry, the etch depth was not deep enough

(and also, we were using test tube stoppers instead of soft round stamps that conform to your nail more).

newspaper toner transfer

One person successfully did newspaper transfer, but that was perhaps one successful one try out of ten…

Here’s the instructions, using rubbing alcohol.

And if you’re not having luck, just fake it with sharpie 🙂

ombre

aka, a color gradient. this is a simple technique, just take a cosmetic sponge, put two or three colors next to each other, and then dab away — tada, you have a gradient!

the middle finger is “ombre” here

magnetic nail polish

it works! turns out you need to get the magnet patterns.

the thumb and fourth finger have gold magnetic nail polish applied

Update 8/16/15: For those wondering about MRI compatibility — it so happens I had an MRI done recently with some magnetic nail polish still on my nails. It was totally fine (not even a slight pull), and they also have a nifty device that checks if you have metal things on you before you enter the MRI room.

stickers

these sadly only lasted maybe a few days, even with a topcoat applied on top of the stickers

tools

I hunted around for a local source of things like dotting tools (for making dots) and eventually found them right at Target!

the sticker “masks” above did not work too great, but the dotting tool was handy 🙂

testimonial

“I guess I never noticed how often I take off my socks in the presence of other people until now. An eye-opening find on it’s own! I think I shall paint them from now on. It’s like the personalization of a tattoo without the peril.” — K. S.

water marbling

This is just dropping different colors into a cup of water and dipping your nails in it. I did this successfully (you want solid colors usually, and some nail polishes do not work (just dissolve into the water)). Here’s a friend’s:

Inline image 1

Here’s the coolest water marbling of nails I’ve seen

Here’s the fun technical equivalent at SIGGRAPH

conclusion

Overall, quite a bit of fun 🙂