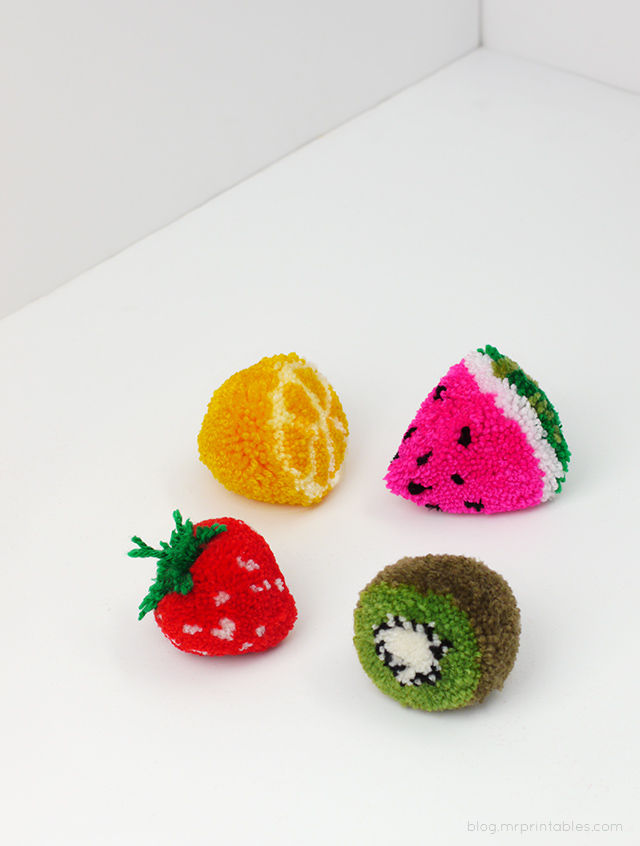
poms poms? those things cheerleaders wave around?
Kind of, but made of yarn!

i was looking at some knitting blog, when i was interested in making open source versions of textile manufacturing machines, and the author briefly mentioned trying to find a book for sale by trikotri. as i’m familiar with chinese / hanzi characters, i was able to find it easily on ebay.
(if you mispell their name, by the way, you end up with pictures of tractors! I remember their name as “trick or try” now).
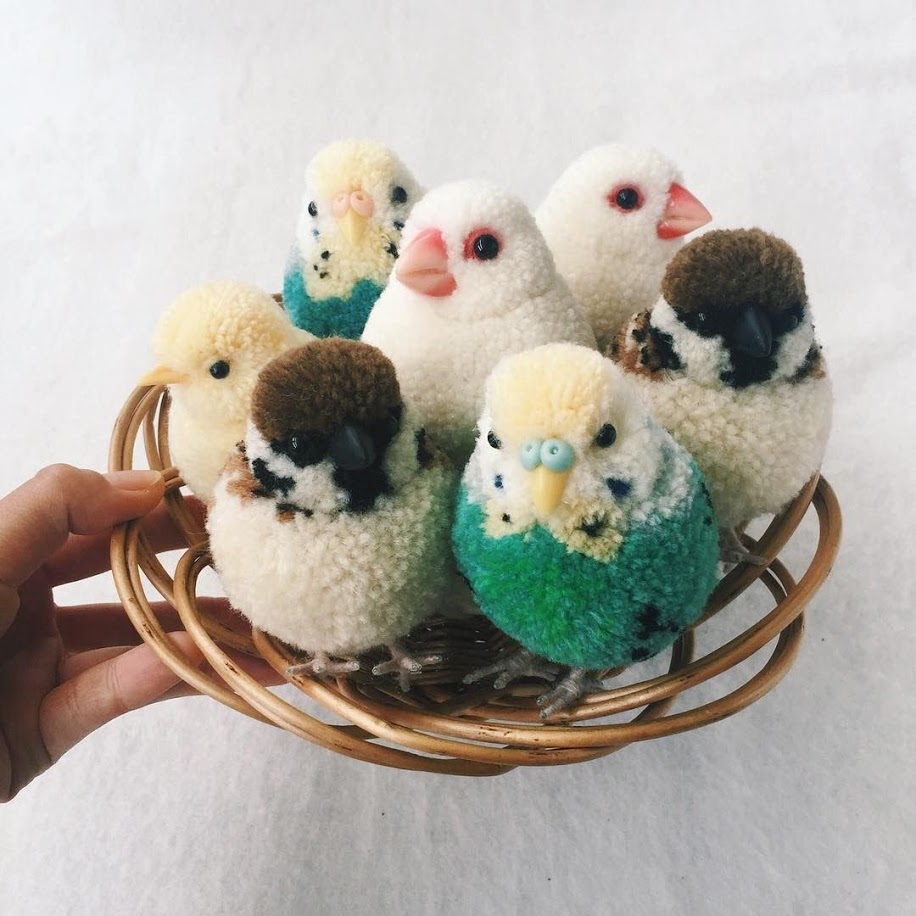
some inspiration
since then, making pom poms has grown into an obsession… in particular, I wanted to try to figure out how this tiger was made
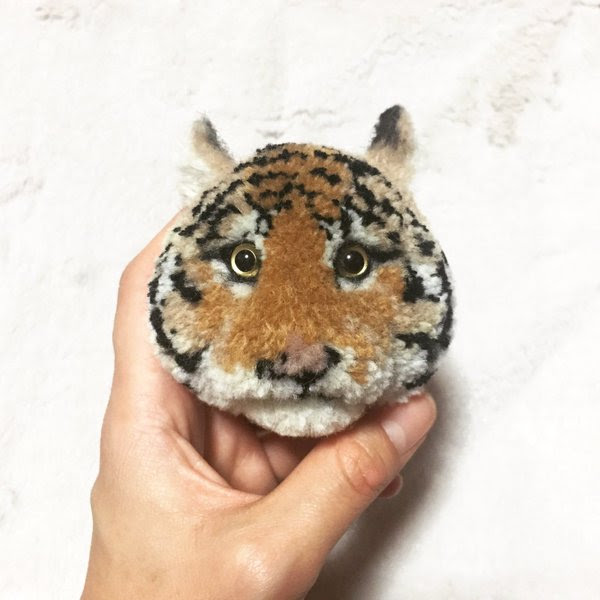
Wow, right?? That’s one intensely detailed pompom.

Okay, so how do you make these cute fluffy things?
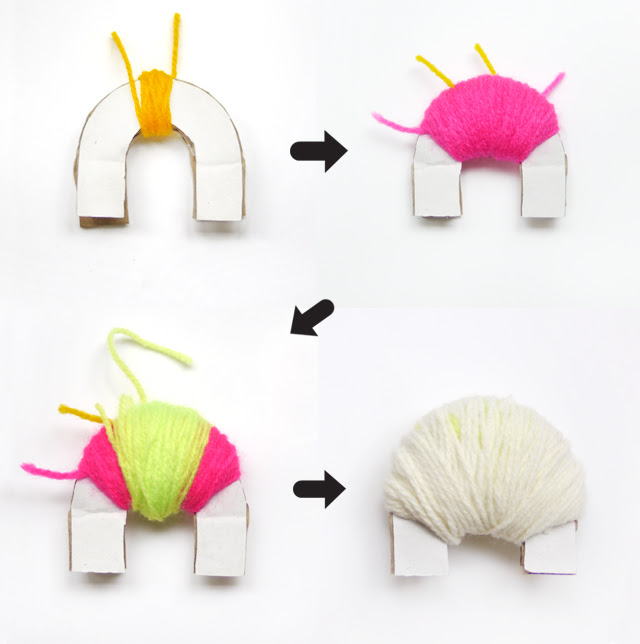
They’re actually pretty straightforward, essentially you make a dense loops of yarn and then tie a tight knot around the center, then cut through the tops and bottoms of the loops, and voila, you have a yarn pom pom.
quickstart
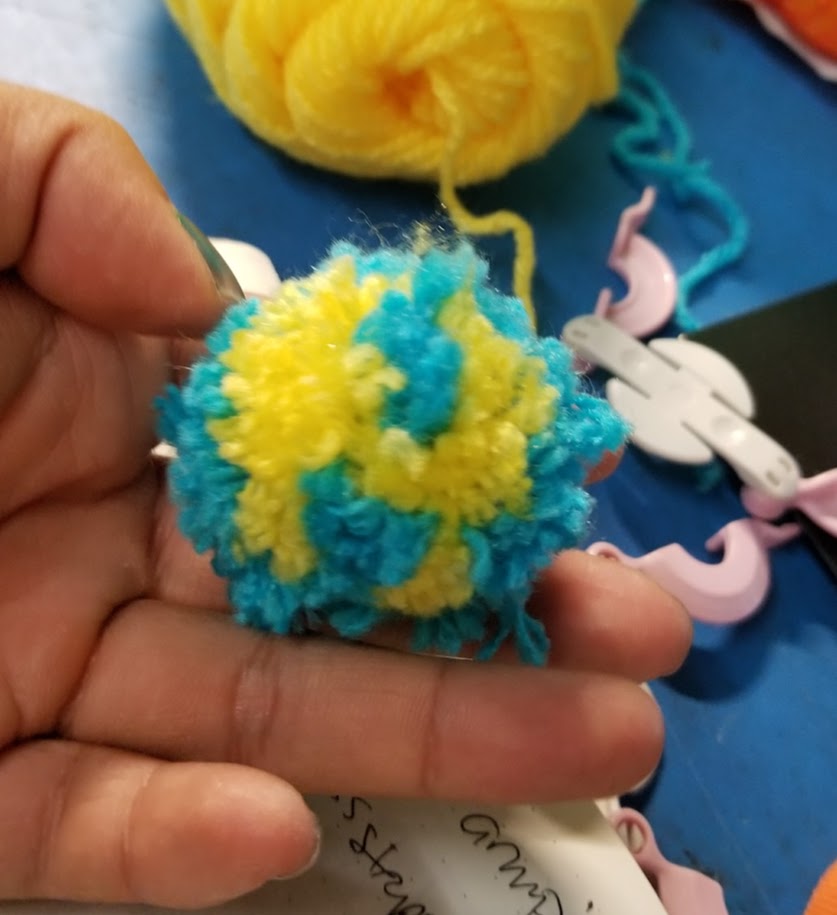
Watch this video. She uses cardboard to make the “pom pom tool”. Note in particular that with the custom tool, she can make elliptical instead of spherical pom poms (though you can always shave spherical ones into elliptical ones, of course).

That should give you an idea of how to “customize” a pom pom.
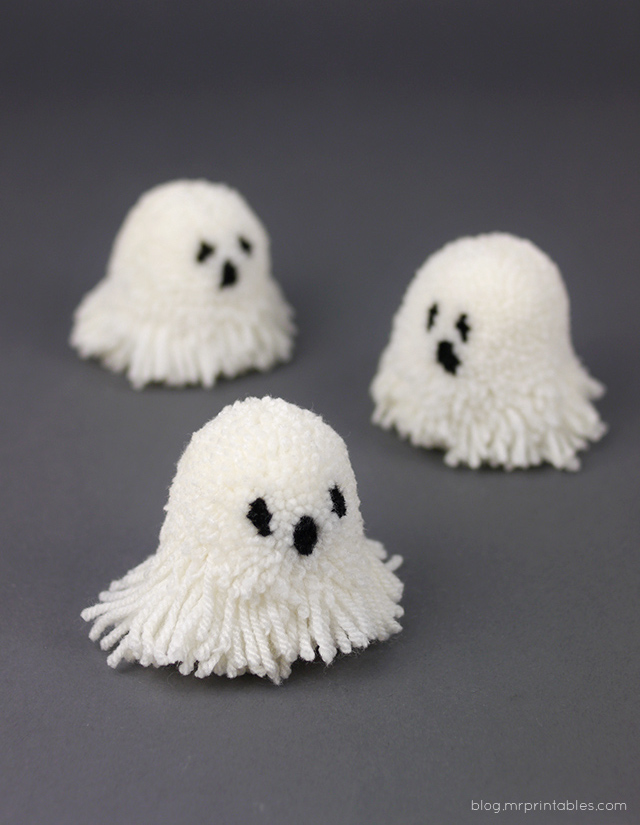
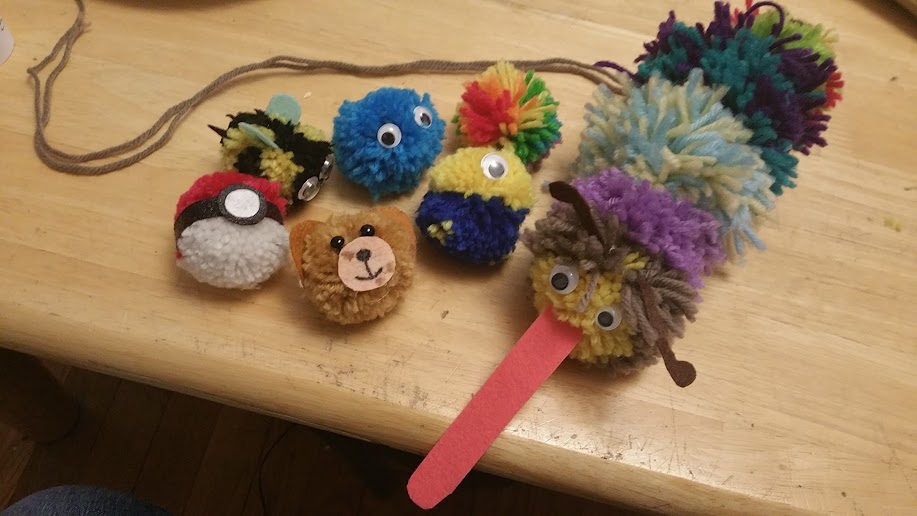
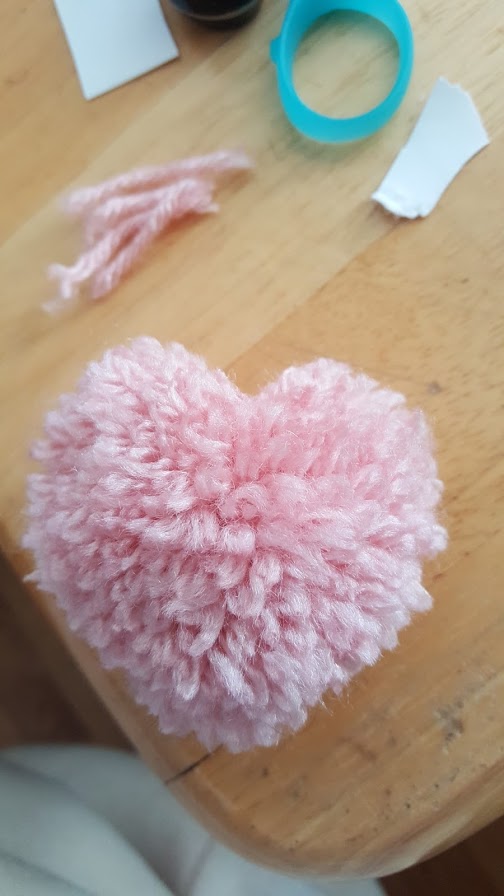
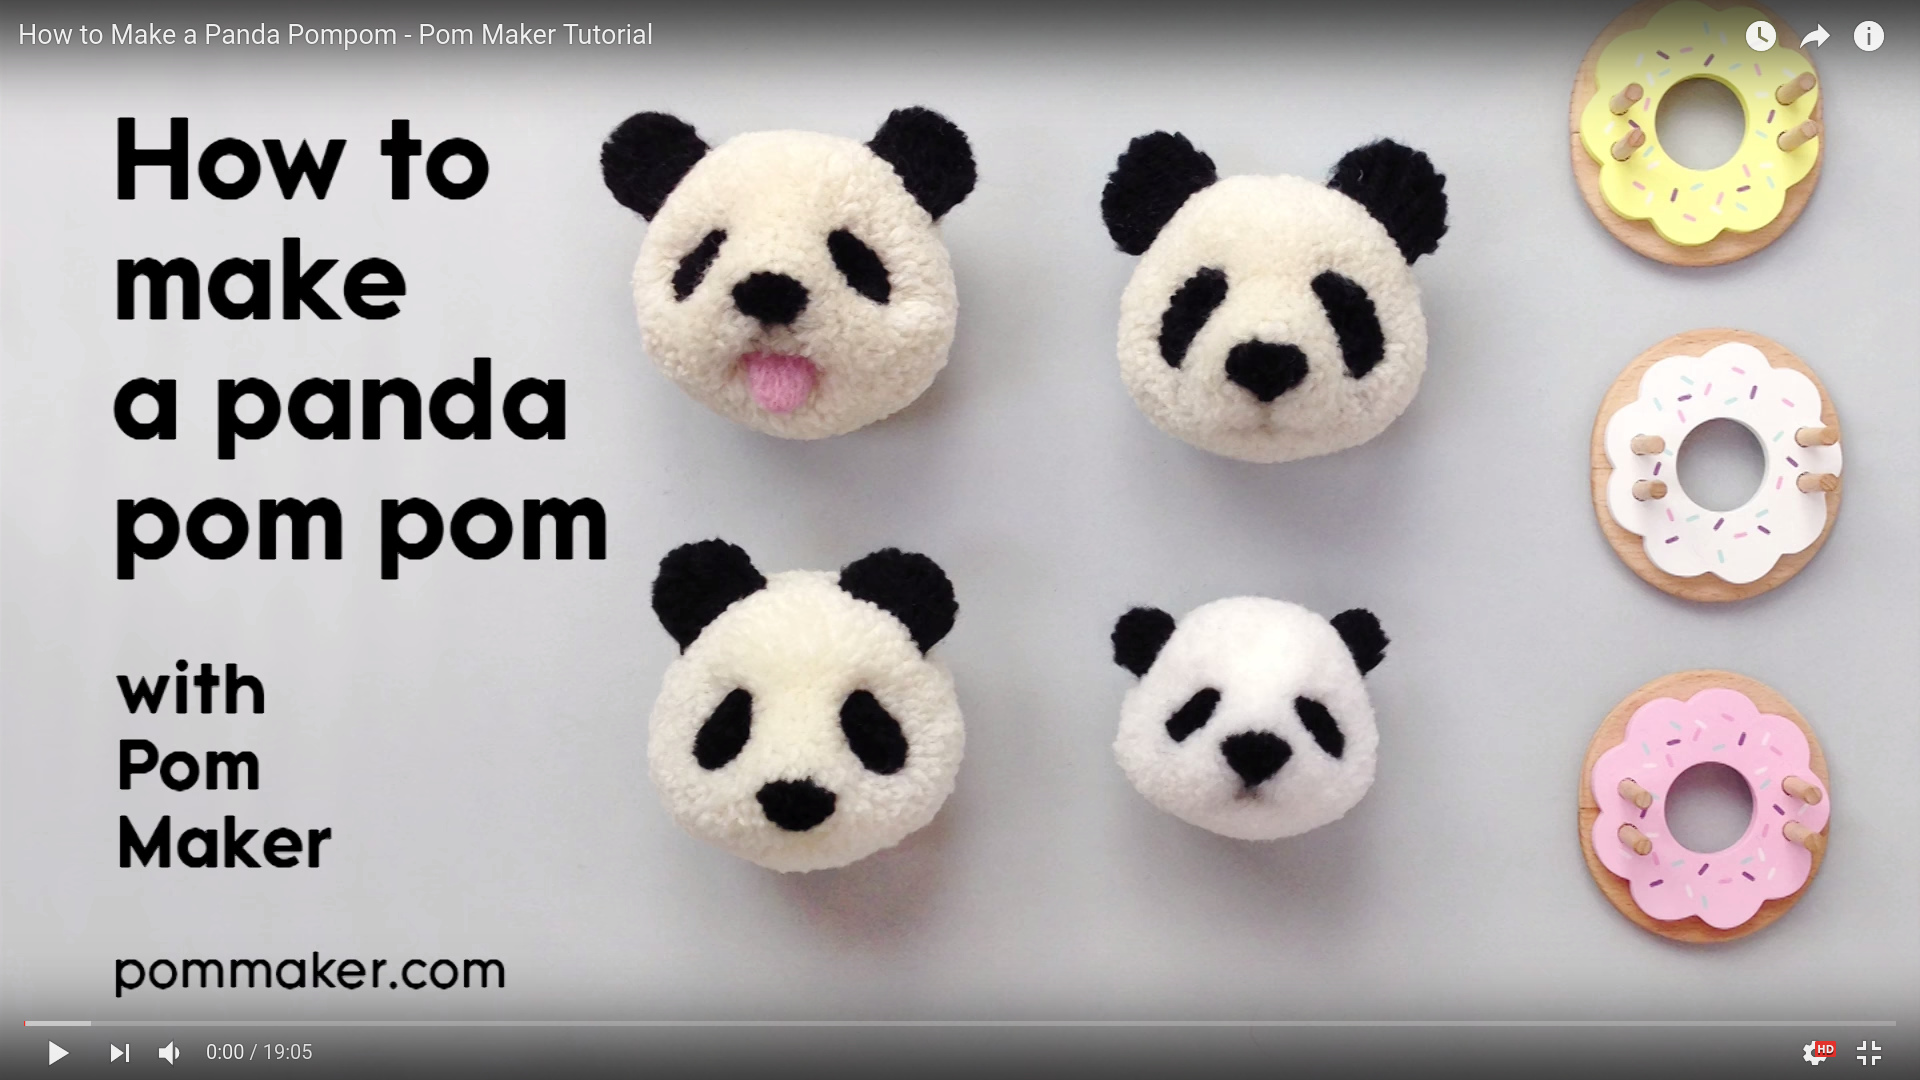
If you just want to make gifts for friends, that’s it! Cut out some eyes, ears, and a mouth from felt, and in ten minutes you’ve created a really adorable gift that doesn’t take up much space. There’s ZERO need to make more detailed designs, the cute ones are simple and will be adored.
a step up — flowers
but then… how to make the more detailed designs?
After some searching, I finally came across a tutorial online (since then I’ve found several books that also cover the topic!) by https://mrprintables.com.
Specifically, he shows in his Flower Pom Poms article how to go about designing a pom pom (again using a home-made cardboard tool).
Essentially, the way we make pom poms is symmetrical (I’m still trying to figure out how asymmetrical designs work, though maybe they all are just by using tweezers to fiddle the yarn around…). The things to consider are where you are wrapping, and how “deep” (how many loops) you are wrapping, and what “layer” you are wrapping (on top or under what other layers). Succinctly, here is the main ideas from the blog.
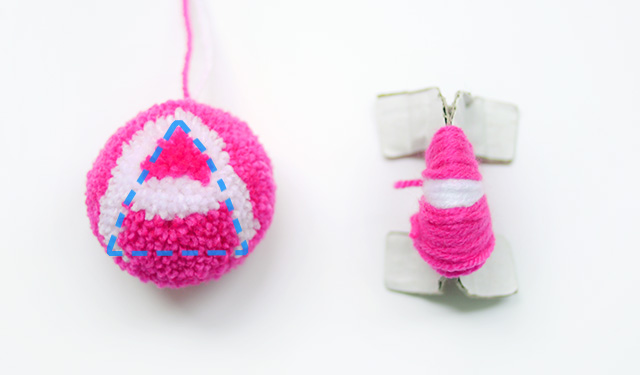
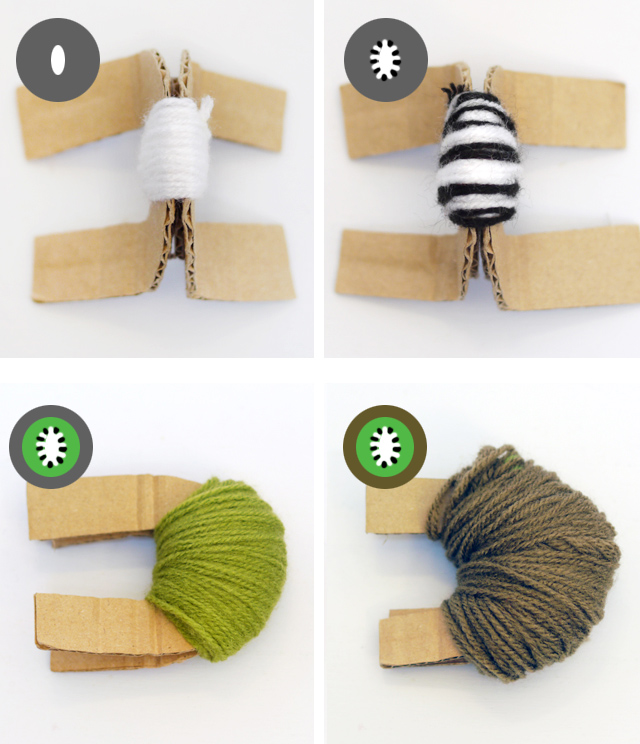
Take the flower design you want, and find the axis of symmetry.
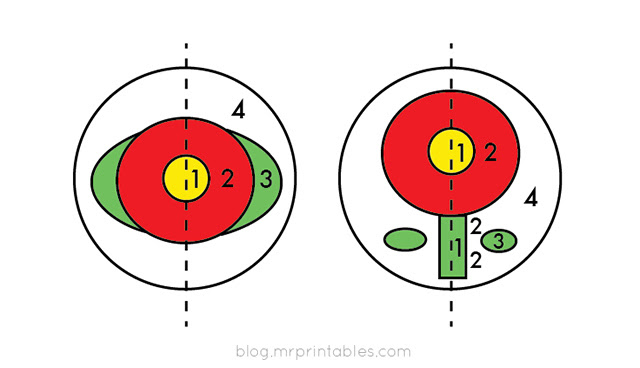
Next, we see that we start out by wrapping the innermost layer, #1 (yellow). Next, we wrap the red layer, #2, around it. Then we wrap the green layer, #3, around that — but note that we don’t want the green part to not completely overlap the red part, and wrap accordingly. Finally, we finish off with a white layer. This is just half of the pom pom — the back half is made by doing a full white layer of similar thickness.
here we can see the flower design after it is cut out.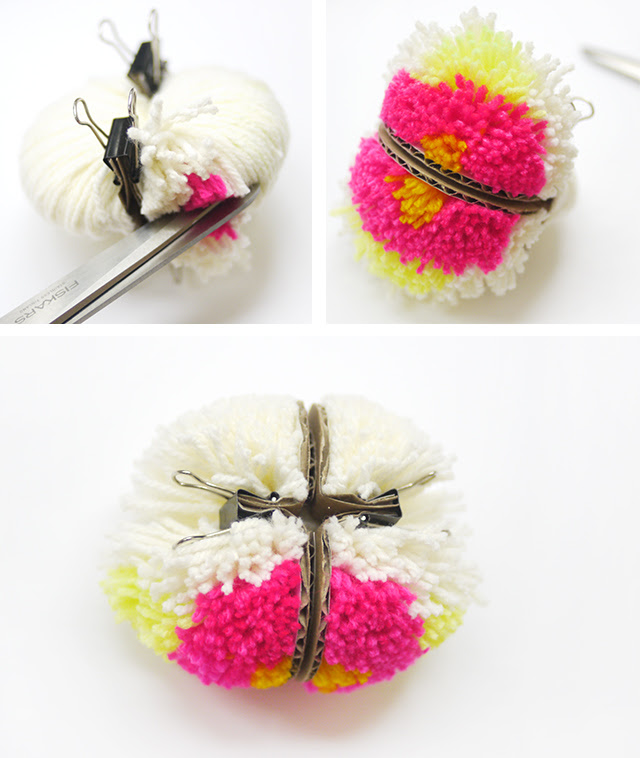
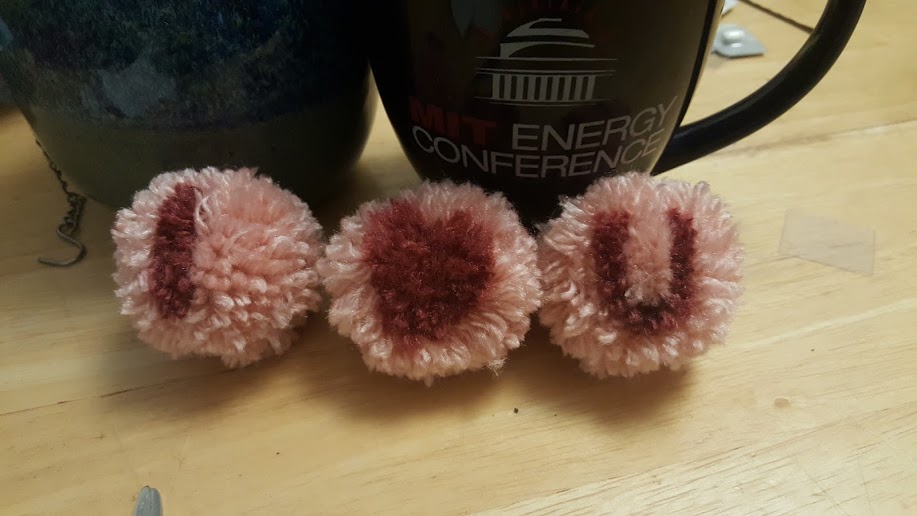
Next step — alphabet
Okay, so now maybe we want to go even more detailed with the pom poms. Flowers are great, but what about the alphabet?
Mr. Printables shows us the way again.
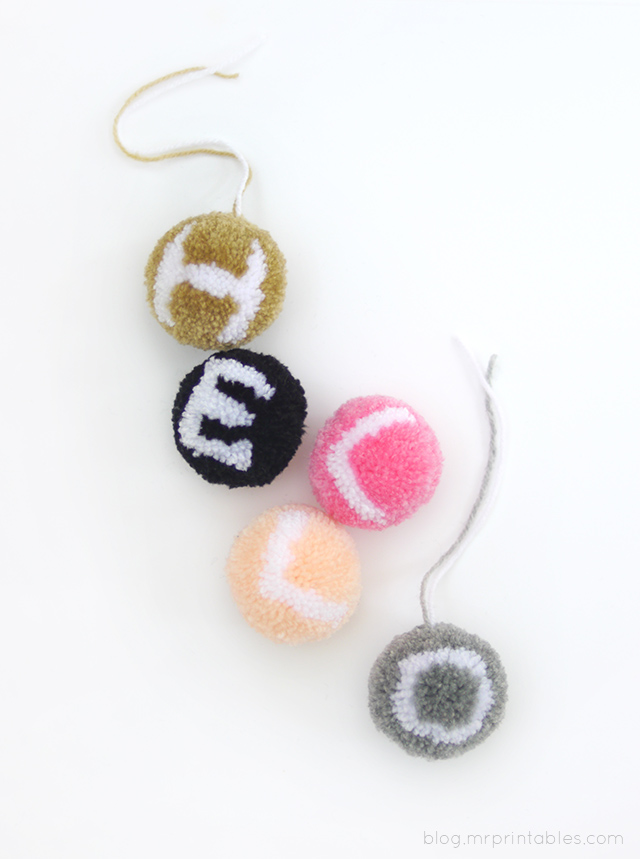
I spent many hours on my “ABC”s of pom pom making!
The “A” is quite instructive on how to think about this.
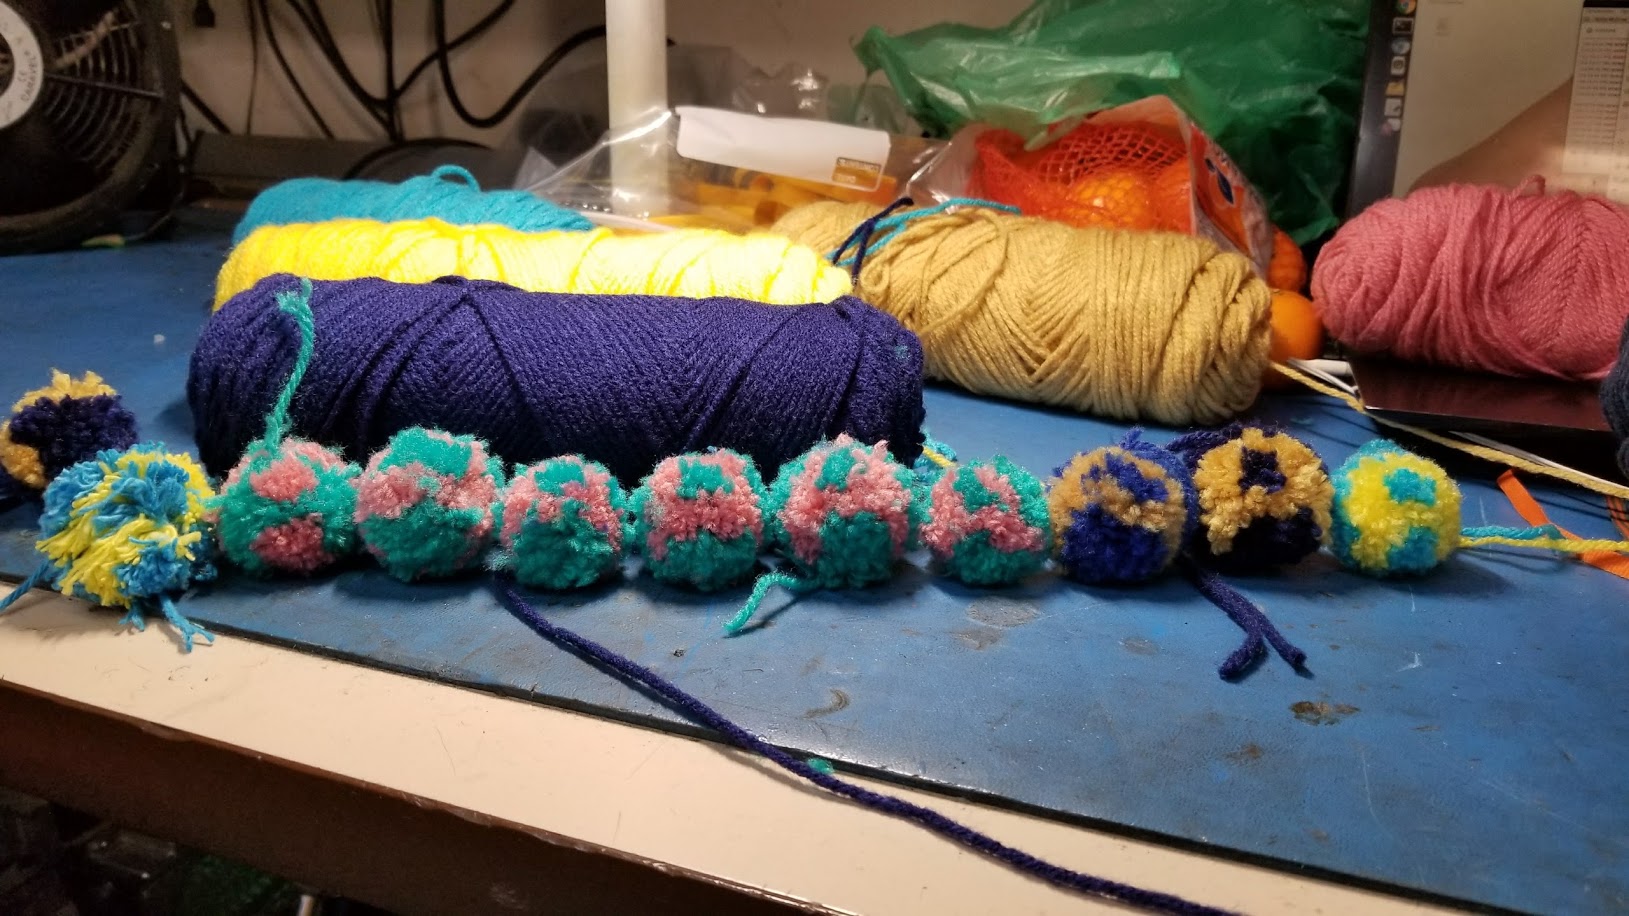
I struggled a lot!! with keeping the yarn threads from slipping off of each other, and have the A come out with the bottom legs stuck together (more like an eye-shape than an “A”), and a lot of other problems.
I think part of it is the yarn I used, so I have to look into that, as I don’t know anything about the different types of yarn. On the leftmost pom pom you can clearly see that the “denim yarn” I got was not suitable. And I’d try to put too many winds on, so I couldn’t close the pom pom maker (I got some clover pom pom makers). Or the letters weren’t consistently fat. Or the letters were falling off the edges of the pom pom. I’m really not sure… I should try it with bigger pom poms, maybe that’d make life easier.
I think in the end, the key is to not be too perfectionist… and to be okay with using tweezers and scissors to “post-process” your pom poms!
Asymmetry
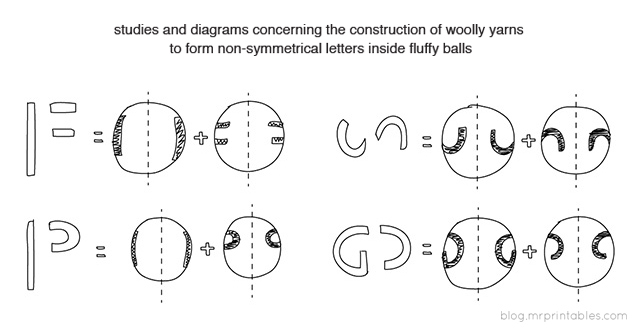
It turns out that the dirty little trick is to make the “asymmetrical” letters like “F” and “P” and “S” still symmetric by having a reversed (mirror) version of the letter on the other side. The symmetry is created by carving the letter into two parts and mirroring those parts individually.
Full listing of Mr. Printables pom pom posts:

Oh nice, here’s a tutorial showing how they made it! Notably it looks like their pom poms are a lot bigger than what I was going for! So maybe that accounts for how easy they had it. Also, they do say 20-30 minutes per pom pom… I feel like I can rest easier now.
the secret to trikotri ‘s pom poms!
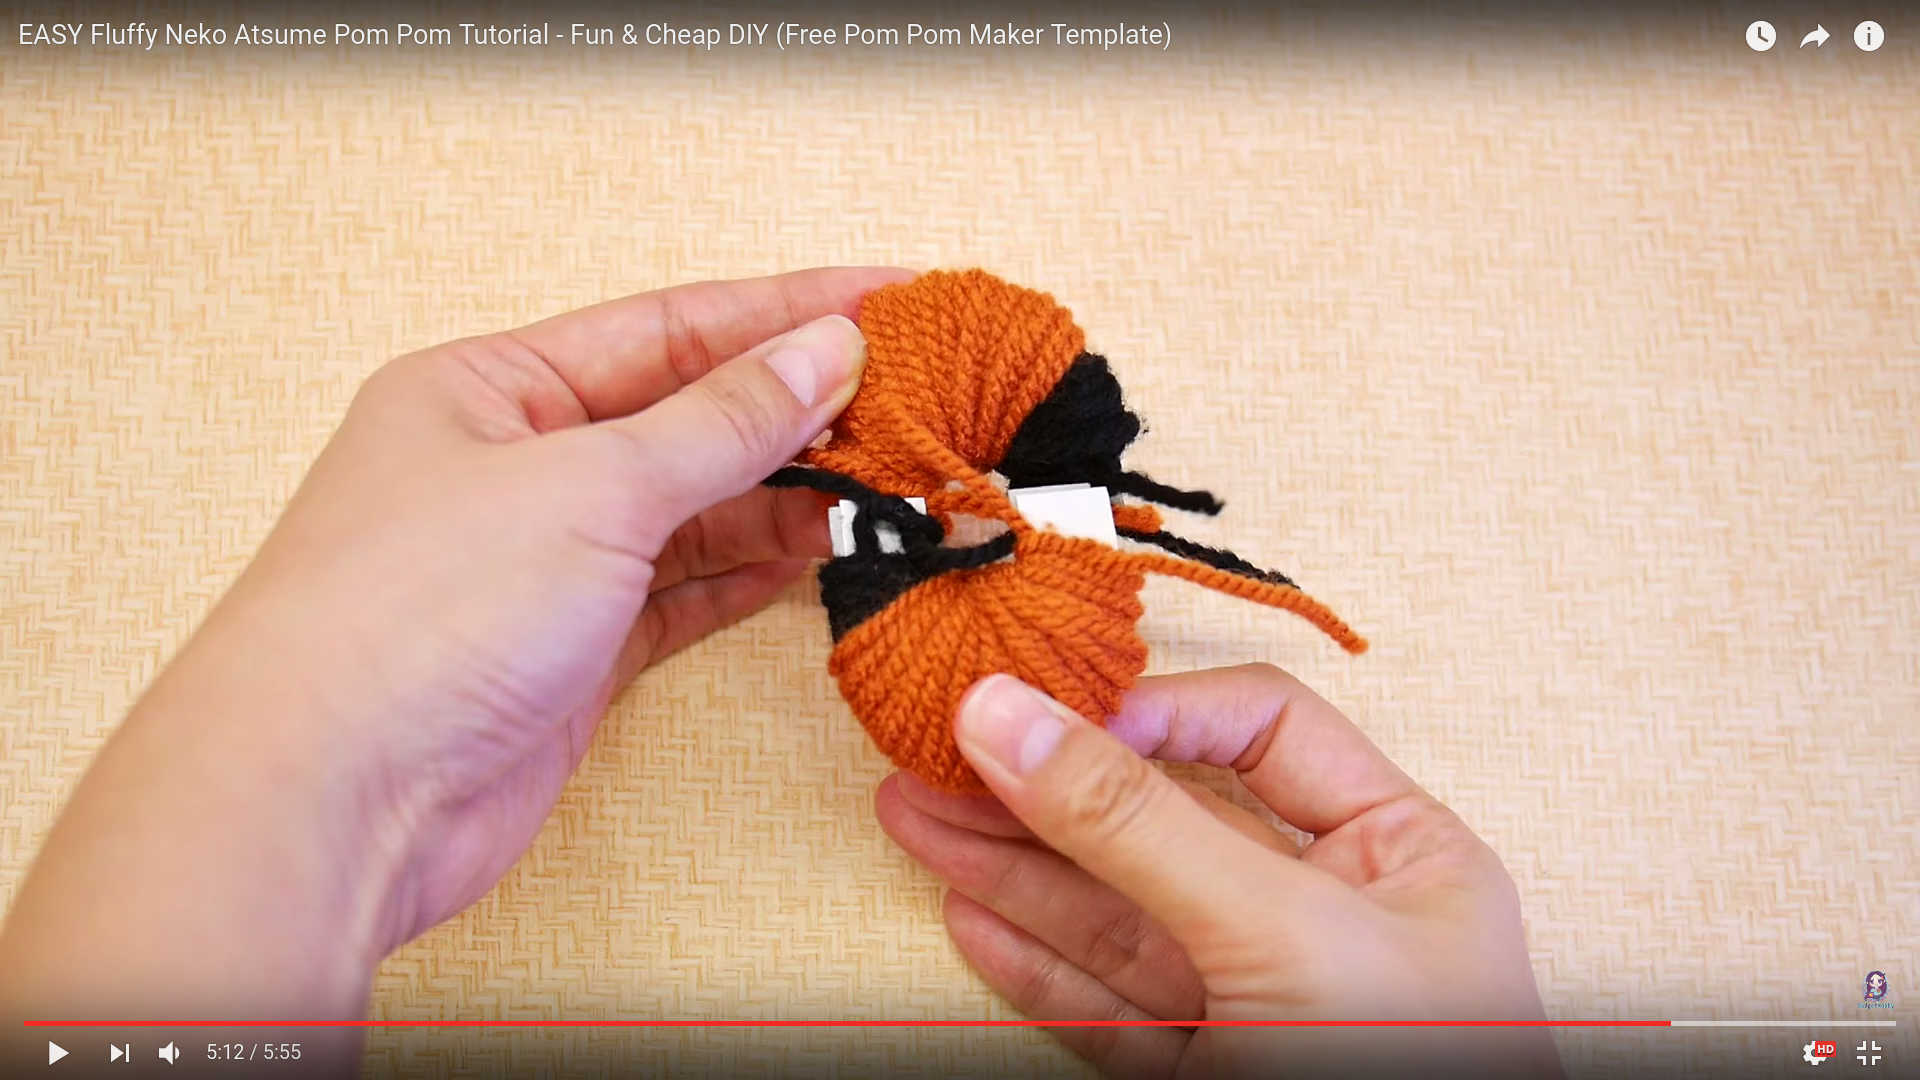
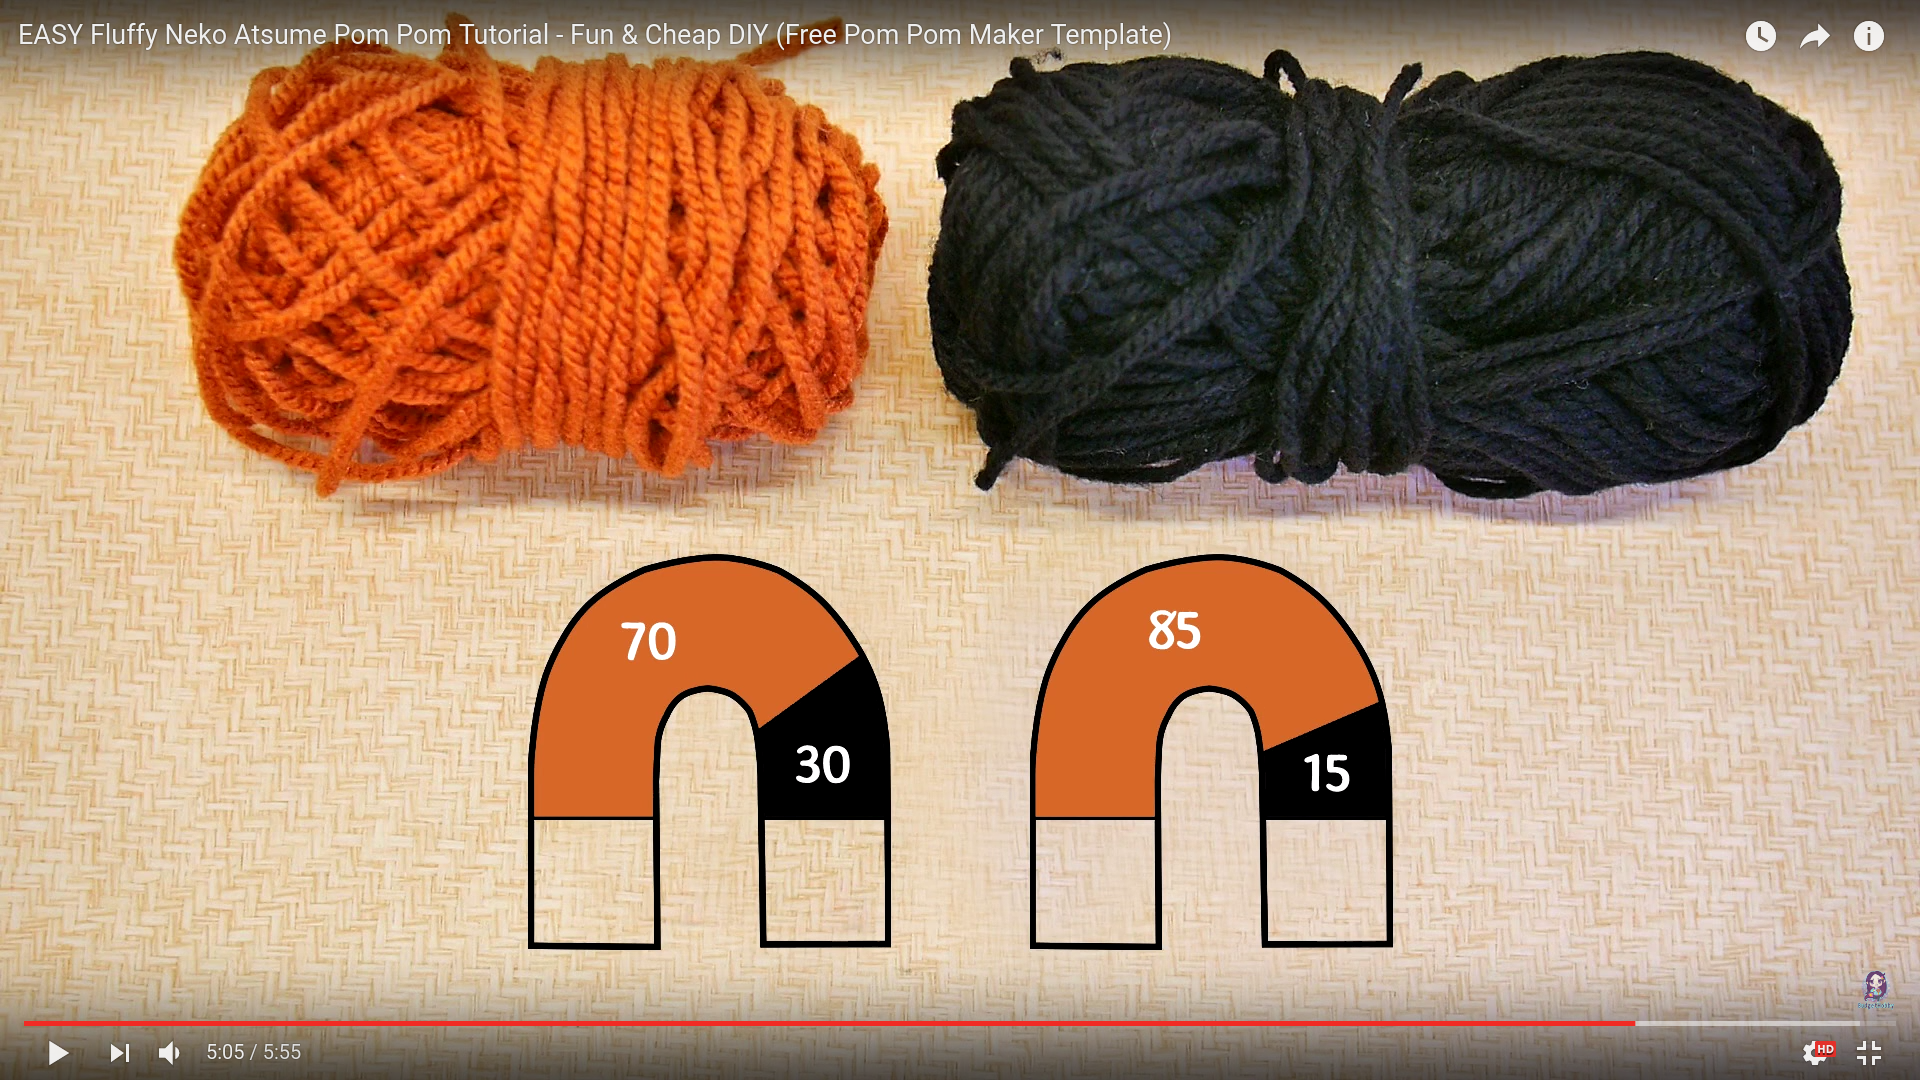
Some months (a year?) later, trikotri put up a youtube video of how she makes her pom poms.
My puzzlement was over not just the intricacy of her tiger pom poms, but also the asymmetry in some of her pom poms
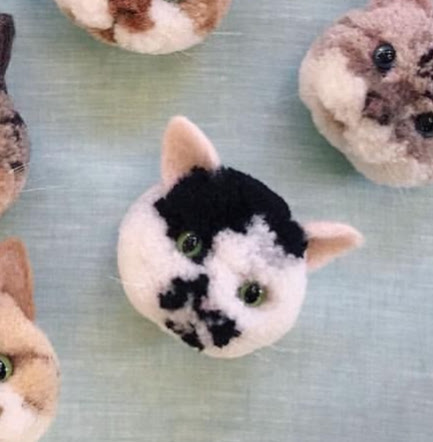
It turns out to be a combination of pom poms and felting!
Perhaps the tiger’s asymmetrical features are made by poking wool in to make the stripes? I will have to try to make the tiger!
pom pom parties
okay, that was an info dump about how *other* people make pom poms. What about the beginner stuff — what you can make in 2 or 3 hours?
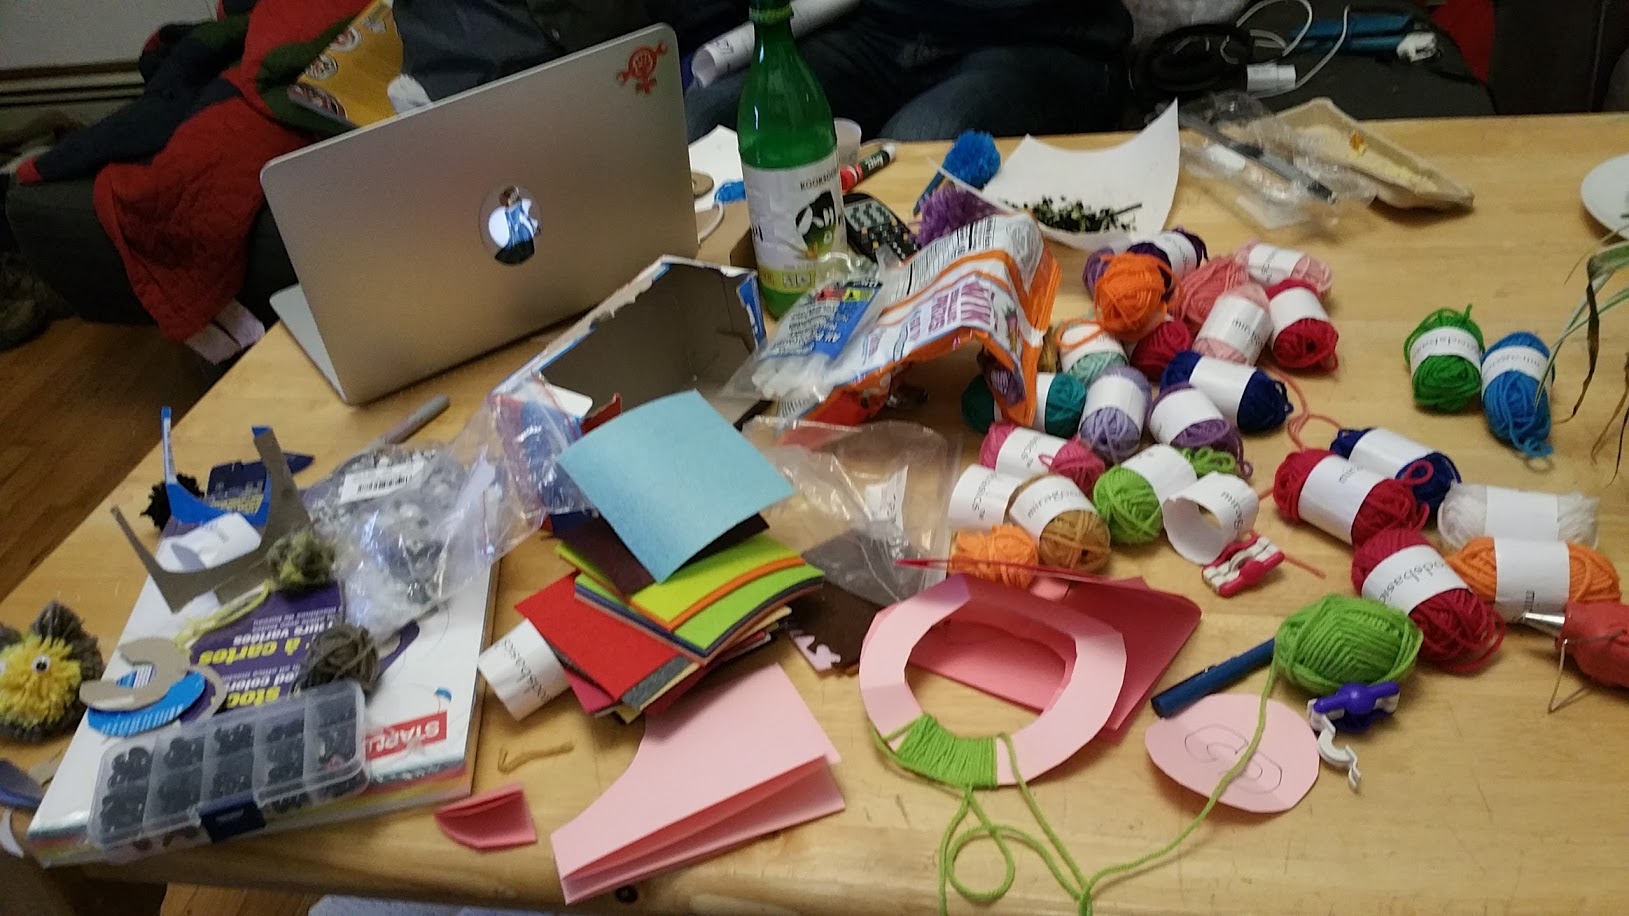
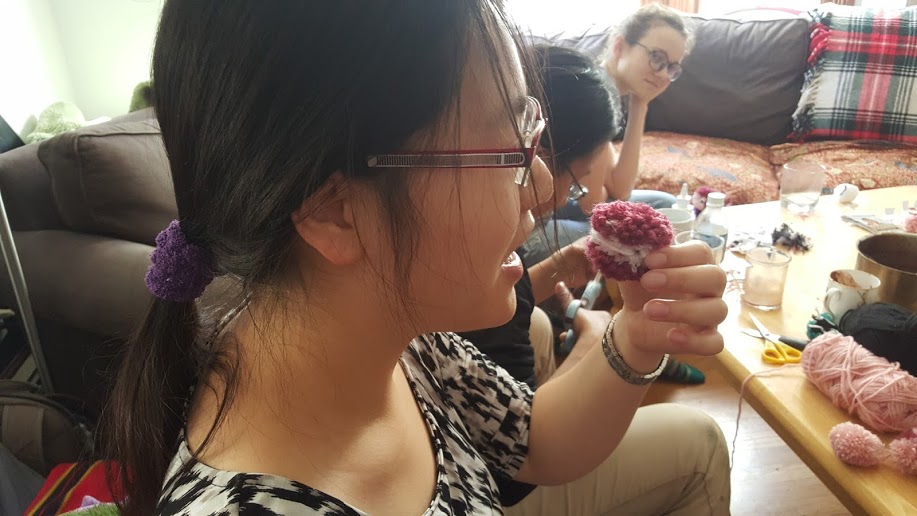
You can definitely make a lot and get really far! I organized a pom pom party where I got a bunch of friends together and we all made pom poms, everyone except me for the first time.
Doing so is easy, just bring colors of yarn, sharp scissors (!! This is important, probably at least 1 pair of scissors per two people, and they need to be sharp). If you want to be fancy, bring hot glue, googly eyes, and felt (for ears, mouths, etc.) (note — I got a variety pack of felt on amazon, that didn’t include white and black! so be careful what you get).

My friend Renee Bell did too! Here are the creations of some of her friends.

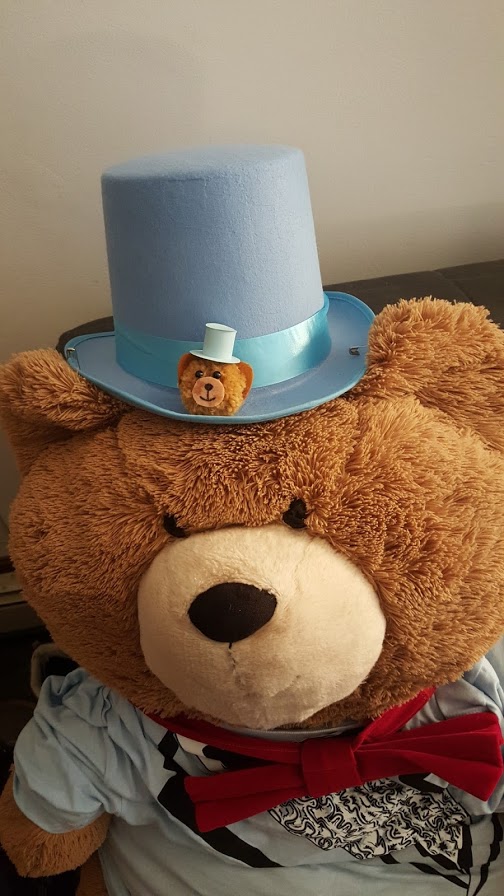
About the teddy bear — http://maths.mit.edu/~nacho/ Nacho Bell pom pom . From the website: “In Fall 2015, I tried to teach 18.01 (single-variable calculus). However, since I have no fingers, I could not pick up the chalk, and consequently got very poor reviews.”
neat note
you can make pom poms on the go using nothing but yarn, your fingers, and scissors
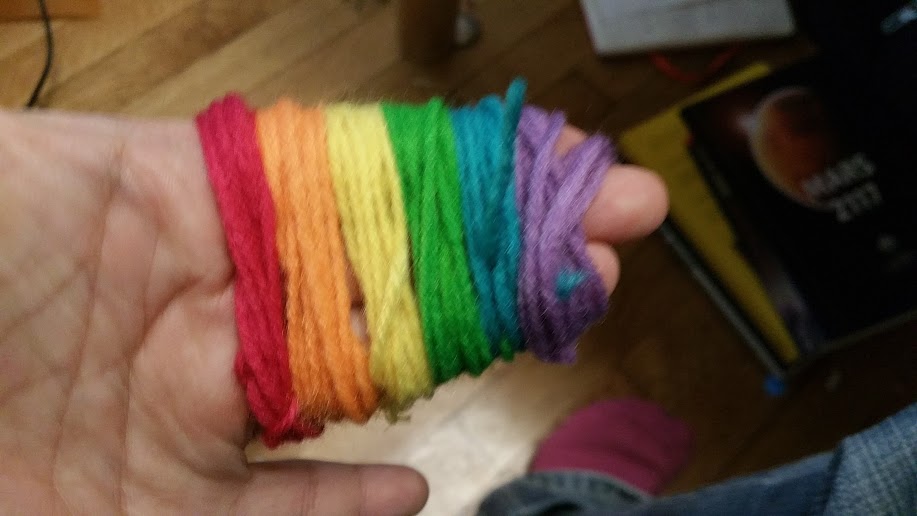
Well then.
where to go from here?
a few other interesting things I found online…
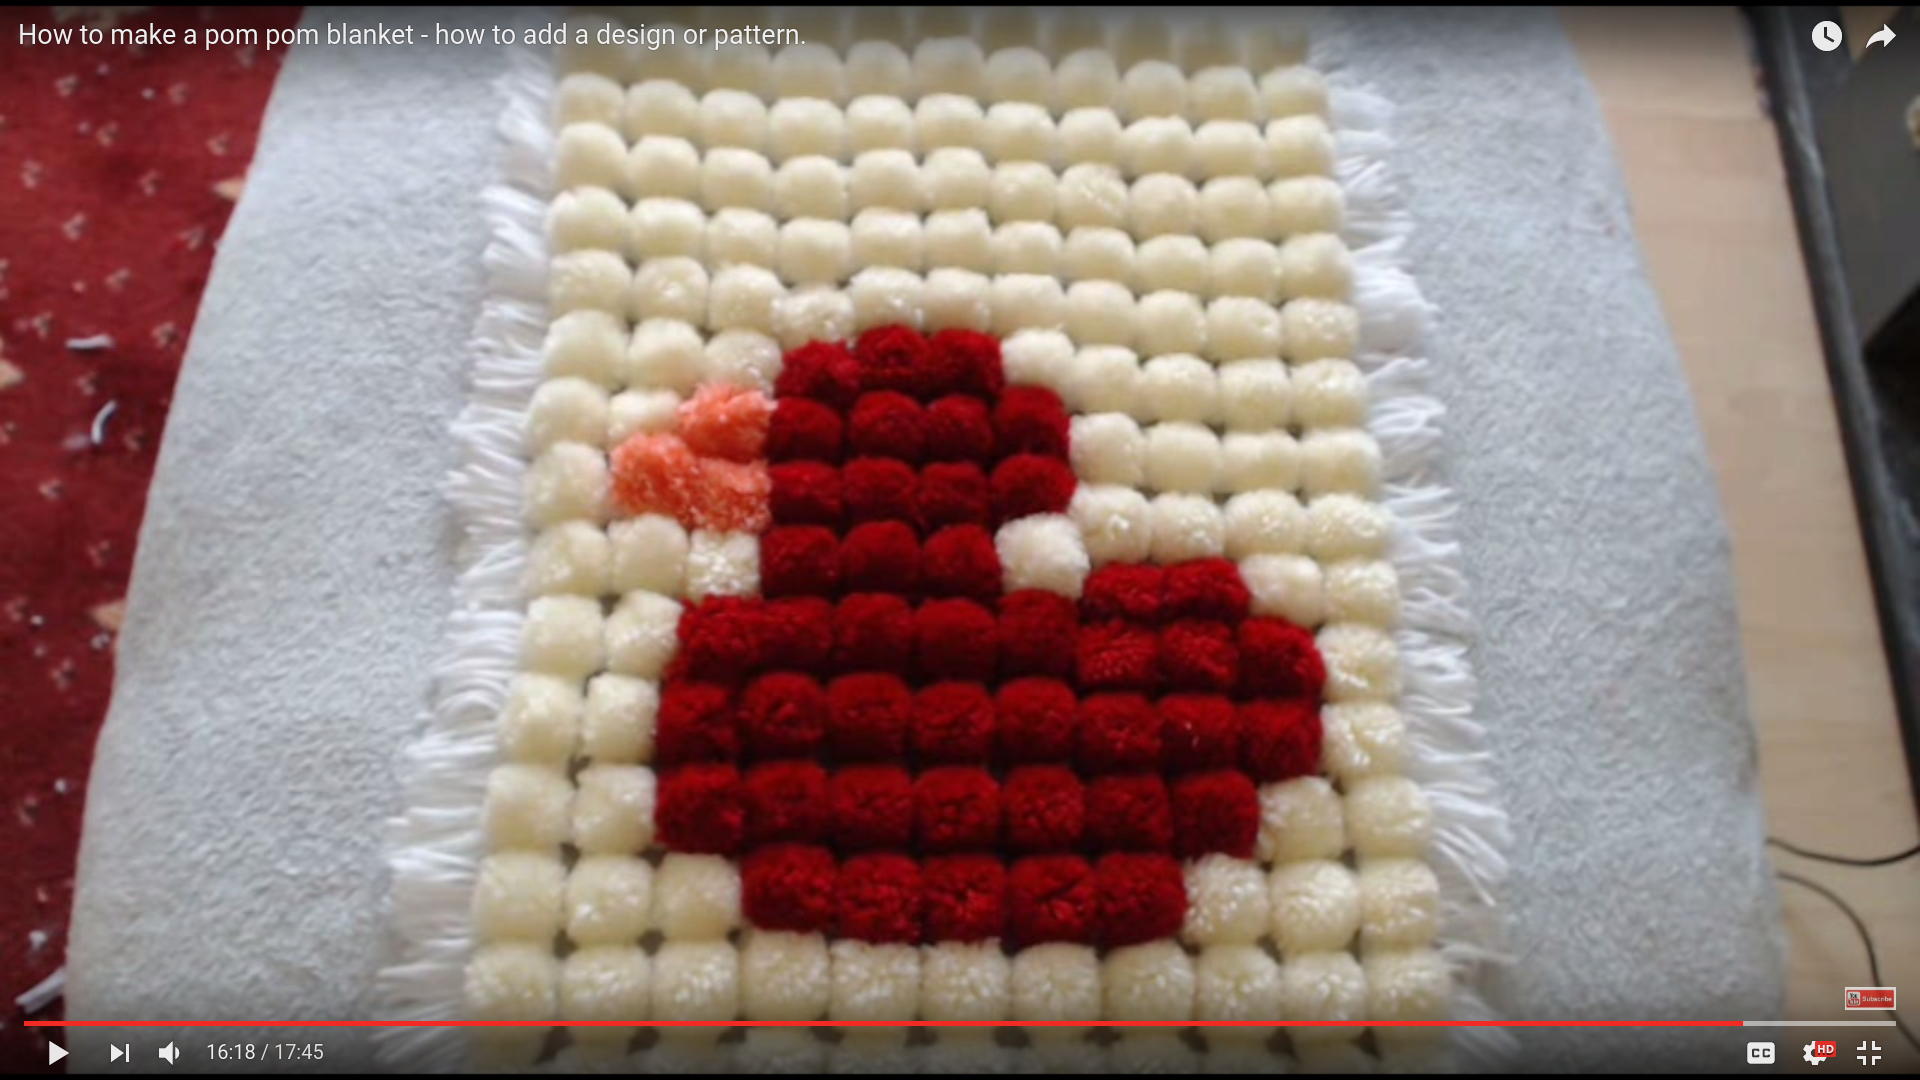
Making a blanket, with a design!, out of pom poms
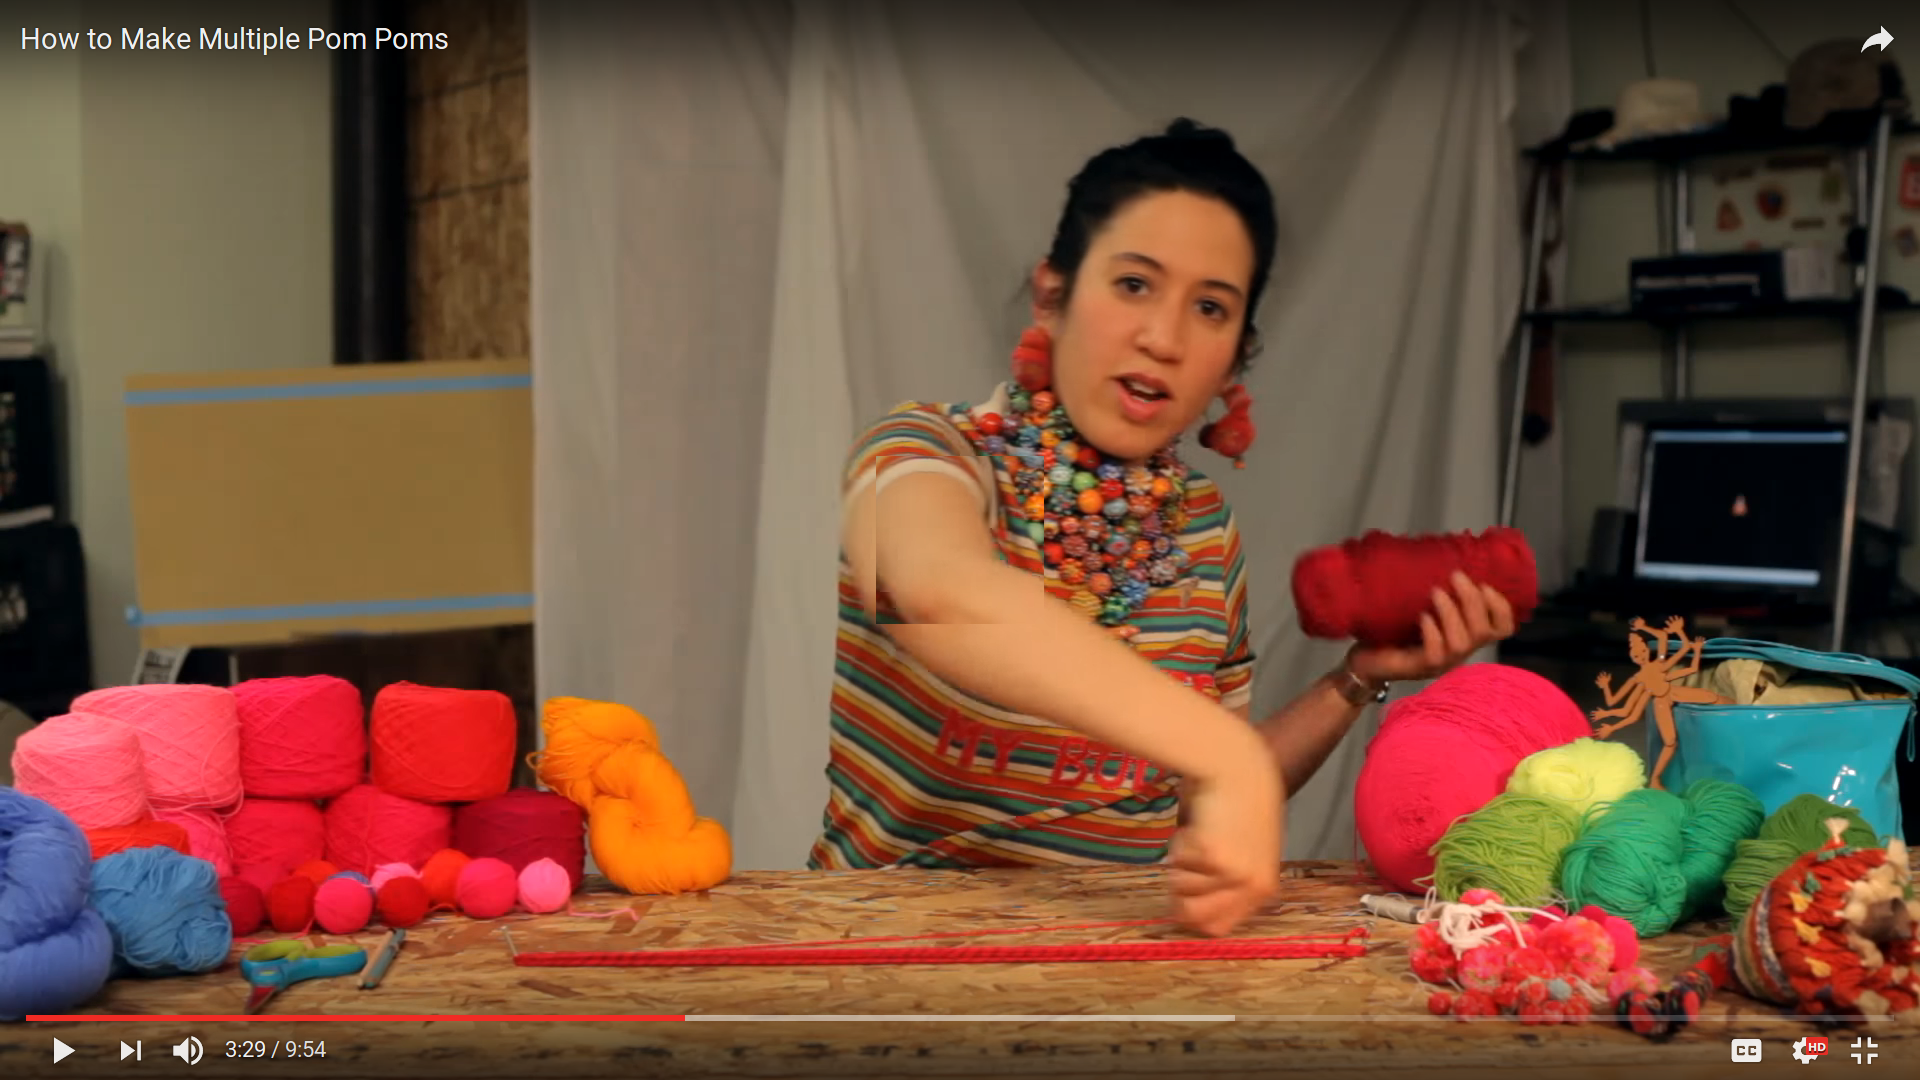
How to make multiple pom poms at once (the same idea as the duck blanket, but shows you the idea with just one line)

Appendix: more photos
Screenshots of youtube videos https://photos.app.goo.gl/W5noi0g4YCahbKcZ2
Inspiration
https://goo.gl/photos/4TN46RpLzsp13TAWA
Parties