In short:
Find the inkscape source, and an example page (in PDF) you can print, at github.
github.com/nouyang: Dot Grid Paper
preview

example notebooks
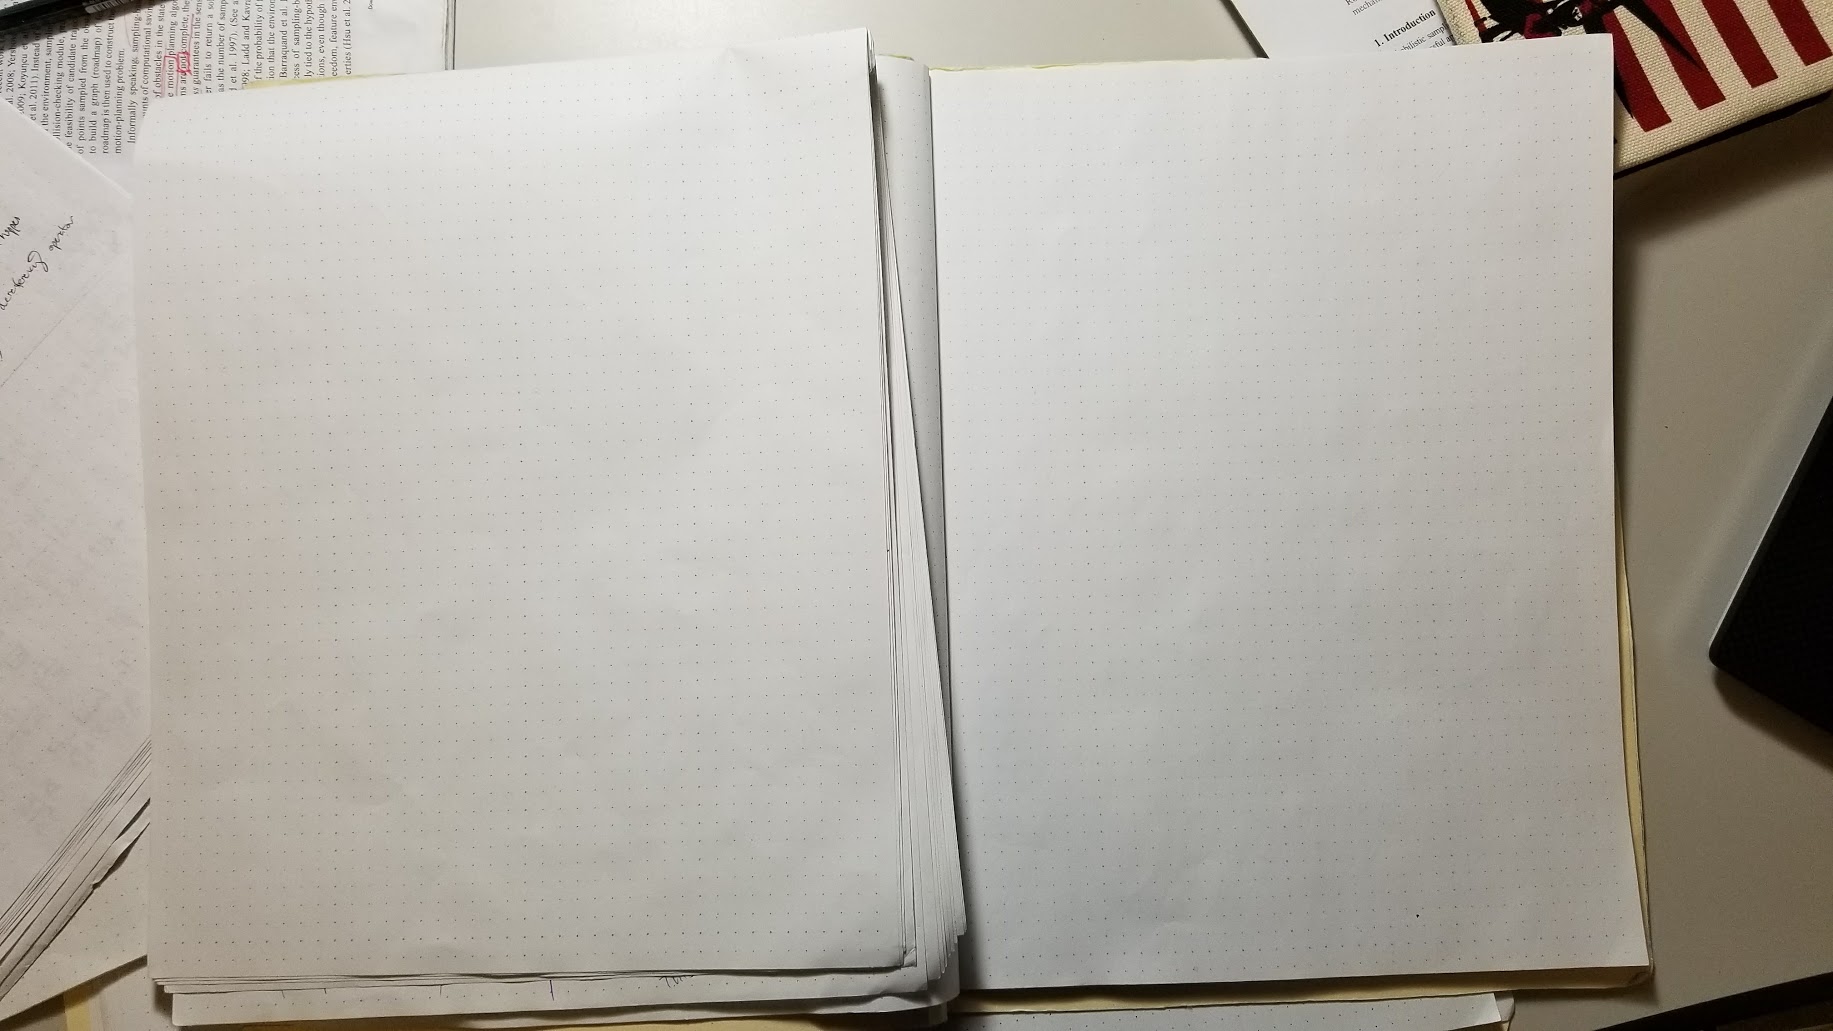
just stapling ~15 pages together at the top. the issue I found is not being able to tell which way the notebook flipped, and it being hard to flip through pages fast. Also, at 15 pages, I started accumulating “notebooks” really fast, and it wasn’t always very obvious the chronological order. The idea was to detach them, three hole punch, and stick them into a binder. I haven’t gotten around to that yet, and probably won’t ever since the semester is almost over…
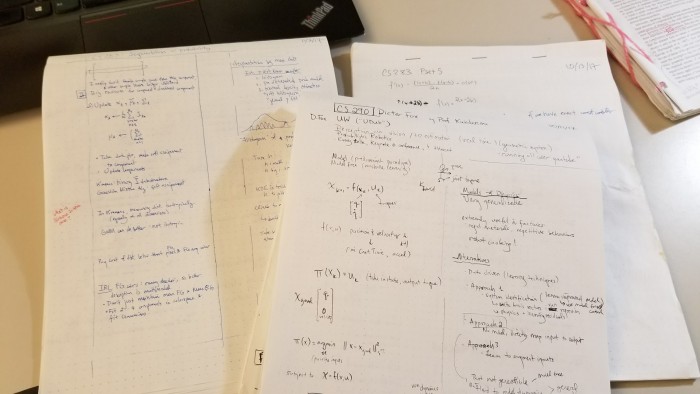
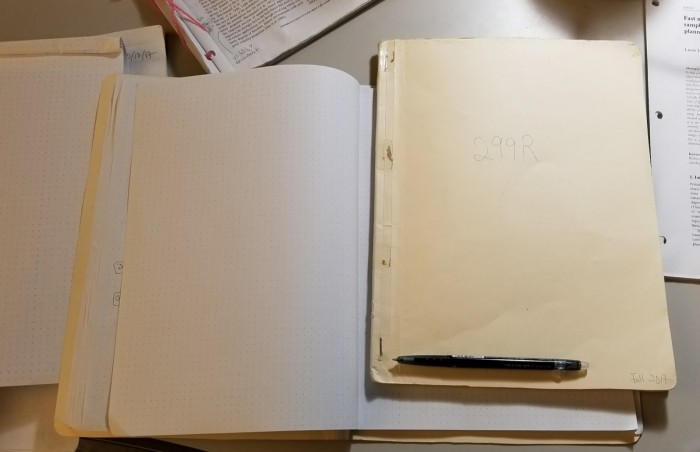
using manila folders I found lying around, and a somewhat-industrial stapler across ~25 pages. i haven’t used this enough to think about pros and cons.
the overall con, though, is that now my notes are spread across five different notebooks…
before & after comparison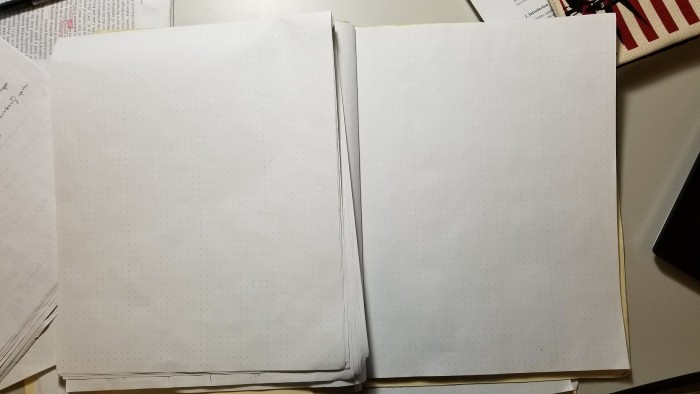
in detail
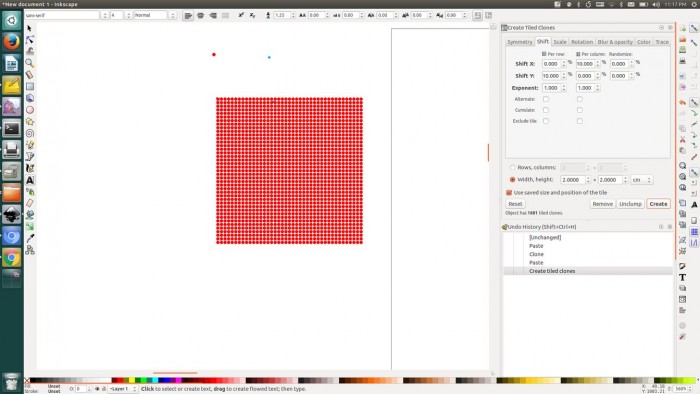
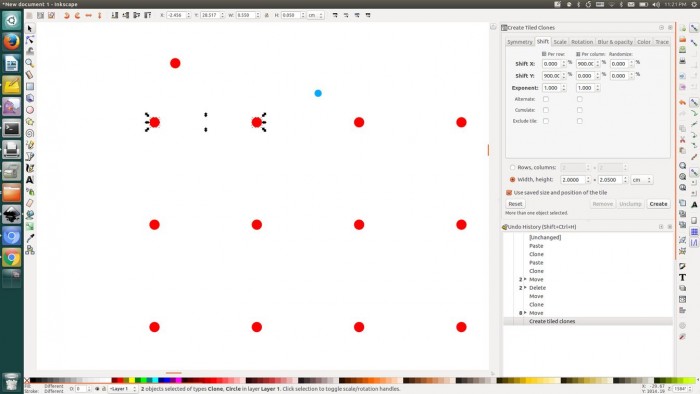
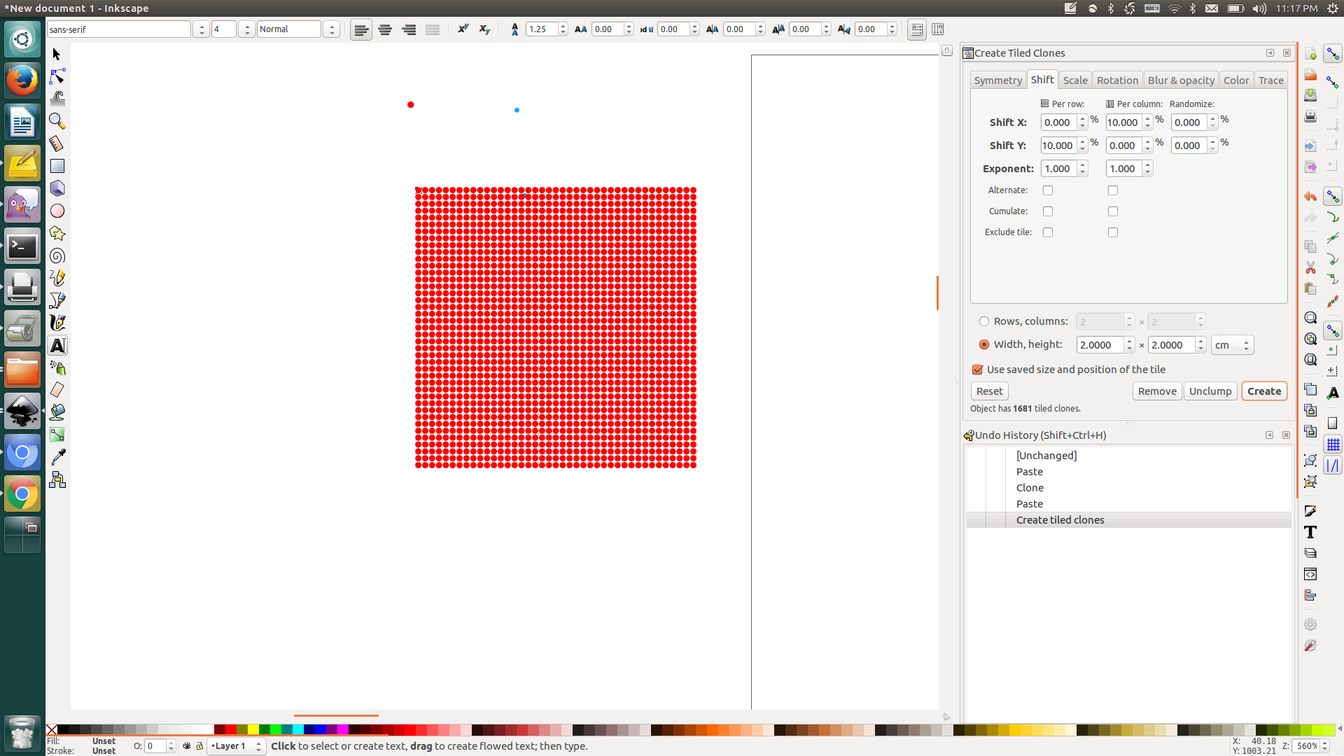
i reformatted to properly use clones and the clone tile factory in inkscape; and additionally, I decided on a different formatting for the “darker” lines (before, they evenly divided the page into 4 sections vertically).
Using the clone factory I thus just have two sizes of dots: small and large. And I can change opacity, color, size, stroke, etc. for *all* dots just by choosing editing those two “source” dots. If you’re having trouble finding them, just click on any dot and “shift+d” to find the source dot.
double-sided
pdftk tiled_clones_30.pdf tiled_clones_30.pdf output merged.pdf
printing notes
Print at high resolution (600×600 or greater), and the only b&w printers tend to have aliasing effects — and old toner cartridges tend to produce blemishes across the pages. Print with “no scale / no shrink to fit”.
Basically, if you find a working setup, print a good chunk of pages, becase it might be annoying to setup the “grayness” and “size of dot” and other values for the printer again; or maybe the printer in a few weeks will just put random blotches everywhere.
example notebooks
just stapling ~15 pages together at the top. the issue I found is not being able to tell which way the notebook flipped, and it being hard to flip through pages fast. Also, at 15 pages, I started accumulating “notebooks” really fast, and it wasn’t always very obvious the chronological order. The idea was to detach them, three hole punch, and stick them into a binder. I haven’t gotten around to that yet, and probably won’t ever since the semester is almost over…
using manila folders I found lying around, and a somewhat-industrial stapler across ~25 pages. i haven’t used this enough to think about pros and cons.
the overall con, though, is that now my notes are spread across five different notebooks…
before & after comparison


