Nyancat party! in aluminum, egg, foam, silicone, hydrostone, and drystone

MAS.863, Fall 2011
Week 6
Molding and Casting — Nyancat party! in Egg, Silicone, Plastic, Hydrostone, Aluminum, and Foam

We can use molding and casting to easily replicate a design.
The analogies between this manufacturing process and internet memes are clear.
Thus, I am compelled to make nyancats!

nyanweight? nyancoaster?

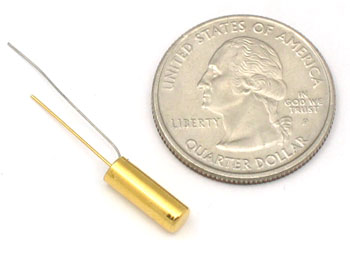
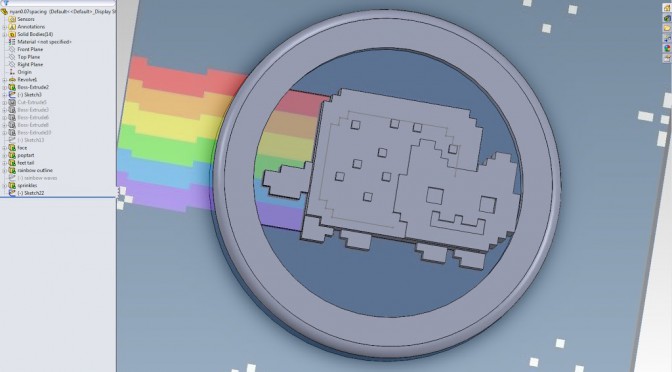
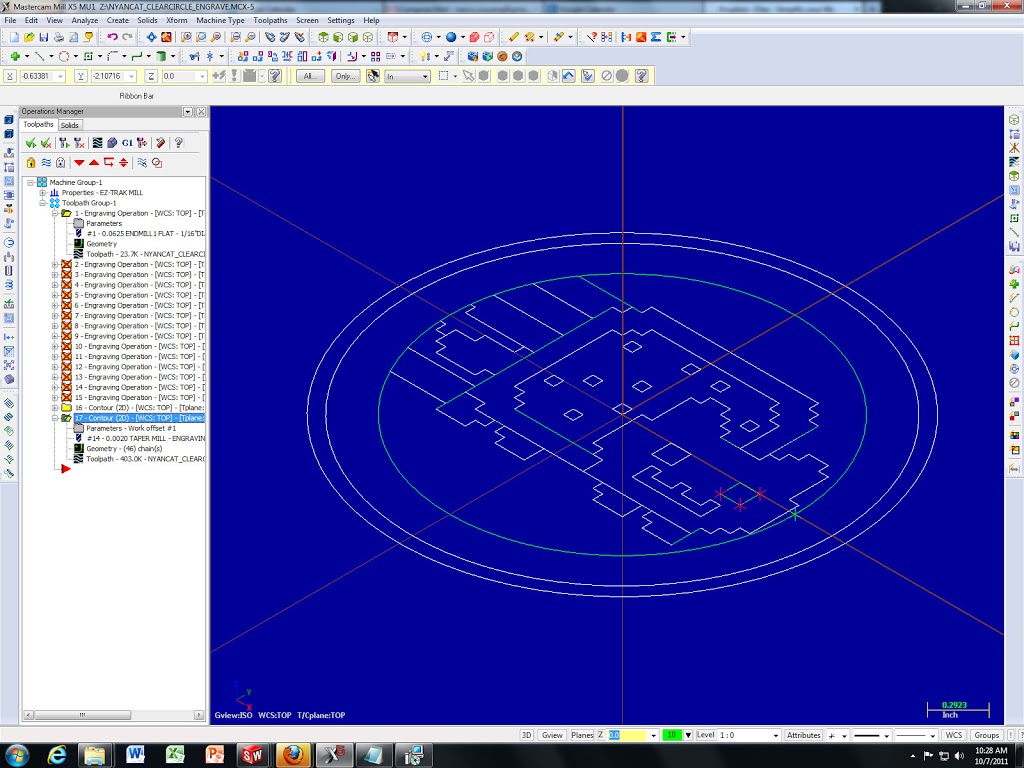
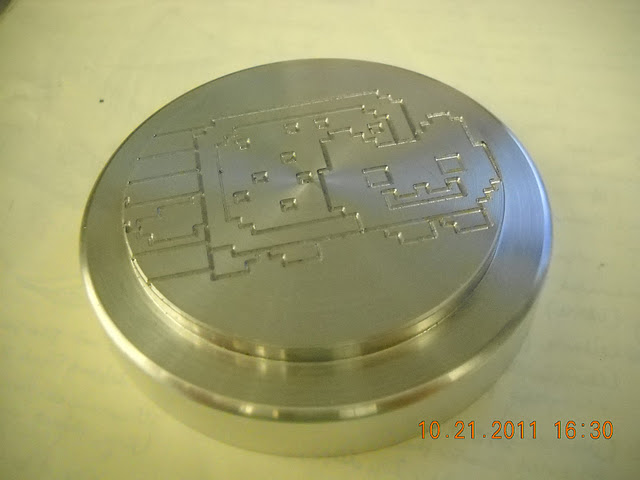
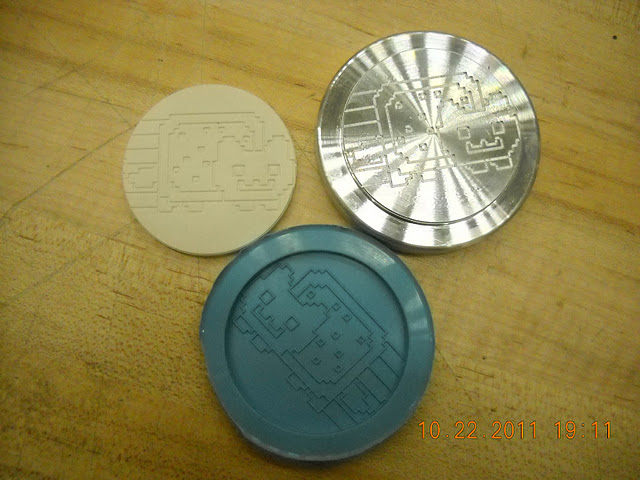
Aluminum paperweight. File done in solidworks, export as DWG to Mastercam, turned on CNC lathe (daewoo puma) and milled with engraving tool to 0.02’’ depth on CNC mill (EZ trak). Used as mold positive.


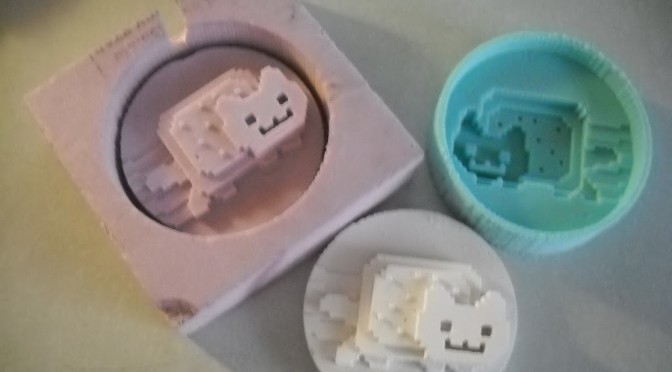
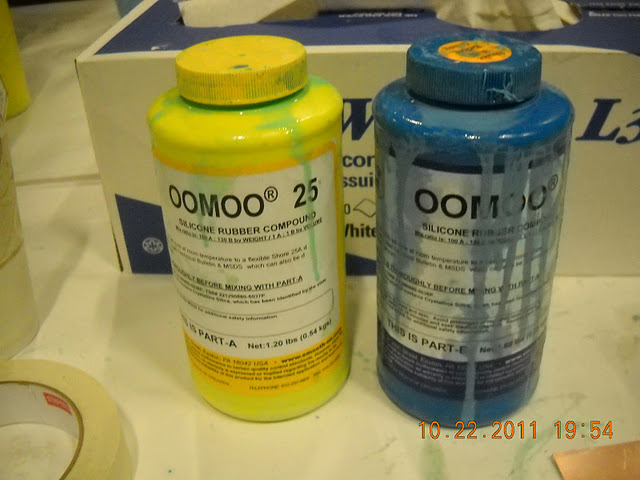
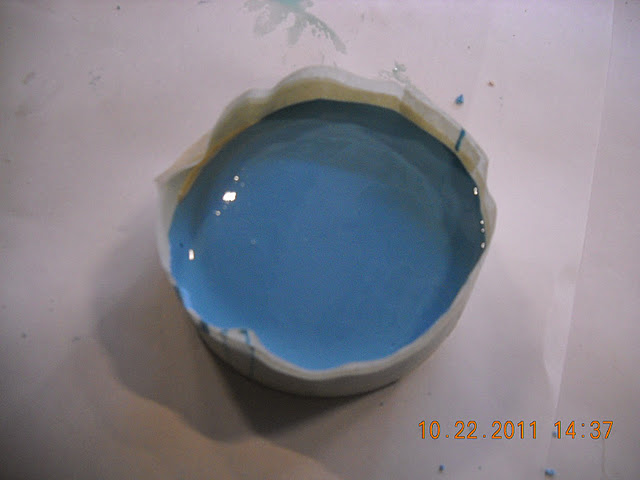
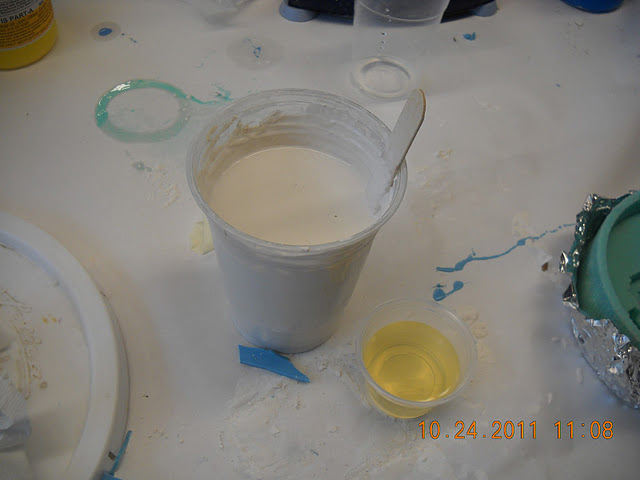
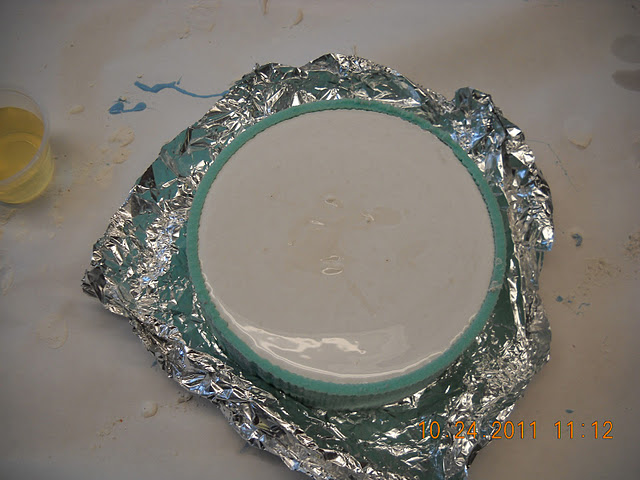
Smooth-on OOMOO25 used as silicone mold (negative). 100 parts A : 130 parts B by weight, pot time ~15 minutes, cure time ~1 hour.
 
Masking tape used to form “walls” for negative mold.

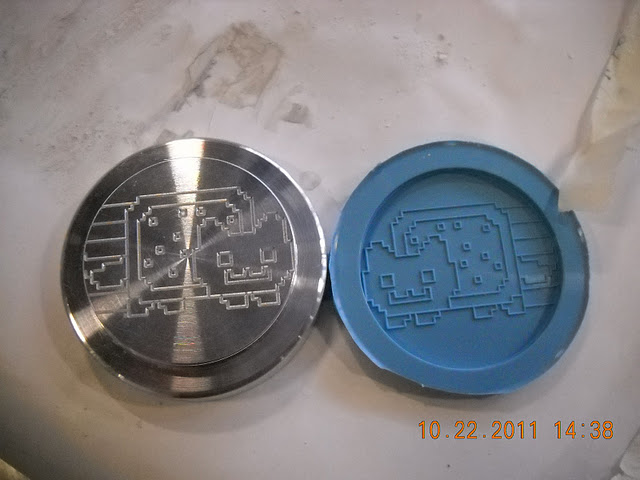
Released fine (no releasing agent used). Fine features (0.02’’) reproduced cleanly.


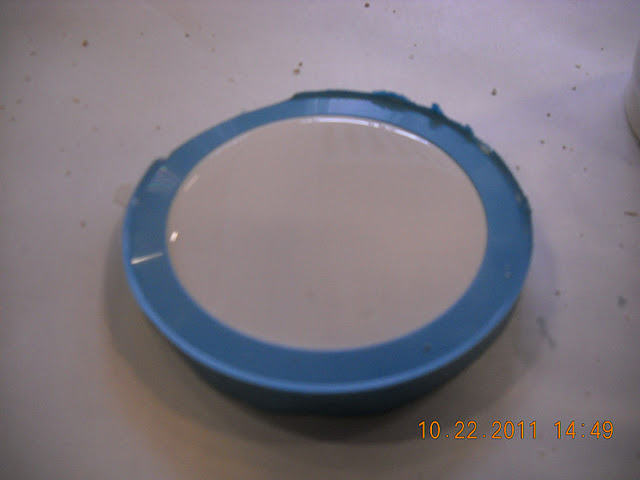
Hydrostone casting, positive.

Final result: one nyancat party.
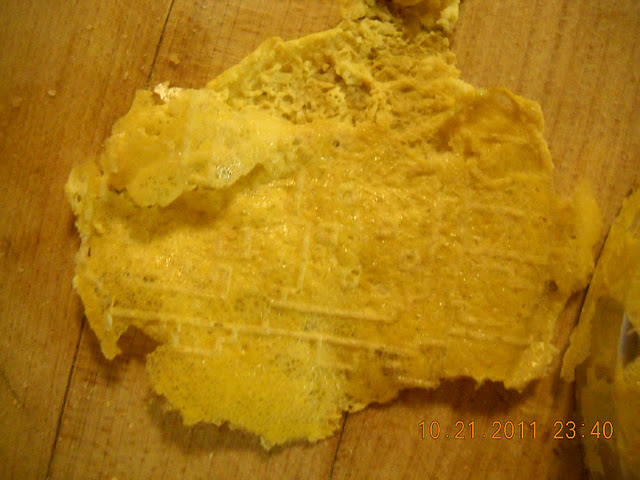
nyanegg?
Just for fun: some egg?
 
End result:
 

Not so great. I await the shopbot 3D mold.

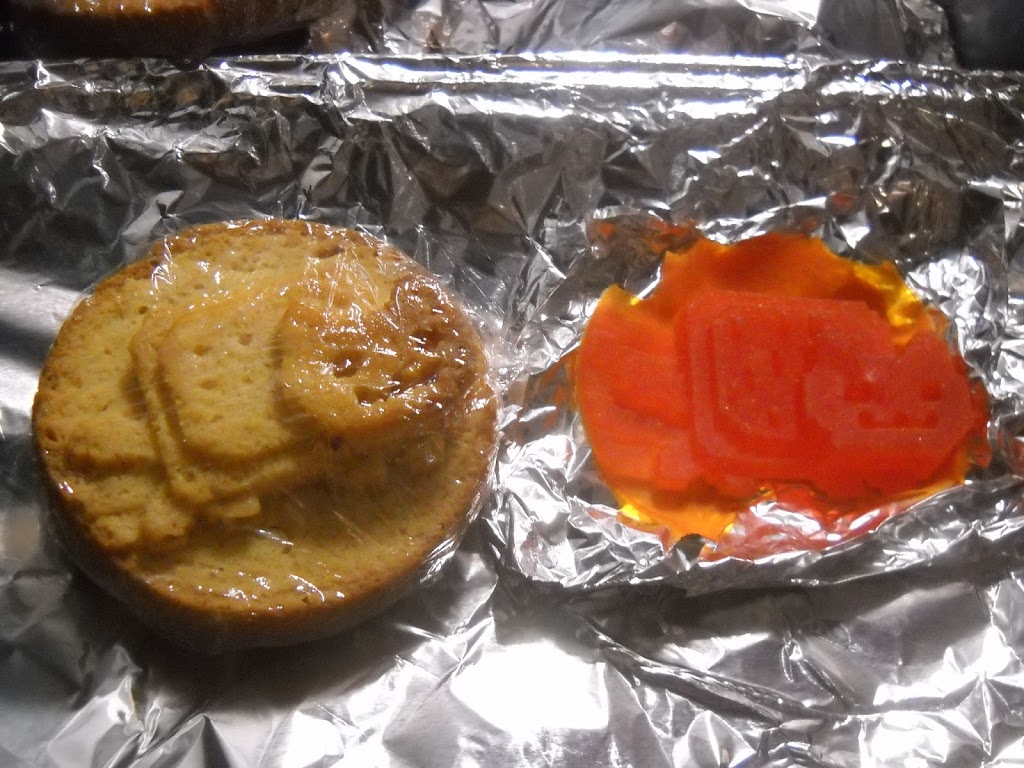
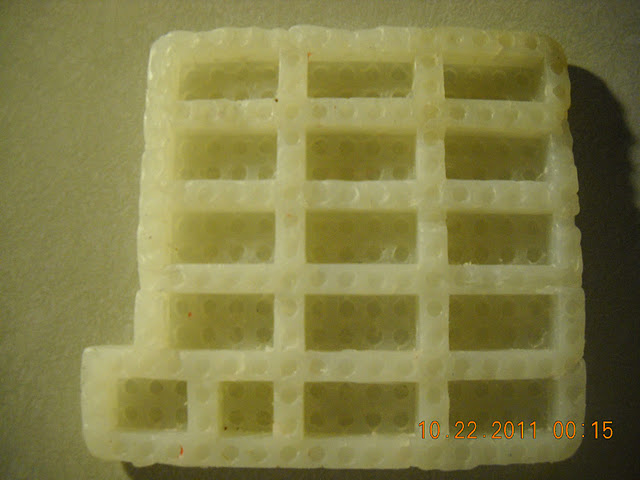
hot glue mold: jello legos
Previously on Bad Ideas:
 

Hot glue is nontoxic, right? Legos used to create positive for hot glue. Crisco applied as releasing agent — did not release well, had to pry out legos, destroying them. Jello poured in — very nice, can even see the “LEGO” lettering on the bumps. Jello lego’s had flat bottoms though, since this is a one-part mold.

nyancake?
On Saturday, I learned that I now have media lab shop access and can now devote my entire weekend to MAS.863! Yay!

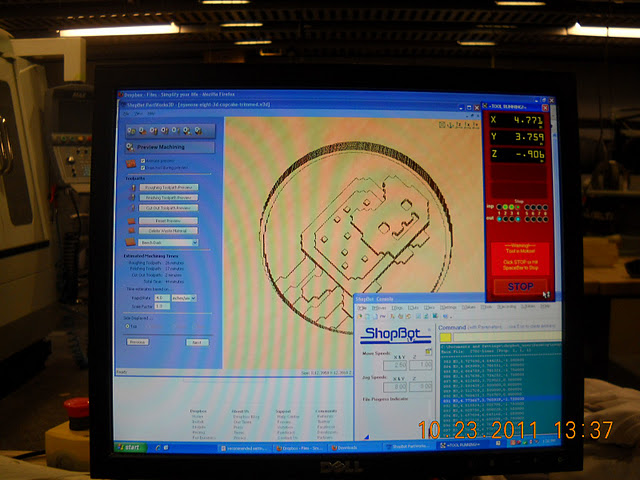
I made the model in Solidworks while still hoping I could get my hands on some food safe silicone. This didnt happen, though Iḿ not sure why. Ah well. I went ahead anyway and cut my model on the shopbot out of foam
.
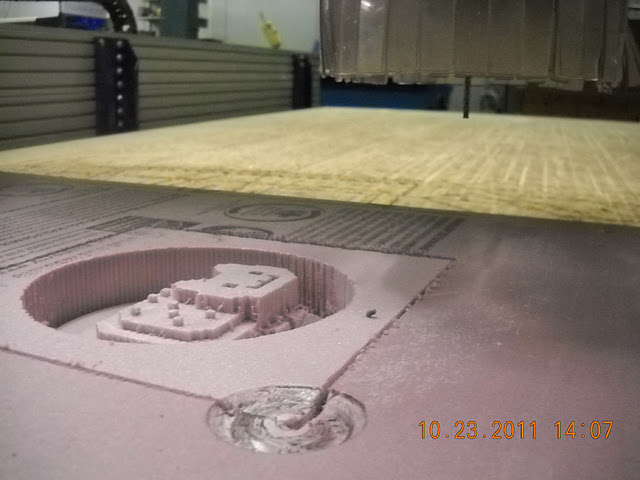
1/8´’ bit, though later I remember I had resized my model specifically for a 1/4´’bit which could have cut my time down by half. After 1.5 hours of cutting I had my mold (the partworks estimate was 45 minutes). The deepest parts the shopbot just barely cleared (that was nervewracking!). The cut-out toolpath the shopbot most definitely did not clear — I was prepared and hit the e-stop button immediately.


There were a lot of burrs and the finish quality was less than what Id expected. But Iḿ not complaining, since Iḿ using a shopbot to cut out an internet meme…

I attempted to deburr with a heat gun but stopped immediately when I realized I was rounding out my beloved sprinkles. I ended up using an air compressor and getting pink sprinkles all over myself.
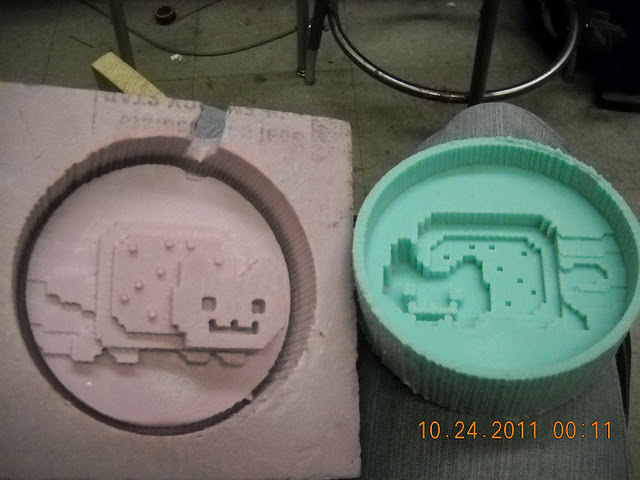
Then I cast a negative mold with smooth-on silicone, in this case mold star slow since the arch shop was out of oomax 25. Pot time 50 mins, cure time 4 hours. After 1.5 hrs I took my mold with me instead of waiting. Mold turned out fine. Probably used half a smooth-on set of material.


I had to commit some violence to the mold original in order to get the silicone out, simply due to the geometry of the piece. The silicone separated from the foam just fine.

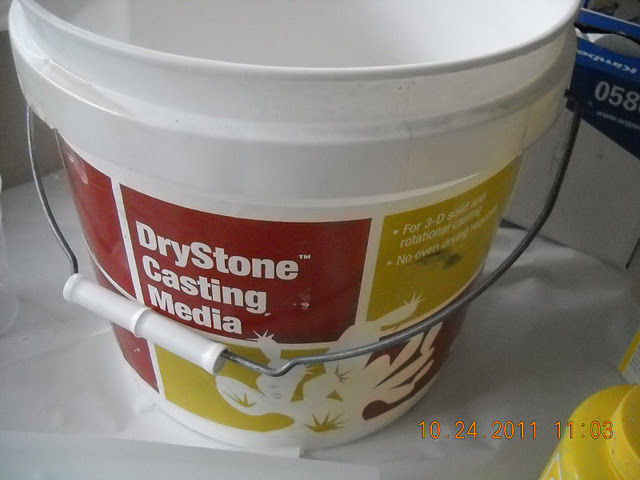
Drystone casting followed. Required almost exactly ~1.5 cups of material. (500grams?)

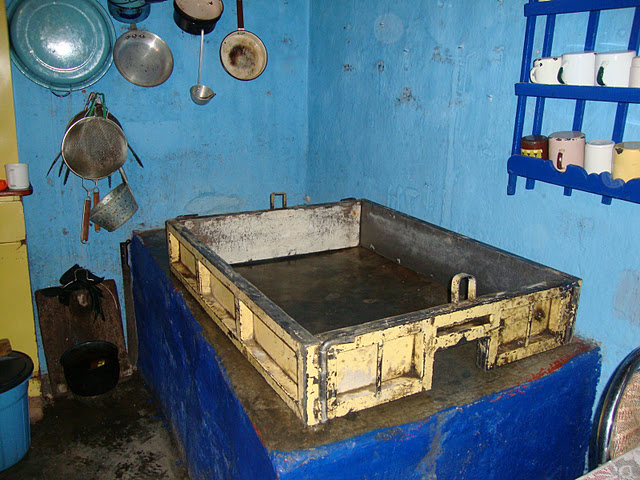
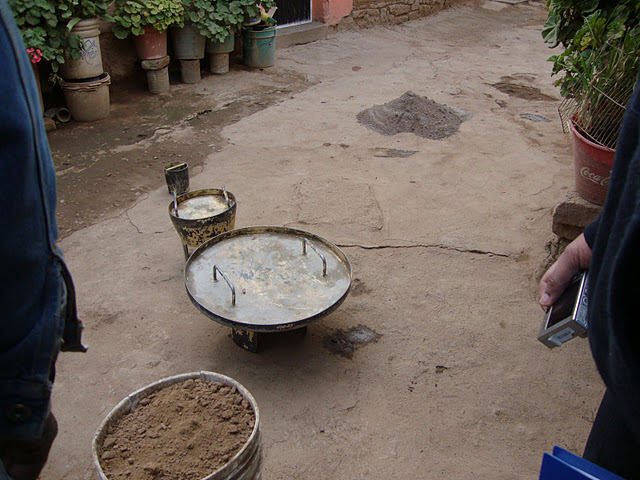
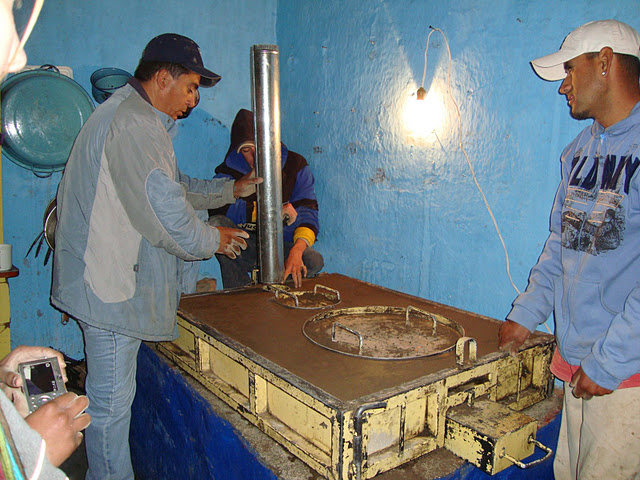
Oh, this reminds me, I´ve done sand casting before too. We helped sand-cast a cement health-friendly stove in La Vaquita, Mexico. This was a government initiative of some sort.

Files coming soon. [edit: 4 Sept 2012. So maybe not soon. But I’ll try to get around to it. Also I would like to point out to blog readers that I went on to make nyancake and nyanjello! 😀 http://www.orangenarwhals.com/search/label/nyancake

centrifugal switches (spin activated yoyo electronics)

doing some research for 2.008 instead of freaking out over 6.131 lab

Edit 10/17/2011: Found it! Thanks to Charles.

See explanation of “tilt sensors,” which include both mercury and rolling-ball type ones, here: http://www.ladyada.net/learn/sensors/tilt.html

http://www.adafruit.com/products/173

Cost: $2.00.
(octopart search: http://octopart.com/partsearch/#search/requestData&q=tilt+switch&rangedfilters%5Bavg_price%5D%5Bmin%5D=0.54&rangedfilters%5Bavg_price%5D%5Bmax%5D=2 can maybe get it for $1)
http://smparts.com/-Switches-Rolling-ball-switches-%28AT%29/c0_2_561/index.html — but no prices listed, hah.

Hmm. So I know there was at least one previous design in 2.008 that used these switches. They put two on each side (top and bottom), facing outwards. Then, when the yo-yo spun, both switches would contact (and presumably switch on LEDs). Apparently they had issues with the thermoform shrinking and squeezing the ball switch and preventing it from switching though. All in all, I’m a bit iffy about these rolling ball switches. There’s no way to adjust their sensitivity (although I guess regardless PoV yoyo requires a microcontroller anyway, but the less pin-count the better), so what if it switches on when the the switches are rotated to (left right) and the yo-yo is slightly tilted? We’d be stuck with 100 useless switches.

I like Paulina Mustafa’s design of a flexure switch, she was prototyping this at MITERS (but I can’t find a blog for her). Looks sort of a like a ying-yang design, and the tips are flung outward and make contact with the sides when the yo-yo is spun. She’s using copper-tape, but I think something like conductive glue would be easier to apply.
http://www.instructables.com/id/Conductive-Glue-And-Conductive-Thread-Make-an-LED/step1/Make-Conductive-Glue-Conductive-Paint-and-Conduc/

=====
Earlier Research

via
http://www.helifreak.com/showthread.php?t=33567 “DIY Night Blades”

centrifugal switches:
http://www.atomicmods.com/Categories/Tutorial-1-28-Mini-Z-Rim-Light-Installation.aspx
(spring inside a brass tube)

The batteries are wired in series with the LED and the centrifugal switch. The centrifugal switch is simply a tiny spring inside a brass tube. When you accelerate, the spring swings to the outside and makes contact with the brass tube turning on the lights. It is really quite simple and very reliable. This also makes the batteries last a long time since they are only on while you are driving and you will never forget to turn them off.

types of switches and design of switch contacts (including mercury switch aka “tilt switch”): http://www.allaboutcircuits.com/vol_4/chpt_4/1.html

quora question
http://www.quora.com/Mechanical-Engineering/What-centrifugal-switches-are-suitable-for-use-in-a-yo-yo

still failing to find suppliers o.o

mercury switch:
http://mondo-technology.com/yoyo.html

paperclip style:
http://www.make-digital.com/make/vol22?pg=115#pg117

abusing CNC mills for internet memes

It’s official. CNC mills are sexy. Even decades-old bridgeport model ones that take giant floppies.

So a while back I was all like “I’mma mill me some nyancat for my 2.008 paperweight.” (http://www.orangenarwhals.com/?p=187)
Oh yea, my partner for this lab is the awesome Cappie Pomeroy. He did all the lathe work o.o so don’t ask me about that.
So I got around to milling it.
look, nyancat got fatter so that you can fit a 1/16” end mill between it’s crevices!

(The way I did it is I did a Tools>Sketch Tools>Sketch Picture, then resized that reference nyancat picture until it looked appropriate. I then put a Tools>Options>Grid>Major Grid 0.07 / minor grid off. System Snaps>check Grid. Also, make sure Units>IPS, InchPoundSomething. Then just trace it with lines).

However, my resizing and retracing ended up not mattering, since I decided to engrave it. This was because we had to make a 15 minute version, and no matter how I tweaked Mastercam (using 0.02” depth instead of 0.1”, using a wide endmill to clear it and then remachining with the 1/16”), there was no way the full 3D paperweight was milling out in 15 minutes.

Yea so there are really dumb ways to make a path in Mastercam. 
See the X’d out paths to the left — I was tracing all the paths by hand, essentially. Then Pat, the shop instructor, came by and showed me the magic of the the “polygon” tool which will automatically apply a function (in this case, engraving) to everything within that polgyon. It created some weird paths, like you get on a lasercutter which doesn’t recognize your vector as one shape but as individual lines*, but it gets the job done. In other words, he finished in 10 minutes what was taking me hours to do… hah.
*aka it doesn’t trace them continuously but rather jumps back and forth between different lines in the drawing
See link below for g-code / mastercam / solidworks files.

The jig was made by the instructors for the class, along with the “offset” used in Mastercam to make sure the blank is positioned correctly.

gahhh technical difficulties. Yes, I used my phone to take a picture of picture on my camera.  You really don’t want to know.

Nyanweight documents:
https://docs.google.com/leaf?id=0B9r0HZeoMbmgZjgzMTkyOTEtOTU4OS00MDhjLWJlMmYtNTQzMjc2YmJlMzkx&hl=en_US
where “base/lab1” docs are for the CNC lathe and “engraving” docs are for the CNC mill.


Software used: solidworks (.sldprt, exported to .dwg), mastercam

Todo next: Mill out the actual thing.