WordPress Blogroll Links Import Fix & Google Spreadsheet to OPML Generator

In order to bulk import a list of titles & URLs for my friend’s blogs into wordpress, I created a google spreadsheet and then used an open-source opml-generator to turn the spreadsheet into OPML and import it into WordPress.

The hosted version at http://opml-generator.appspot.com/ was not working for me as of Aug. 2015, so I fixed it and ran it locally. Here are the fixes I made.

To Run

I had to install the google app engine python SDK, https://cloud.google.com/appengine/downloads#Google_App_Engine_SDK_for_Python

Also, I had to install django-utils and python 2.7

$ sudo pip install django-utils
$ sudo apt-get install python2.7-dev

Then, simply use the appserver included with the google app engine python SDK, give it this project’s directory

$ /path/to/google_appengine/dev_appserver.py /path/to/opml-generator

The happy output should look like

INFO     2015-08-17 03:30:37,516 sdk_update_checker.py:229] Checking for updates to the SDK.
INFO     2015-08-17 03:30:38,341 sdk_update_checker.py:257] The SDK is up to date.
INFO     2015-08-17 03:30:38,373 api_server.py:205] Starting API server at: http://localhost:40380
INFO     2015-08-17 03:30:38,375 dispatcher.py:197] Starting module "default" running at: http://localhost:8080
INFO     2015-08-17 03:30:38,376 admin_server.py:118] Starting admin server at: http://localhost:8000

and go to http://localhost:8080/

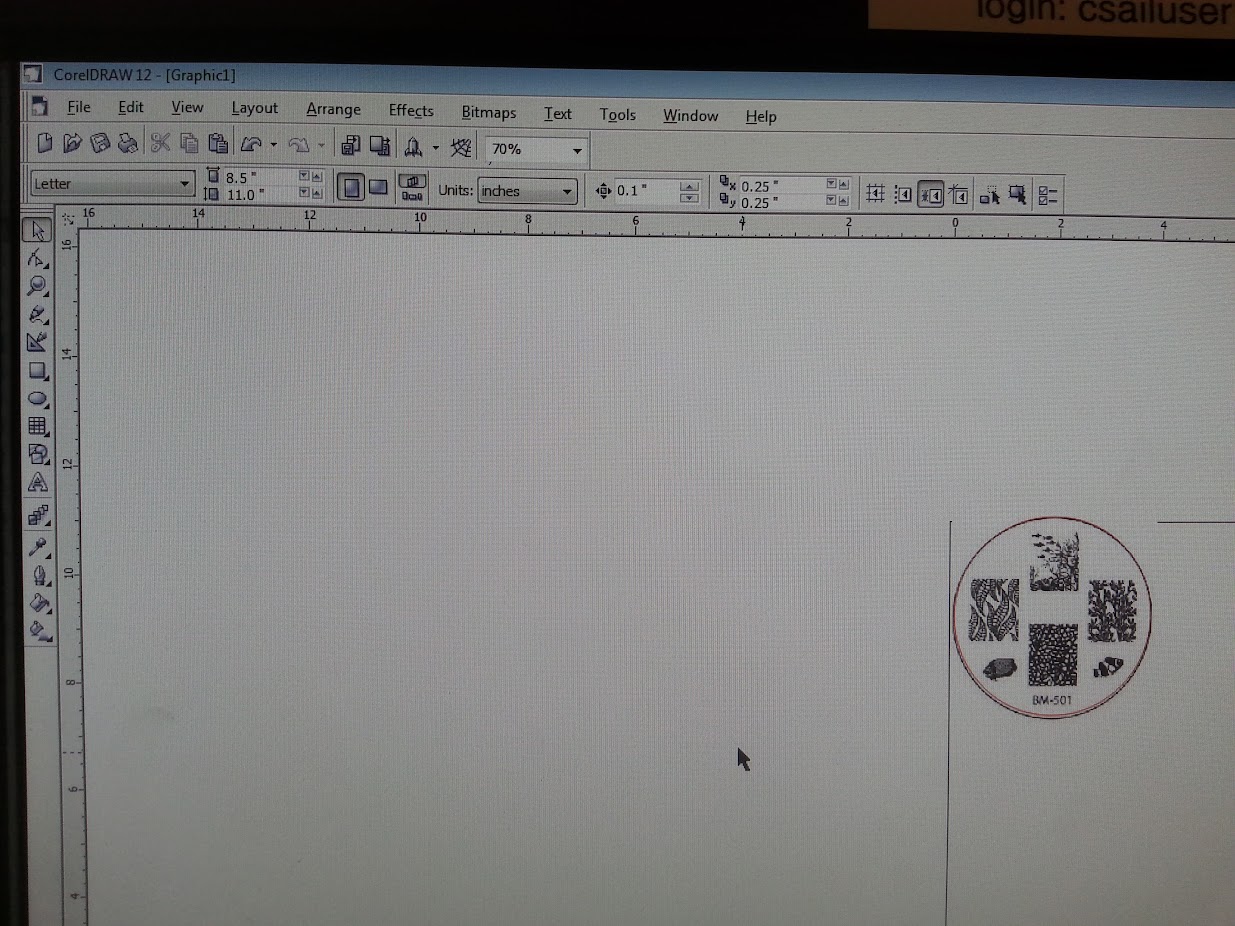
Enter the URL, the title, and the “opml” url should automatically populate.

Changes

Then I had to make a few changes to make app.yaml recognize the django-utils was needed, that I was using python 2.7,

$ vi app.yaml
threadsafe: no
runtime: python27

libraries:
- name: django
  version: "1.5"

I created the URL via “Share” > “Share with Others” > “Anyone can view” and it looked like

https://docs.google.com/spreadsheets/d/1GXkKX74boMLia2lIVwgN0E

It appears that the original code works with old google docs urls, which look like:

https://spreadsheets2.google.com/spreadsheet/pub?hl=en_US&hl=en_US&key=0Ah0xU81penP1dGlQbGZ6Si03M0ZOQTd2ZzRfUmdUTmc&output=html

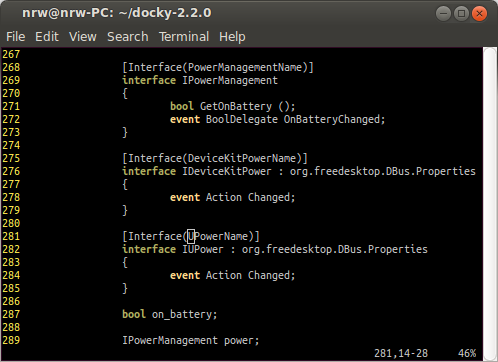
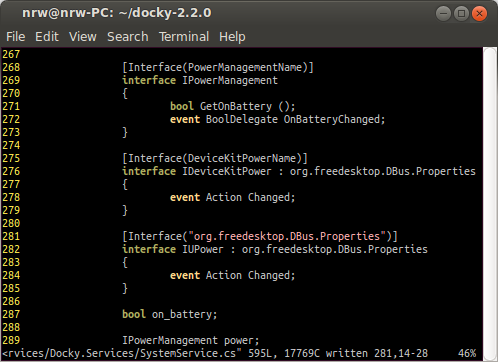
Thus, I modified base.html to find the document key appropriately.

//var ssKey = ssUrl.split('key=')[1];
var ssKey = ssUrl.split('/d/')[1]; console.log(ssKey); 
//ssKey = ssKey.split('&')[0]; 
ssKey = ssKey.split('/pubhtml')[0];

Note: I also threw out some printouts to console.log to figure all this out. They can be found by using Chrome or Firefox, Ctrl-Shift-C, and going ot the “Console” tab.

Screenshot from 2015-08-16 23:50:09

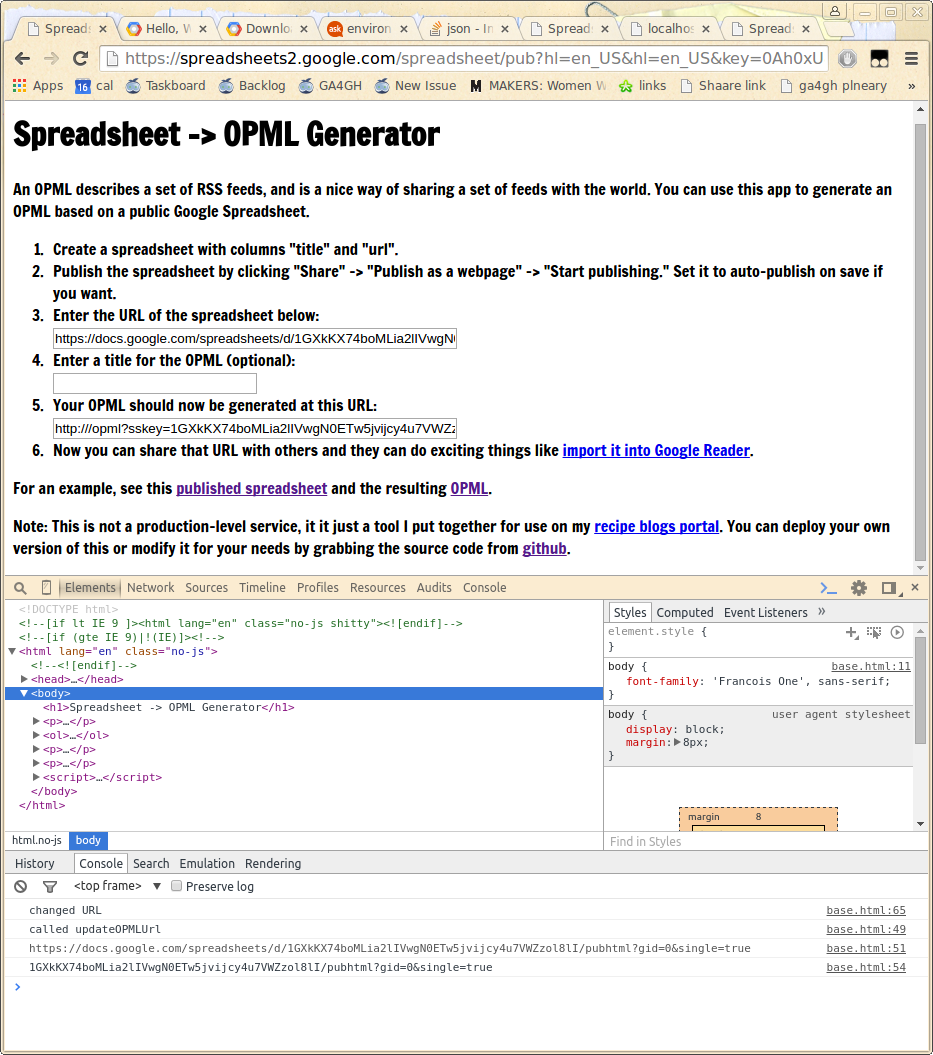
I also edited the output URL which, for localhost, did not include the port.

//var opmlUrl = 'http://' + window.location.hostname + '/opml?sskey=' + ssKey + '&wsid=od6'; 
var opmlUrl = 'http://' + window.location.hostname + ':8080/opml?sskey=' + ssKey + '&wsid=od6';

Output OPML Format

In the end, I looked at the output OPML and think I should probably have just made the file by hand / with vim macros… it would have been easy enough. But I got to take a peek at Google App Engine, so that was nice.

Here’s what the OPML looks like, if you’re interested in creating it more manually instead of installing google app engine etc. etc. to run this code:

<?xml version="1.0" encoding="utf-8" ?>
<opml version="1.1">
 <head>
  <title>MITERS</title>
 </head>
 <body>
   <outline text="MITERS">
    <outline title="MITERS | MIT Electronics Research Society" xmlUrl="http://miters.mit.edu/blog/feed/"/>
    <outline title="nk | Nick Kirkby" xmlUrl="http://nkirkby.scripts.mit.edu/nk/feed/"/>
  </outline>
 </body>
</opml>

Or in screenshot form

Screenshot from 2015-08-16 23:31:43

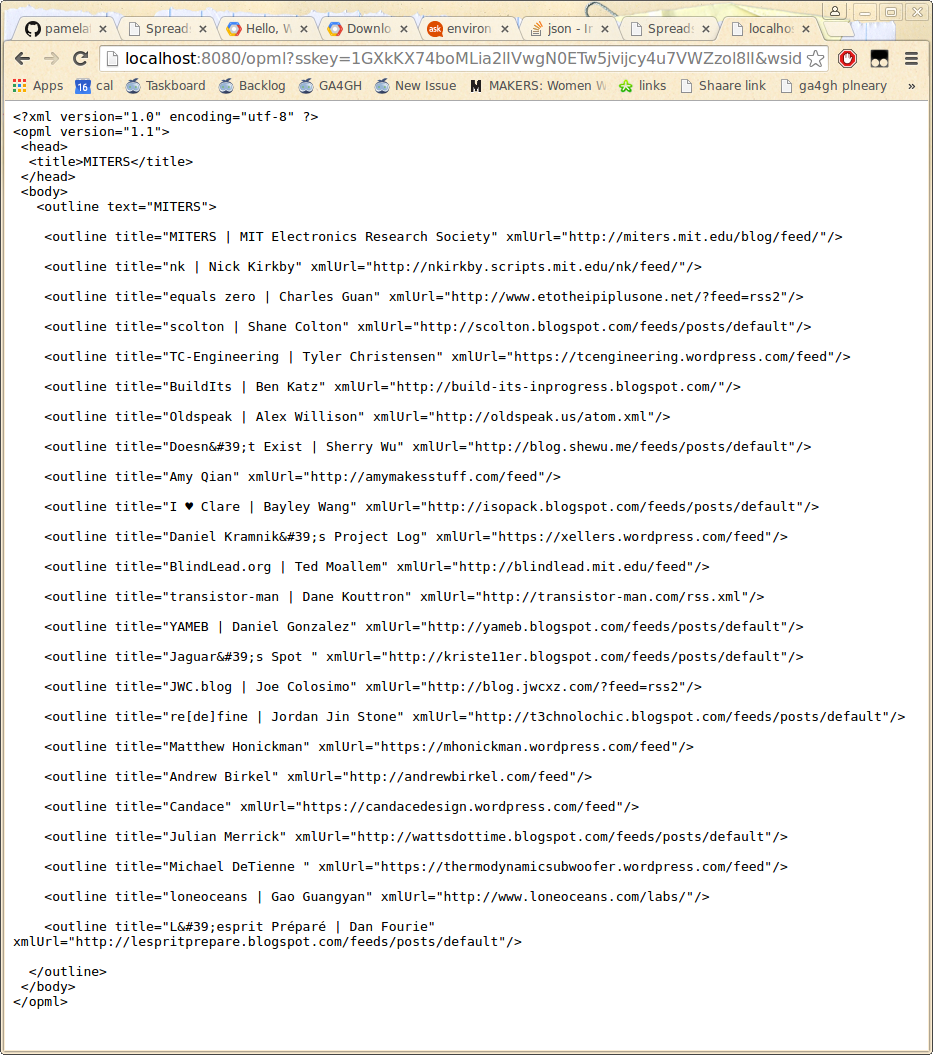
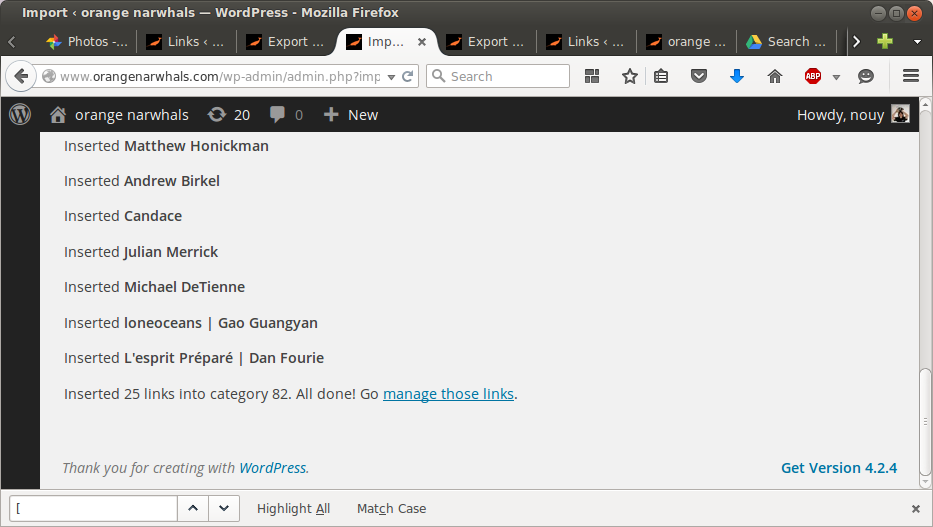
WordPress Import Blogroll Fix

The error: when you try to import the OPML file into WordPress, it says “All done!” but when you check the blogroll manager, no links were actually imported.

Screenshot from 2015-08-16 23:34:13

The fix: Super simple. Just change all the instances of xmlUrl in the OPML file into htmlUrl .

Screenshot from 2015-08-17 18:27:12

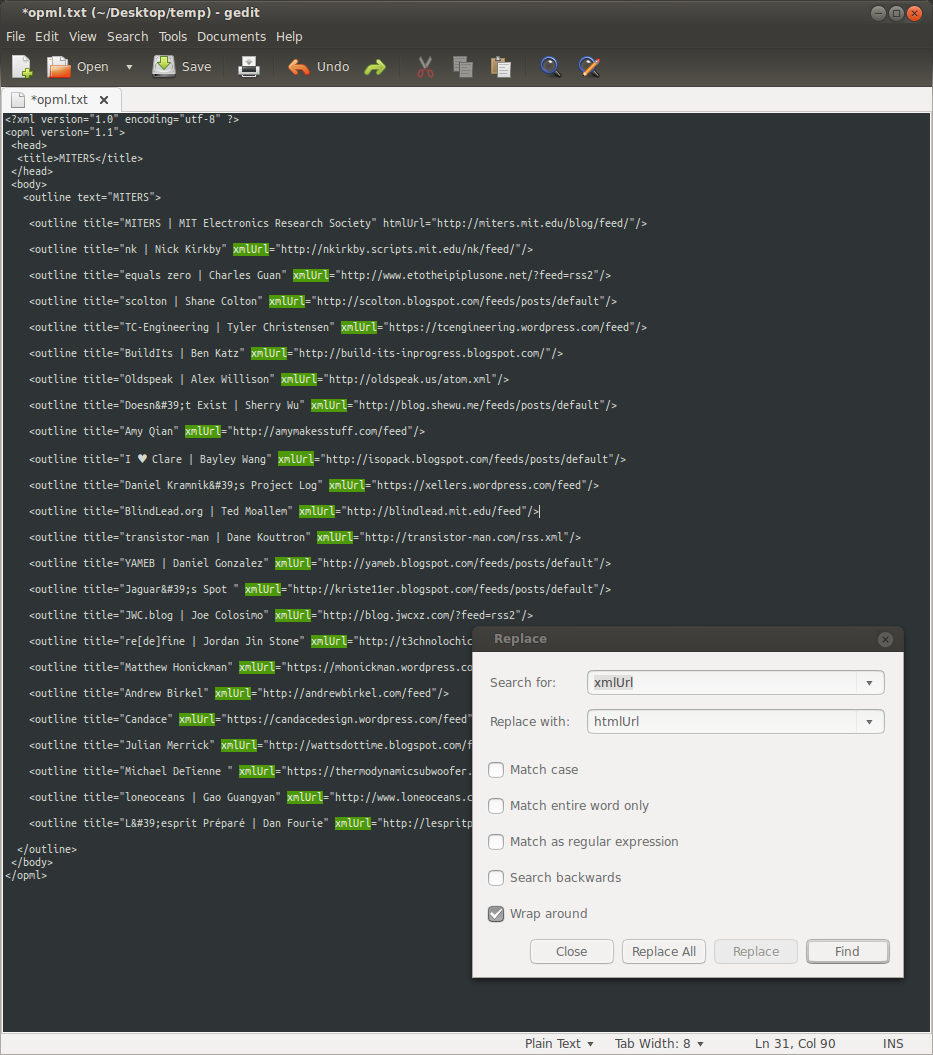
Tada! The links now import properly 🙂

Fixing “Docky crashes on suspend or unplug” in Ubuntu 14.04

in short

download and install this deb file; or do it yourself in just seven lines (see below)! 🙂

intro

On Ubuntu 14.04, my docky crashes extremely often (on any power status changes — suspend, disconnecting from the charger, etc.).

The fix has been known for a while, but after several months and no new Docky package (perhaps it is no longer maintained?), I decided to dig in and figure out how to fix this.

This time I googled it, and someone else had written up how to apply the fix to source code, build, and re-install. Turns out to only take a handful of lines! Here, I’m documenting with pictures.

Basically, we apply the one-liner fix using the “classic” instructions here How to download, modify, build and install a Debian source package? .

Ready?

Fixing Docky

Let’s get the source and edit the file “Docky.Services/Docky.Services/SystemService.cs”, as described in “Comment 2 for bug 1309706“:

apt-get source docky
cd docky-2.2.0/
vim Docky.Services/Docky.Services/SystemService.cs

For me, the fix was on line 281. Change

[Interface(UPowerName)]

to

[Interface("org.freedesktop.DBus.Properties")]

See pictures below.

Before

dockysrc

After

dockysrc-fixed

Build it~

sudo apt-get build-dep docky
dch -i

This last step is to update the package number. I don’t know anything about this, but it auto-inserted a new package number so I just wrote a quick comment and called it good.

dockysrc-dch

debuild -us -uc -b
sudo dpkg -i ../docky_2.2.0-2ubuntu1_all.deb

Whoo! That’s it 🙂

Deb File

Here’s my file: https://drive.google.com/open?id=0B9r0HZeoMbmgVDhubWxFM0doMms

and its SHA sum follows, although obviously just doing the seven command-line steps above yourself is easy and way more secure…

nrw@nrw-PC:~/docky-2.2.0$ sha256sum ../docky_2.2.0-2ubuntu1_all.deb
92f631efbeabd85496b359de6884dc21061b6d52ee8a4b34759c5dd8960e7146

nail saloon parties: laseretched stamping plates, water marbling / hydrographic printing, toner transfer, and magnetic nail polish

nail saloon

I’ve been holding nail saloon parties at my place, the idea being it would be a place where people should feel welcome to ask questions about things they might feel awkward about normally, and also a chance for me to learn about other people’s experiences that I don’t know much of anything about.

Although it turned out to be mostly preaching to the choir, I’ve improved friendships through it, learned about other people’s lives, and also experimented with nail art with folks!

Here’s a few “pieces”. I drew this with the applicators that came on the bottle (and a toothpick, I think)

laser-etched stamping plates

I tried to make stamping plates (lasercut) — here’s how the professional ones look: https://youtu.be/HxIFgvfPC1c?t=1m29s — however, I think, because I was in a hurry, the etch depth was not deep enough

(and also, we were using test tube stoppers instead of soft round stamps that conform to your nail more).

newspaper toner transfer

One person successfully did newspaper transfer, but that was perhaps one successful one try out of ten…

Here’s the instructions, using rubbing alcohol.

And if you’re not having luck, just fake it with sharpie 🙂

ombre

aka, a color gradient. this is a simple technique, just take a cosmetic sponge, put two or three colors next to each other, and then dab away — tada, you have a gradient!

the middle finger is “ombre” here

magnetic nail polish

it works! turns out you need to get the magnet patterns.

the thumb and fourth finger have gold magnetic nail polish applied

Update 8/16/15: For those wondering about MRI compatibility — it so happens I had an MRI done recently with some magnetic nail polish still on my nails. It was totally fine (not even a slight pull), and they also have a nifty device that checks if you have metal things on you before you enter the MRI room.

stickers

these sadly only lasted maybe a few days, even with a topcoat applied on top of the stickers

tools

I hunted around for a local source of things like dotting tools (for making dots) and eventually found them right at Target!

the sticker “masks” above did not work too great, but the dotting tool was handy 🙂

testimonial

“I guess I never noticed how often I take off my socks in the presence of other people until now. An eye-opening find on it’s own! I think I shall paint them from now on. It’s like the personalization of a tattoo without the peril.” — K. S.

water marbling

This is just dropping different colors into a cup of water and dipping your nails in it. I did this successfully (you want solid colors usually, and some nail polishes do not work (just dissolve into the water)). Here’s a friend’s:

Inline image 1

Here’s the coolest water marbling of nails I’ve seen

Here’s the fun technical equivalent at SIGGRAPH

conclusion

Overall, quite a bit of fun 🙂