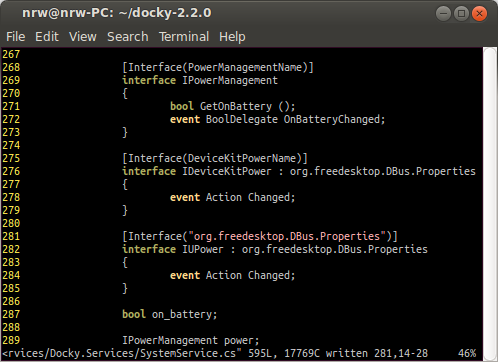
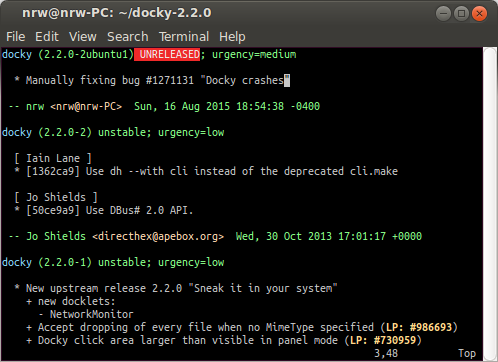
In order to bulk import a list of titles & URLs for my friend’s blogs into wordpress, I created a google spreadsheet and then used an open-source opml-generator to turn the spreadsheet into OPML and import it into WordPress.
The hosted version at http://opml-generator.appspot.com/ was not working for me as of Aug. 2015, so I fixed it and ran it locally. Here are the fixes I made.
To Run
I had to install the google app engine python SDK, https://cloud.google.com/appengine/downloads#Google_App_Engine_SDK_for_Python
Also, I had to install django-utils and python 2.7
$ sudo pip install django-utils
$ sudo apt-get install python2.7-dev
Then, simply use the appserver included with the google app engine python SDK, give it this project’s directory
$ /path/to/google_appengine/dev_appserver.py /path/to/opml-generator
The happy output should look like
INFO     2015-08-17 03:30:37,516 sdk_update_checker.py:229] Checking for updates to the SDK.
INFO     2015-08-17 03:30:38,341 sdk_update_checker.py:257] The SDK is up to date.
INFO     2015-08-17 03:30:38,373 api_server.py:205] Starting API server at: http://localhost:40380
INFO     2015-08-17 03:30:38,375 dispatcher.py:197] Starting module "default" running at: http://localhost:8080
INFO     2015-08-17 03:30:38,376 admin_server.py:118] Starting admin server at: http://localhost:8000
and go to http://localhost:8080/
Enter the URL, the title, and the “opml” url should automatically populate.
Changes
Then I had to make a few changes to make app.yaml recognize the django-utils was needed, that I was using python 2.7,
$ vi app.yaml
threadsafe: no
runtime: python27

libraries:
- name: django
  version: "1.5"
I created the URL via “Share” > “Share with Others” > “Anyone can view” and it looked like
https://docs.google.com/spreadsheets/d/1GXkKX74boMLia2lIVwgN0E
It appears that the original code works with old google docs urls, which look like:
https://spreadsheets2.google.com/spreadsheet/pub?hl=en_US&hl=en_US&key=0Ah0xU81penP1dGlQbGZ6Si03M0ZOQTd2ZzRfUmdUTmc&output=html
Thus, I modified base.html to find the document key appropriately.
//var ssKey = ssUrl.split('key=')[1];
var ssKey = ssUrl.split('/d/')[1]; console.log(ssKey);
//ssKey = ssKey.split('&')[0];
ssKey = ssKey.split('/pubhtml')[0];
Note: I also threw out some printouts to console.log to figure all this out. They can be found by using Chrome or Firefox, Ctrl-Shift-C, and going ot the “Console” tab.
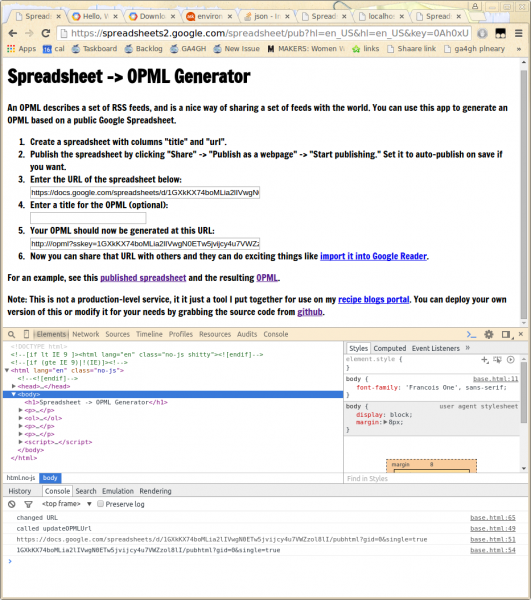
I also edited the output URL which, for localhost, did not include the port.
//var opmlUrl = 'http://' + window.location.hostname + '/opml?sskey=' + ssKey + '&wsid=od6';
var opmlUrl = 'http://' + window.location.hostname + ':8080/opml?sskey=' + ssKey + '&wsid=od6';
Output OPML Format
In the end, I looked at the output OPML and think I should probably have just made the file by hand / with vim macros… it would have been easy enough. But I got to take a peek at Google App Engine, so that was nice.
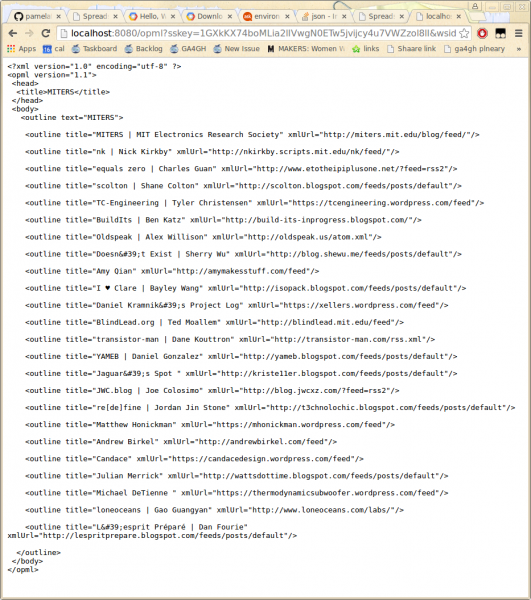
Here’s what the OPML looks like, if you’re interested in creating it more manually instead of installing google app engine etc. etc. to run this code:
<?xml version="1.0" encoding="utf-8" ?>
<opml version="1.1">
 <head>
  <title>MITERS</title>
 </head>
 <body>
   <outline text="MITERS">
    <outline title="MITERS | MIT Electronics Research Society" xmlUrl="http://miters.mit.edu/blog/feed/"/>
    <outline title="nk | Nick Kirkby" xmlUrl="http://nkirkby.scripts.mit.edu/nk/feed/"/>
  </outline>
 </body>
</opml>
Or in screenshot form
WordPress Import Blogroll Fix
The error: when you try to import the OPML file into WordPress, it says “All done!” but when you check the blogroll manager, no links were actually imported.
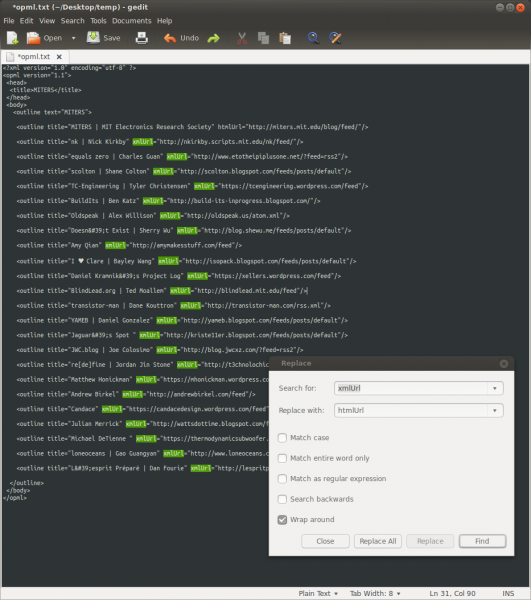
The fix: Super simple. Just change all the instances of xmlUrl in the OPML file into htmlUrl .
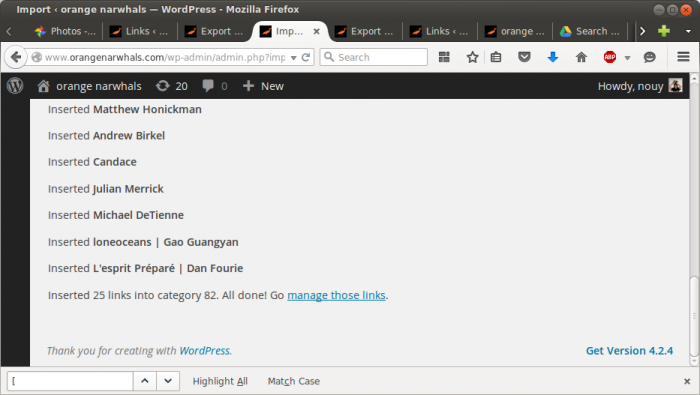
Tada! The links now import properly 🙂


