Hello dear friends!
Today I’m here to talk about screencasting a hardware course in Ubuntu using tools that are free (no-cost) to use. I had some issues that were cinnamon-on-ubuntu specific, and others I’m still not sure the cause of, but overall I’m pretty pleased with how things turned out.
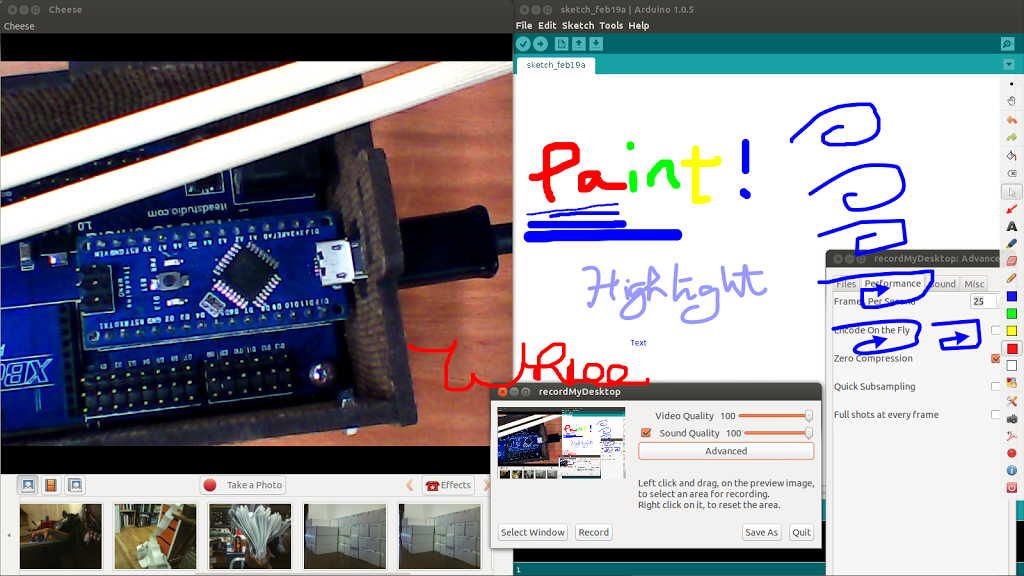 |
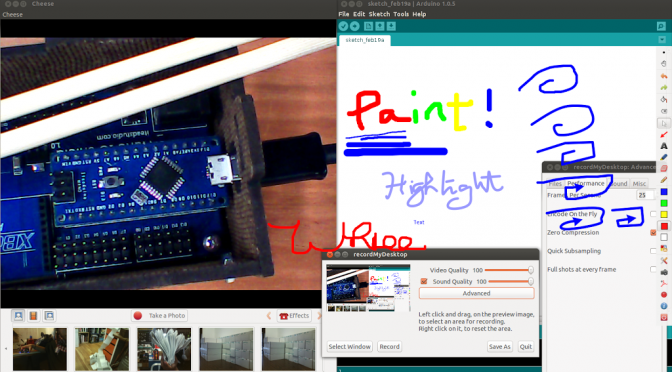
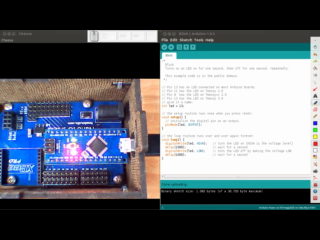
| Left: Cheese; Right: Arduino, Ardesia; Bottom: gtk-recordmydesktop; Overlaid Writing/Drawing: Ardeisa |
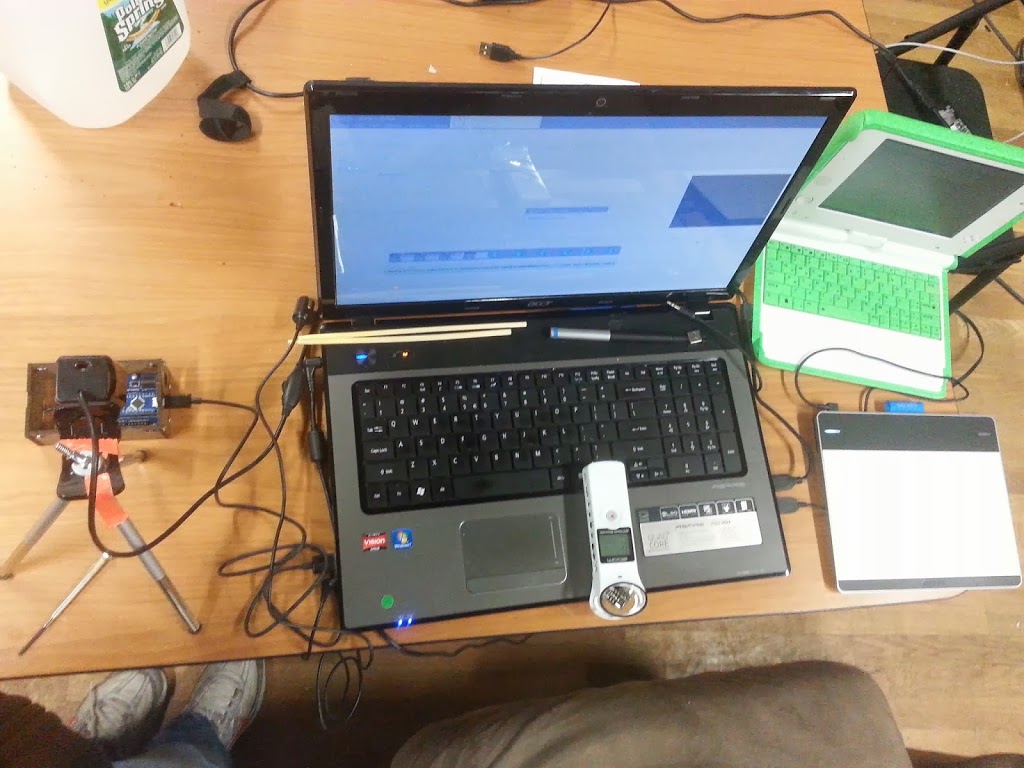
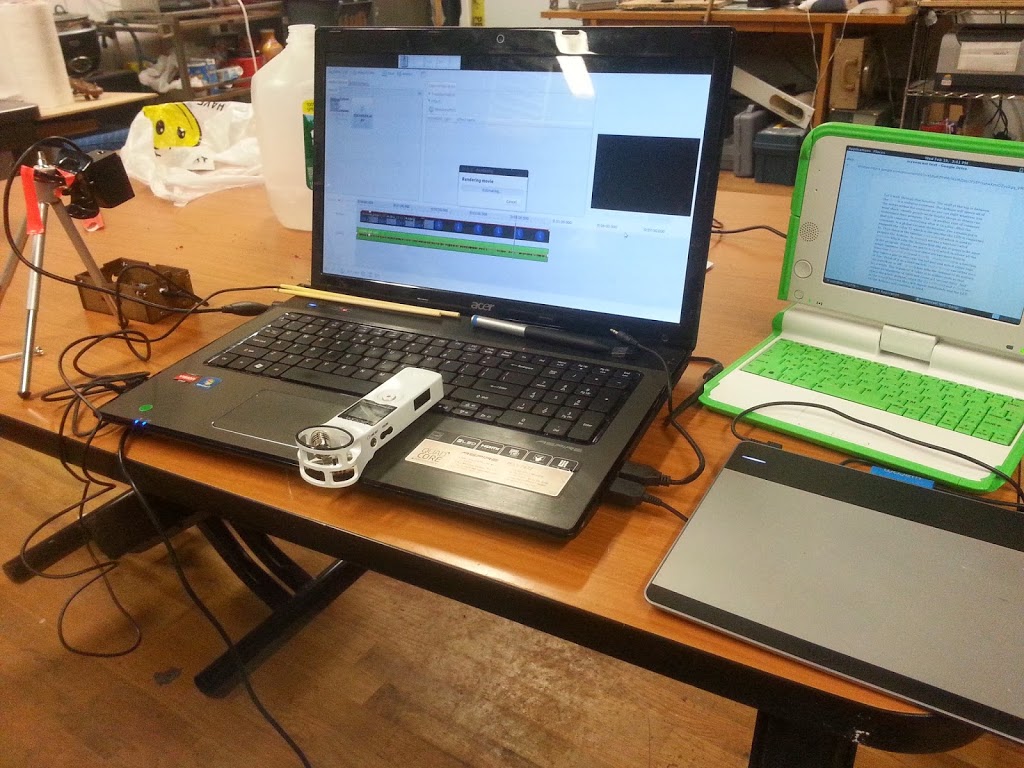
Hardware setup:
- USB webcam on a tiny tripod
- wacom tablet (CTL-480) — to get this tablet working in Ubuntu, see step 1, step 2
- Zoom H1 recorder with v2.0 firmware (for USB mic support in linux) — to see which firmware version you have, simply turn on the recorder and at the top it will say “2/00” if you have version 2 (shown without USB cable)
- and then I had the iteaduino (arduino clone) and
- my laptop
- secondary laptop for displaying the script
Lower Screen Resolution
My default resolution is 1600×900. First step, Lower the screen resolution to 1280×720 to make text readable at lower dpi and file sizes smaller (and thereby make your lower-bandwidth internet users happier!)
1) Install gnome-session-fallback.
sudo apt-get install gnome-session-fallback
This is because I’m running cinnamon and can’t get the display to change resolutions unless I log in as gnome-classic instead. You need gnome classic WITH effects for Ardesia to work, by the way.
2) Open a terminal (alt-f2, gnome-terminal). Run gnome-control-center. Click on “Displays”. Lower the resolution to 1280×720, which is standard HD resolution (youtube uses 16:9).
Get Alt-Tab Working Again
Okay, now we’re running Ubuntu 12.10 with gnome classic fallback, and ugh Alt-Tab doesn’t work wtf. To get it working:
sudo apt-get install compizconfig-settings-manager
sudo apt-get install compiz-plugins
ccsm
Then go to Window Management > Application Switcher > Enable. Okay now I also have ultra-fancy alt-tab swoosh effects too, but at least I have alt-tab.
Drawing on the Screen:
sudo apt-get install ardesia
Ardesia is great! It’s very easy to use, is in the ubuntu repositories, and provides multiple options for drawing on the screen. See first picture at the very top (where I show how it can toggle between wiggly, smoothed wiggly, and squareish lines, as well as draw arrows), as well as this one:
However, when I try to screencast in Ardesia, the audio (whether I use the internal mic, or the zoom H1 as a USB mic) is unusably choppy.
Thus, we use yet-another-application for the actual screencasting!
For screencasting (recording the screen)
I used gtk-recordmydesktop.
sudo apt-get install recordmydesktop.
This had a bit of a learning curve for me. There is a tray icon that shows or hides the main window, and when you hit “Record” the main window goes away automatically. It doesn’t save the file as anything usable at first, when you stop recording it begins encoding and then saves as an OGV file in the directory where you selected in the “Save As” dialog in the main window. Also, since we have a stereo mic with the Zoom H1, I went to advanced settings (upped the frame rate to 25 fps as well) and increased it to 2 audio channels. I don’t know if this actually affected the output, but presumably it does.
Officially youtube doesn’t support ogv, but I haven’t had issues with uploading the OGV files this application created.
For a live view of the hardware
I used a webcam connected to Cheese and then resized cheese until the lower toolbar disappeared.
sudo apt-get install cheese
I had a laptop camera as well. To choose the external webcam instead I simply went to Cheese > Preferences > Device and chose “USB2.0 Camera /dev/video0” instead of “1.3M HD Webcam /dev/video1”.
For USB Mic
For a comparison of the audio quality using my internal mic versus using the Zoom H1, see:
With laptop mic
With Zoom H1 as USB mic
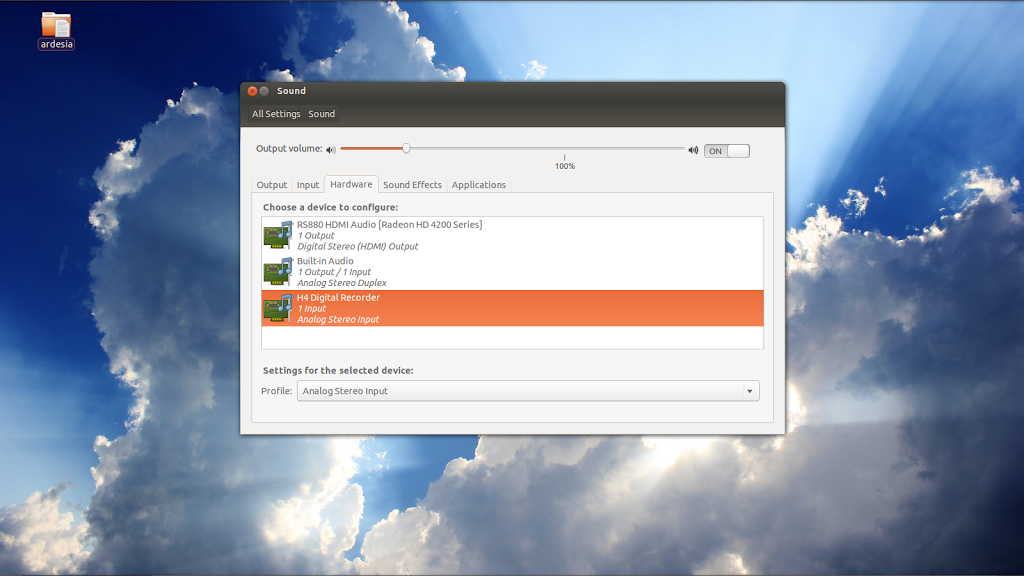
Connect the Zoom H1 to the computer. On the screen it will blink between “USB Card and USB Audio. Hit the red record button when it says “Audio”, then hit the red button again to accept the audio settings. Now go to
gnome-control-center > Sound (or “Sound Settings…” under the volume tray icon in the gnome panel). Under “Hardware” you should see “H4 Digital Recorder”.
I set it to “Input” only (instead of duplex) to be safe. Then, under “Input”, you should see “H4 Digital Recorder Analog Stereo.” If you don’t see it in “Input”, but it shows up in “Hardware”, try rebooting your computer — that did the trick for me.
For displaying which keys are pressed
I used key-mon.
sudo apt-get install python-pip
sudo pip install key-mon
For syncing audio and video, or video editing
Say like me you initially didn’t figure on using yet another application to get non-choppy audio simultaneously recorded with the video screencast, and instead have a .wav file from your zoom recorder and a .ogv file from your screencasting tool. How do you sync up the audio and video files appropriately?
PiTiVi was sad for me. I liked pitivi, because it displays the audio waveform, which is useful. However, the video preview was really choppy (unusable for syncing purposes) even when I selected “video thumbnail 1/100 sec” and the export didn’t work.
Use OpenShot.
sudo apt-get install openshot
The export settings are pretty self-explanatory. For now, I’ve settled on using “Device> AppleTV” as the settings I use. “Web >Youtube-HD” probably also works. When I tried manually selecting “H264” and “AAC” audio like youtube recommends, though, OpenShot gave me a .h264 file that youtube grudgingly accepted and converted for me (but I couldn’t open in VLC or anything locally). So… just stick with the “simple” export settings and everything is great.
By the way, OpenShot 1.4.3 doesn’t like to import OGV files on my computer (pops up an error, “ogv not supported). Therefore:
Convert OGV to AVI or MP4
Use ffmpeg or avconv to convert the OGV file into AVI or mp4 and then import into OpenShot.
ffmpeg -sameq -i ardesia_project_2014-19-2_18:11:24.ogv output.avi
or
avconv -i ardesia_project_2014-19-2_18:11:24.ogv output.mp4
Then open the AVI file into OpenShot, along with the WAV audio file, drag-and-drop to sync the files, and then hit export.
Voila!
You have a video 🙂
For an example of the output, see http://www.youtube.com/watch?v=8ZgO082rD2g. It’s a bit fuzzy, probably in part because I recorded it in 4:3 (1024×768) instead of 16:9 which it was converted to (1280×720). But the text is mostly legible.


