
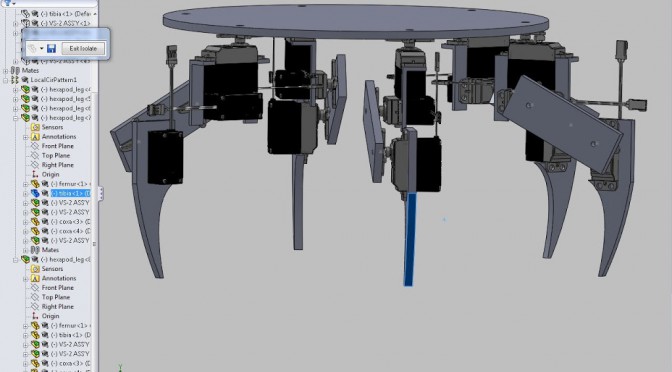
Great success! I learned CAD. Or rather Amy worked through the point I kept getting stuck on (a particular series of mates for the hexapod leg assembly), and then it was fairly easy sailing from there. Yay 🙂
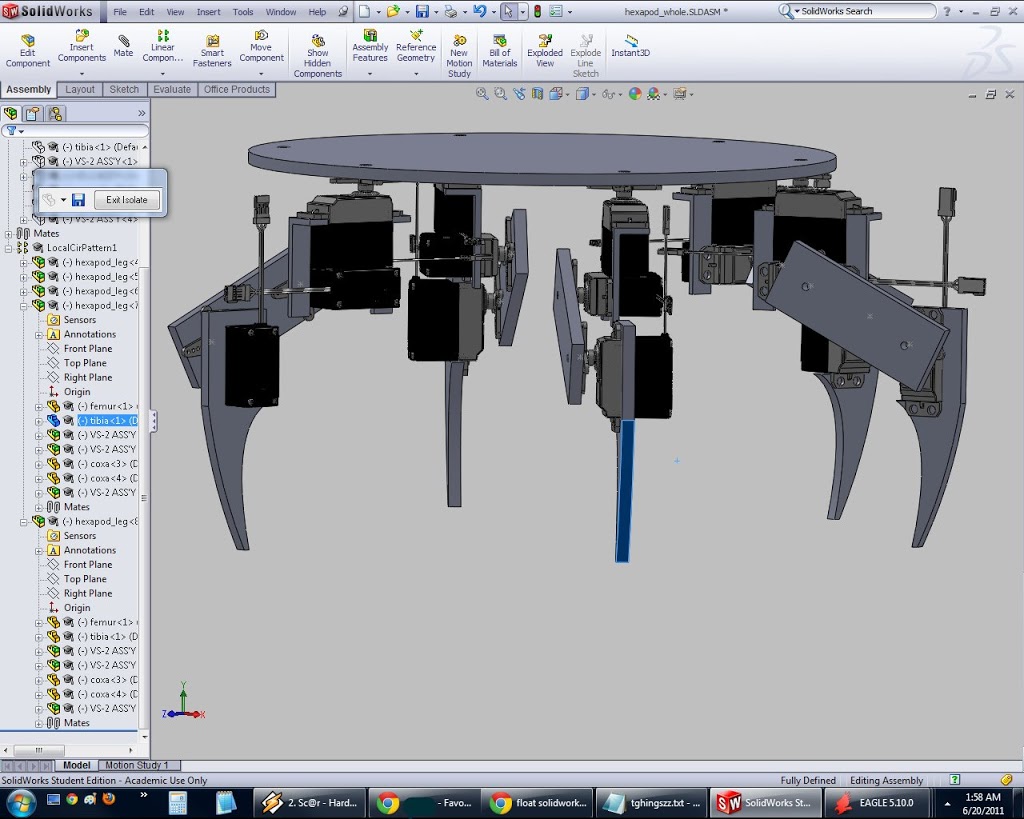 |
| not sure why it has 5 legs, might’ve hidden one when I screenshot’d |
In other news, I didn’t make much headway on the pololu issue where something about my setup using Arduino + Pololu Mini Maestro is off (Dane showed me how to check with the multimeter to verify that the voltage was dropping to zero, aka symptoms of current limiting). I even took twenty minutes to wire everything to the original Arduino Nano (+ 2.007 carrier board) state, and verified that it did sound much… happier (yay the sound of 18 bloodthirsty happy servos =]). But I did read up more on serial and code, which was fun and hurt my head.