Tag Archives: hexapod

hexarideablepod

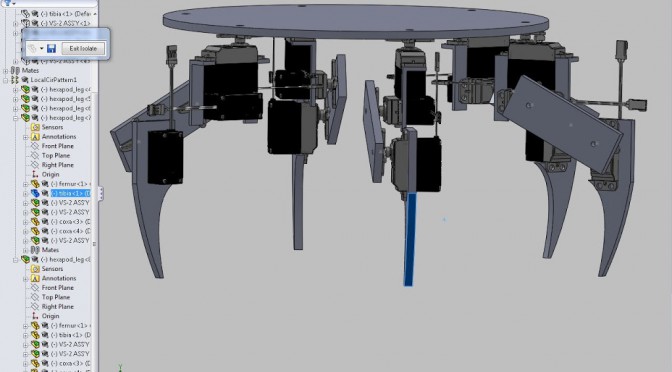
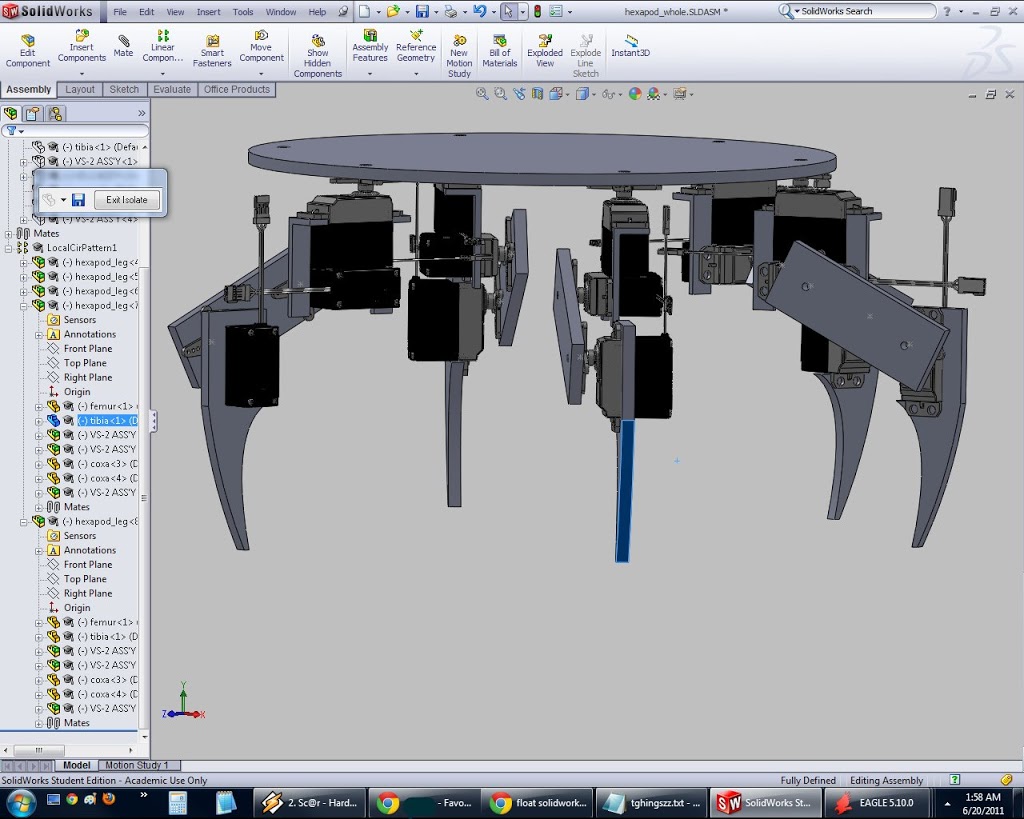
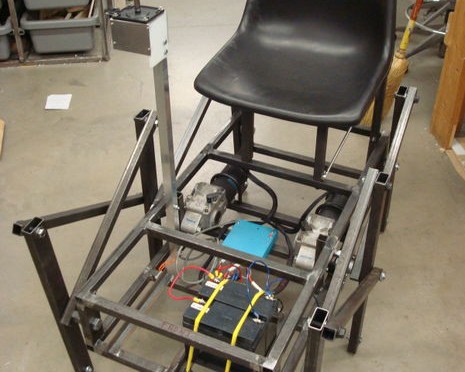
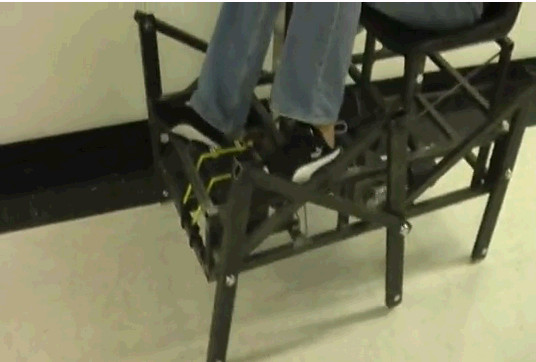
Rideable Hexapod (aka spiderbot or hexabot or whatever). Anyway, I want.

Step A. KISS. Clone someone else’s work on a linkage hexapod.

~$ git clone git@instructables.com:Hexabot-Build-a-heavy-duty-six-legged-robot/

haha I wish hardware was as easy as software to duplicate.

Substeps:

  1. Acquire materials
    1. Steel stock
      1. Turner Steel (carpool with someone)
        1. 60 feet of 1″ square steel tubing, 0.065″ wall ~$72
        2. 20 feet of 2″ x 1″ square rectangular steel tubing, 0.065″ wall ~$37
        3. Directions
        4. (508) 583-7800 –inquire about cost for delivery to MIT, also hours
      2. Inquire from the Central Machine Shop, bldg 38-001
  2. Apply CAD (scale up, can motors handle? torque calcs?)
  3. Apply controller to motors (make original one? probably stick with relays)
    1. schematic
  4. Learn welding (MIG or TIG)
  5. Build build build
Oh, right, youtube research: (specifically for this kind of linkage-based rideable hexapod)
Look it’s bicycle powered http://www.youtube.com/watch?v=jJY1fqzuqL0
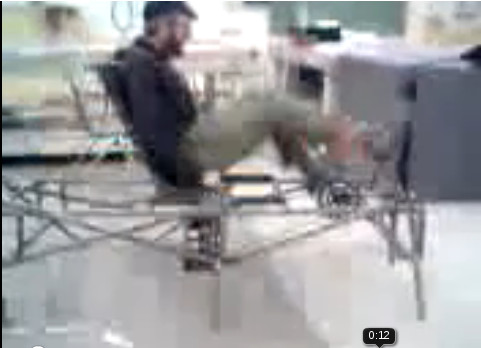
Look it’s wheelchair motor x2 powered http://www.youtube.com/watch?v=xuRT9gC0CGs

in the meantime, I learned a bit of serial by asking Leighton, a hallmate, so now I understand the pololu code. But I still don’t understand why it’s sad. Yay I kept thinking it was something with the code, and I couldn’t find my cute tiny 2.007 battery to try . But I tried something I knew wouldn’t work, and it worked! yay. will post in pololu forums to make it more findable.
http://forum.pololu.com/viewtopic.php?f=16&t=3944&p=19496#p19496

Is the CAD?

Great success! I learned CAD. Or rather Amy worked through the point I kept getting stuck on (a particular series of mates for the hexapod leg assembly), and then it was fairly easy sailing from there. Yay 🙂

not sure why it has 5 legs, might’ve hidden one when I screenshot’d

In other news, I didn’t make much headway on the pololu issue where something about my setup using Arduino + Pololu Mini Maestro is off (Dane showed me how to check with the multimeter to verify that the voltage was dropping to zero, aka symptoms of current limiting). I even took twenty minutes to wire everything to the original Arduino Nano (+ 2.007 carrier board) state, and verified that it did sound much… happier (yay the sound of 18 bloodthirsty happy servos =]). But I did read up more on serial and code, which was fun and hurt my head.

new robot brainz: Pololu Mini Maestro + Arduino

[Update, Jun 24 2010]: well now it actually works. see post: http://www.orangenarwhals.com/?p=197

My hardware:
Pololu Mini Maestro (24 ch serial RC controller)
Arduino Nano
1 servo
Some male header pins
A battery
A 2.007 Nano Carrier Board, which gives me easy access to the Arduino pins and a 5V supply
An 8V battery pack
Ubuntu 10.10 on my hp 2140 mini netbook

Steps:
Apply Powerz to Pololu and servos

TX/RX if needed
http://www.pololu.com/docs/0J40/7.c
specifically
http://www.arduino.cc/en/Reference/Board
http:// www.pololu.com/docs/0J40/1.b 

Apply codez
http://forum.pololu.com/viewtopic.php?f=16&t=3944

(put servo on pololu ch 0)